Introduction
I recently got a new Fanatec setup for sim racing, and I wanted to use the shifter from my previous Logitech G920 setup (mainly because 250 euros for a shifter is a bit much in my opinion, and this one still worked great). To be able to do this though, I needed to convert the serial connector of the logitech shifter to USB, for which I used this video.
Hardware connection
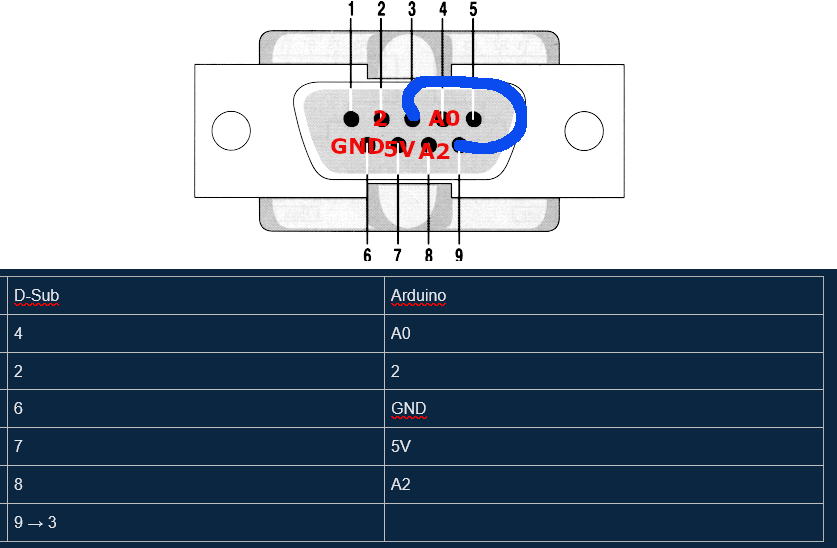
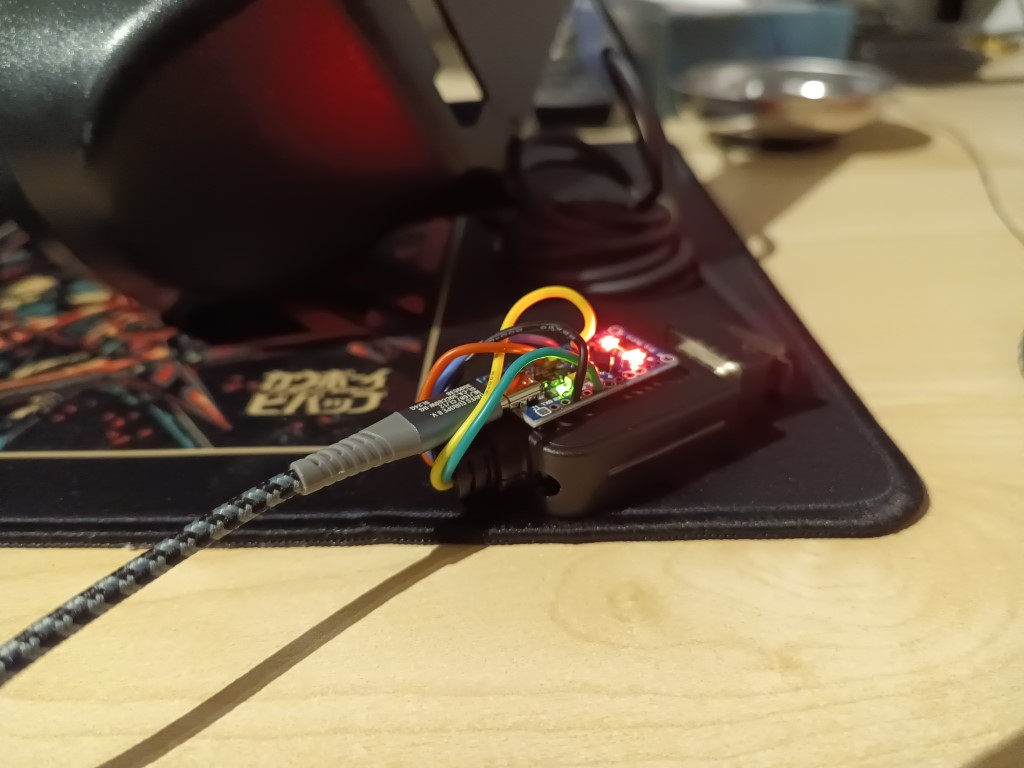
The video is very straightforward, and shows which pins of the DB9 connector should go to which pins of the arduino. I even made a little overview to make it extra clear:

The software
To make it nice and compact, I used an Arduino pro micro. The microcontroller choice is important because we need to use the Arduino Joystick Library, which only supports the ATmega32u4 processor (Arduino micro/pro micro and leonardo).
Next to the Joystick library, we also need the sim racing library because it contains an example to do exactly what we want. The flashing process is as simple as selecting your board, loading the ShiftJoystick example and flasing the firmware. When I flashed the firmware on my arduino for the first time though, I got this message in the Arduino IDE but nothing happened on the board:
Connecting to programmer: .
Found programmer: Id = "CATERIN"; type = S
    Software Version = 1.0; No Hardware Version given.
Programmer supports auto addr increment.
Programmer supports buffered memory access with buffersize=128 bytes.

Programmer supports the following devices:
    Device code: 0x44
The solution: Connect RST to GND fast twice, to put the arduino in bootloader mode, allowing you to flash the firmware. After having done that once, the flashing process succeeded normally every time.
And that's it! The arduino is now flashed and we can use our shifter as an USB shifter.
Cleaning the shifter
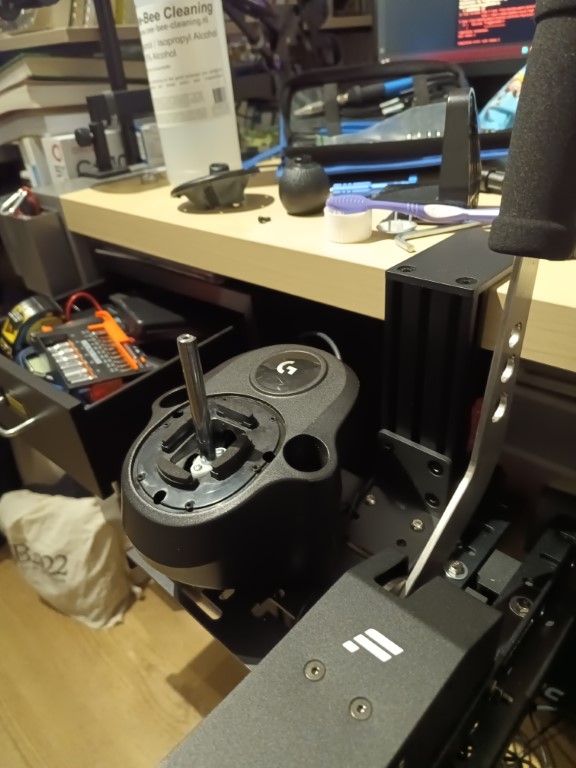
My particular shifter had a little problem: when I put it in 1st or 3rd, it would sometimes jitter back to neutral and the gear, making drifting or driving very annoying. I fixed this by cleaning the inside, which was very greasy. The new firmware also helped, as it was better in determining when a gear was actually selected than the original base.
3D printing an enclosure
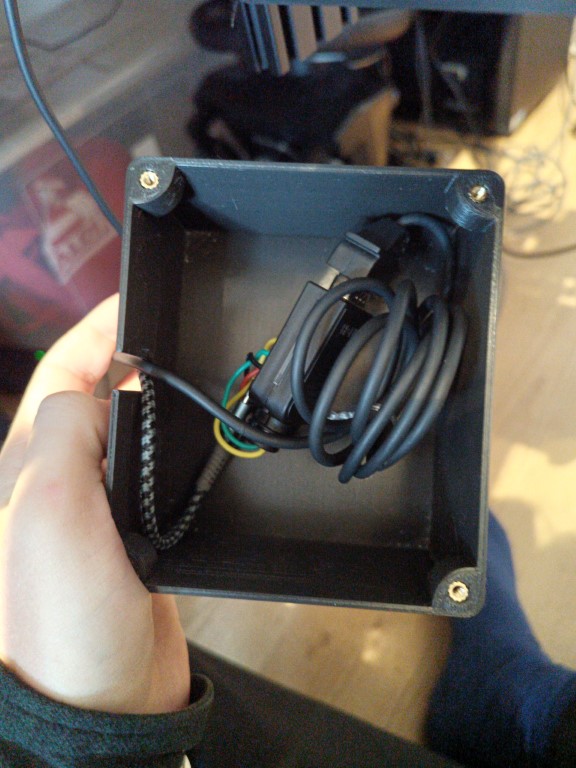
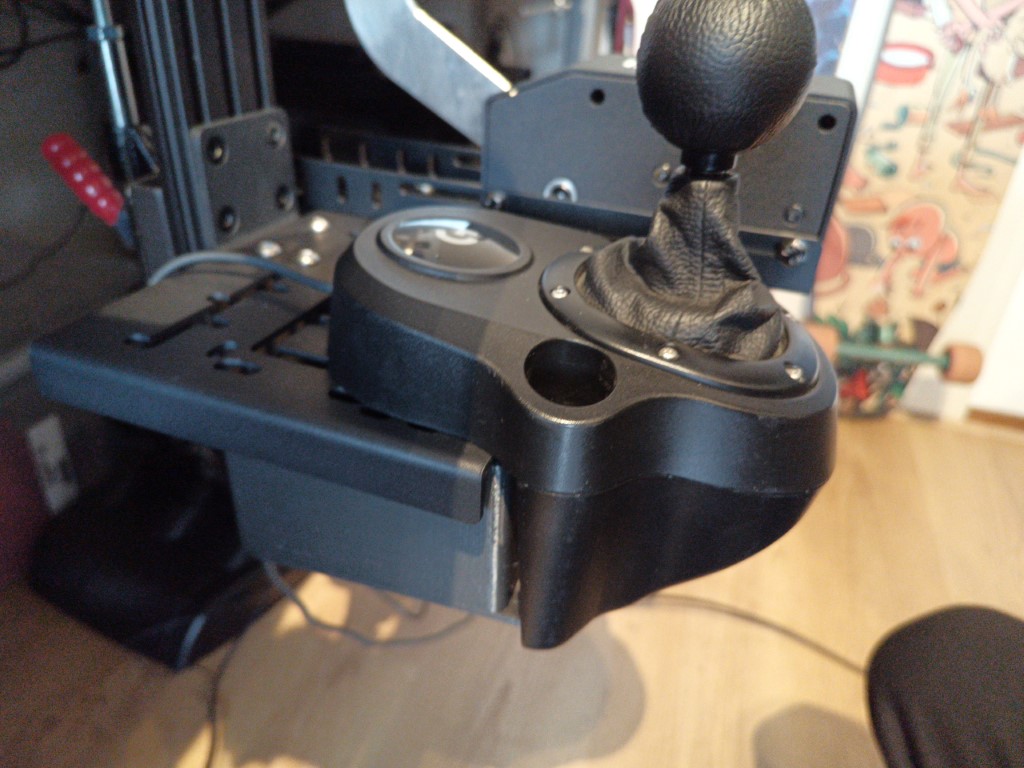
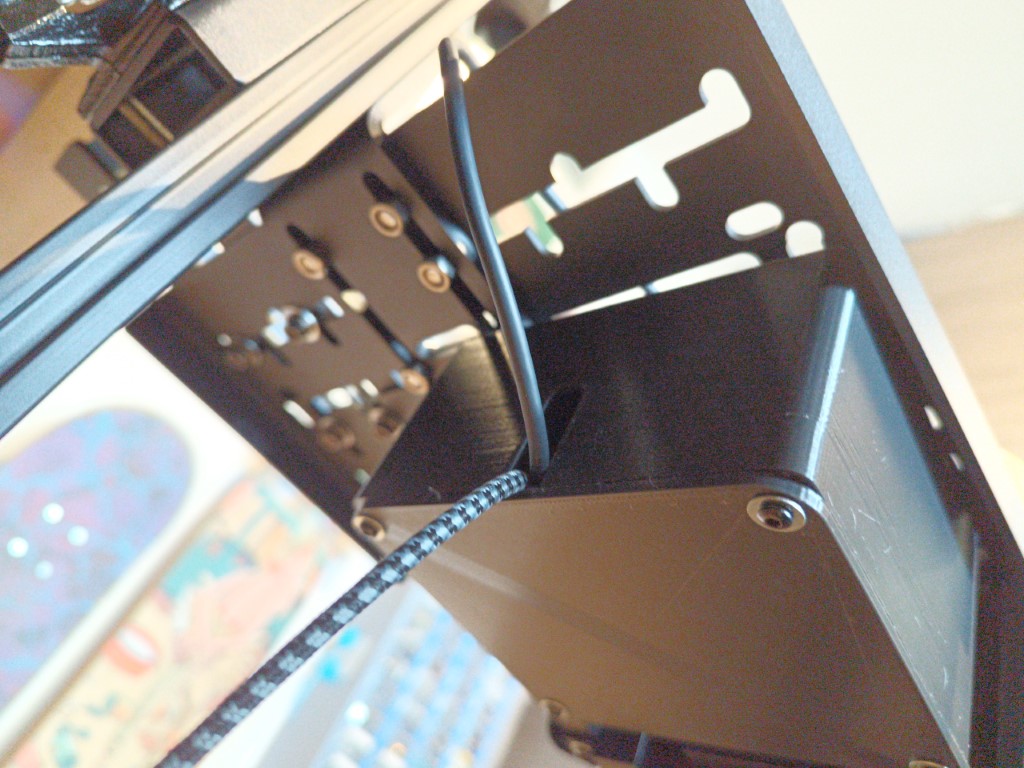
Because I could now attach the shifter to the new clamp with screws, I didn't need the default clamp of the shifter anymore. I also designed a case that can go underneath the shifter that will hold the arduino and the serial connector. I used M3 heatset inserts and M2 bolts, nuts and washers for the box.


I also found a really great guide on how to design holes for heatset inserts. I modeled the box with a separate lid that you can screw on for easy installation


Extra: batch file to start all programs
I also made a little batch file to quickly start all programs needed to play VR with the new fanatec setup:
@echo off
F:
cd "F:\Fanatec\FanaLab\Control"
start FanaLab.exe
cd "F:\Fanatec\Fanatec Wheel\ui"
start FanatecControlPanel.exe
cd "F:\Oculus\Support\oculus-client"
start OculusClient.exe
cd "F:\Oculus\Support\oculus-diagnostics"
start OculusDebugTool.exe
start steam://rungameid/250820
exit
Extra: failing to run this on an STM32F401CCU
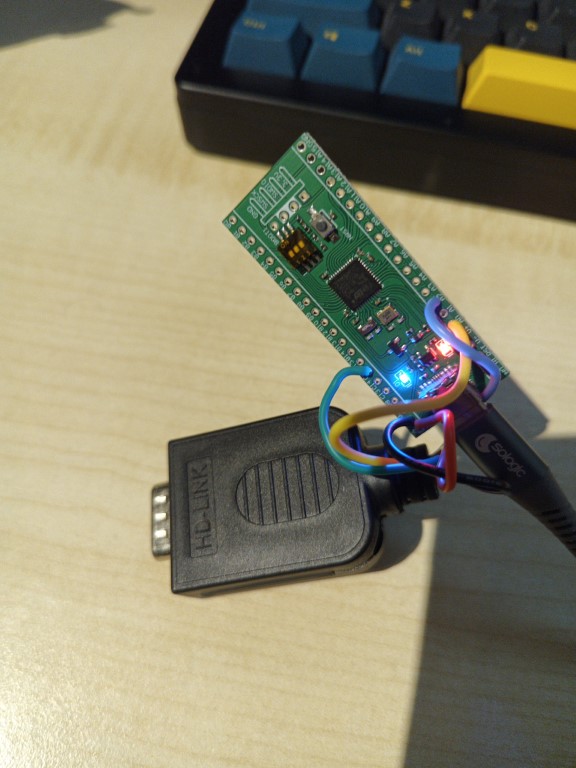
Before I found out the Joystick library only runs on ATmega32u4 processors, I tried to run it on an STM32F401CCU board, because I had two of those laying around. I even got as far as soldering the connector:
