I have this Huawei Mate 10 Lite with a broken screen, and I wanted to try and fix it so my gf could use it, since her phone has a cracked screen and is very slow. To check how to do the screen replacement I followed this video.
After some finagling, I managed to remove the back from the phone:
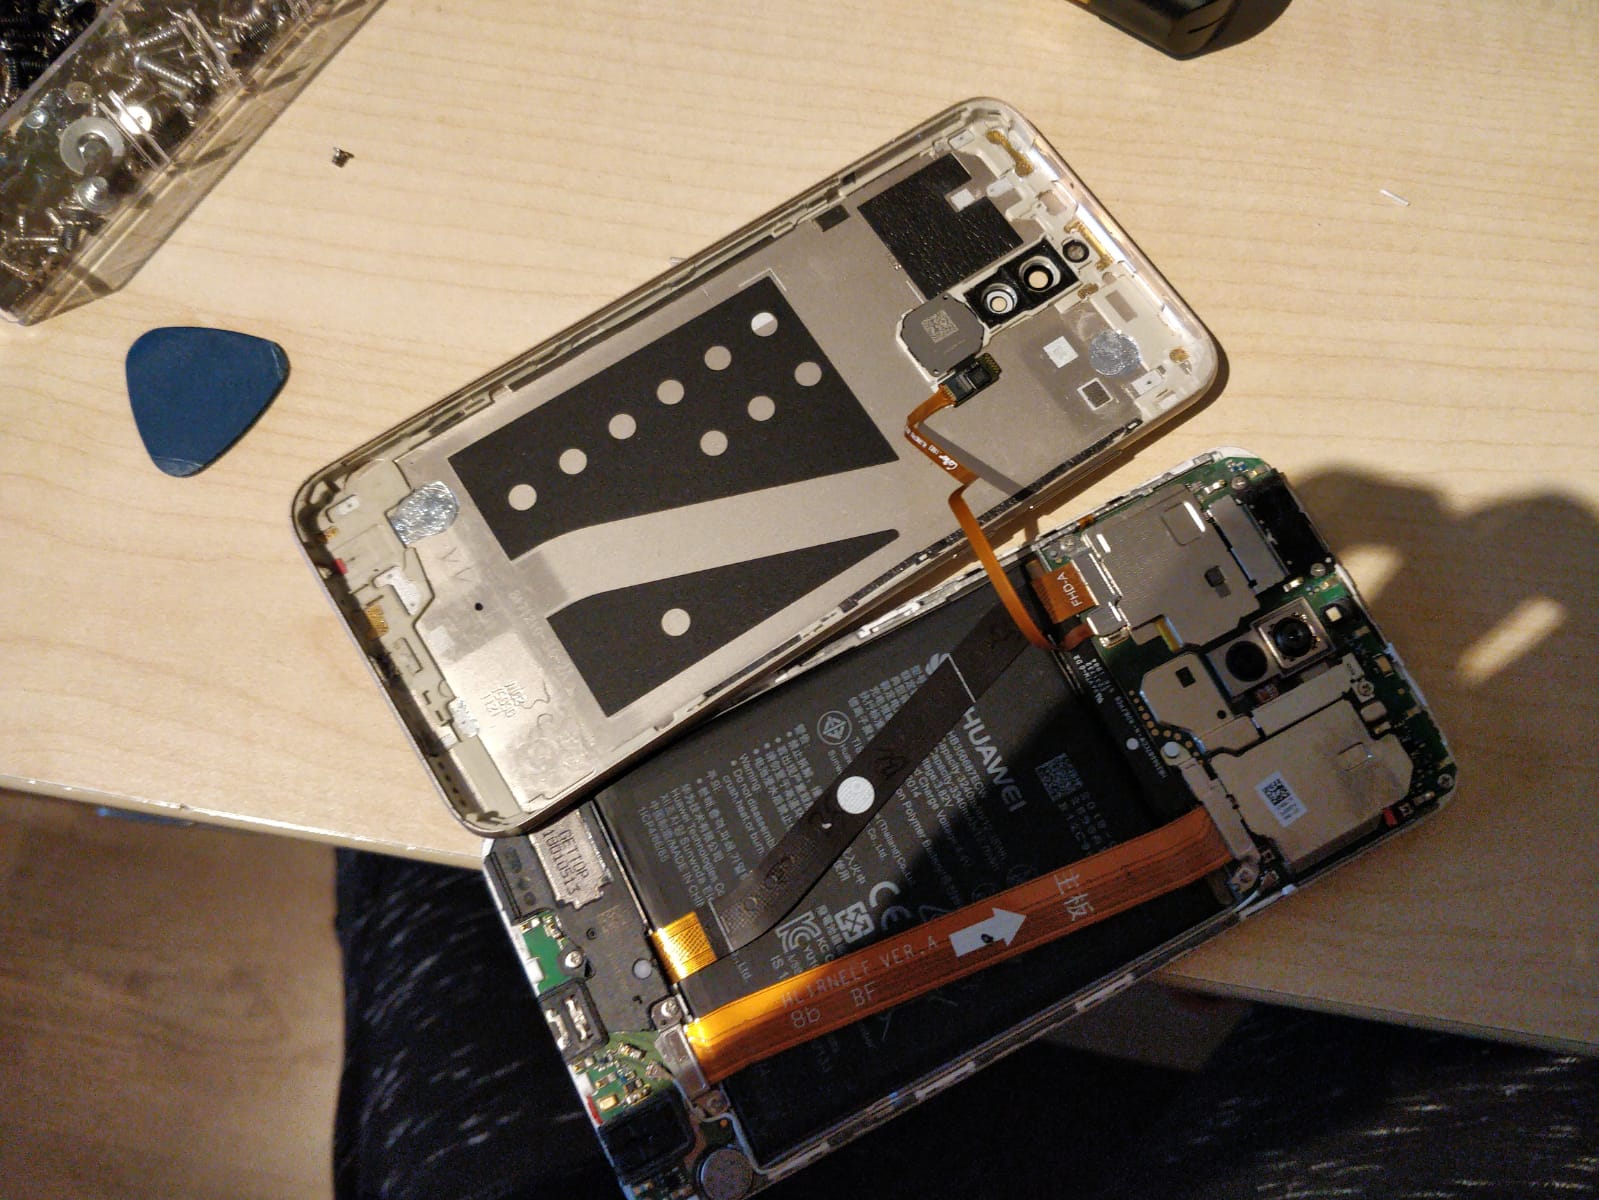
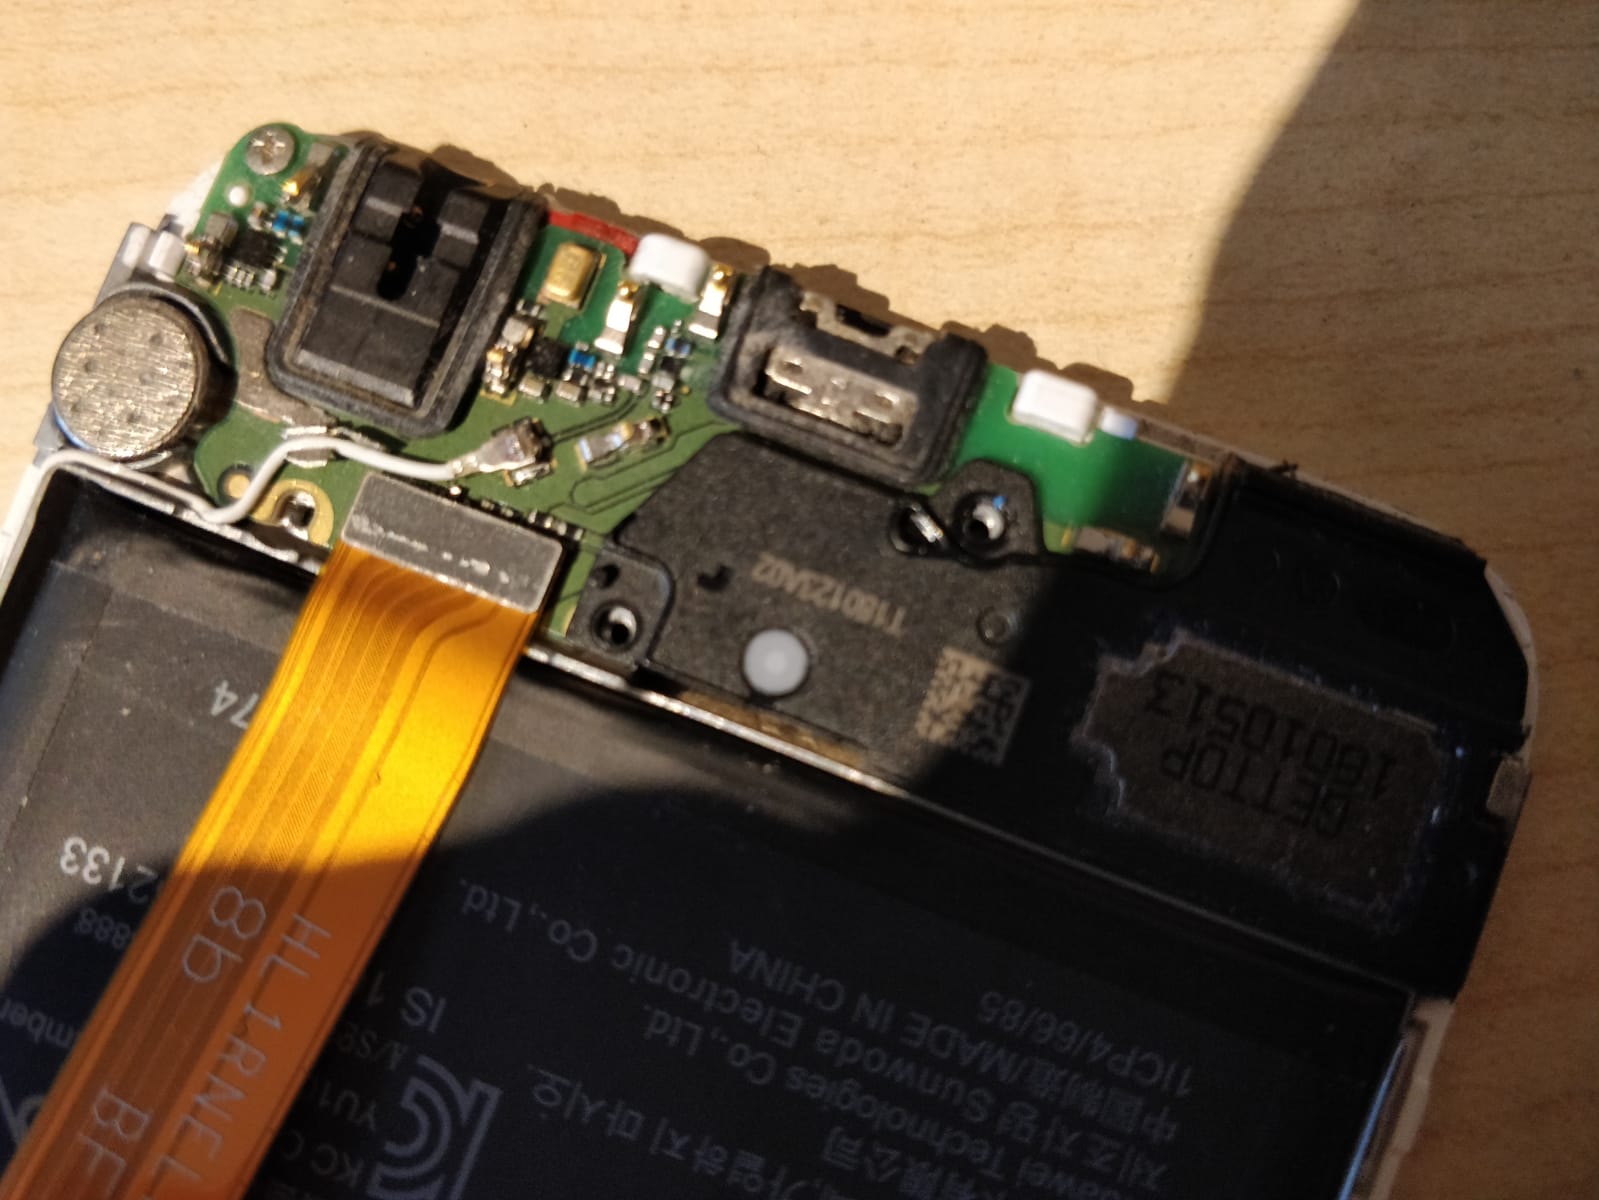
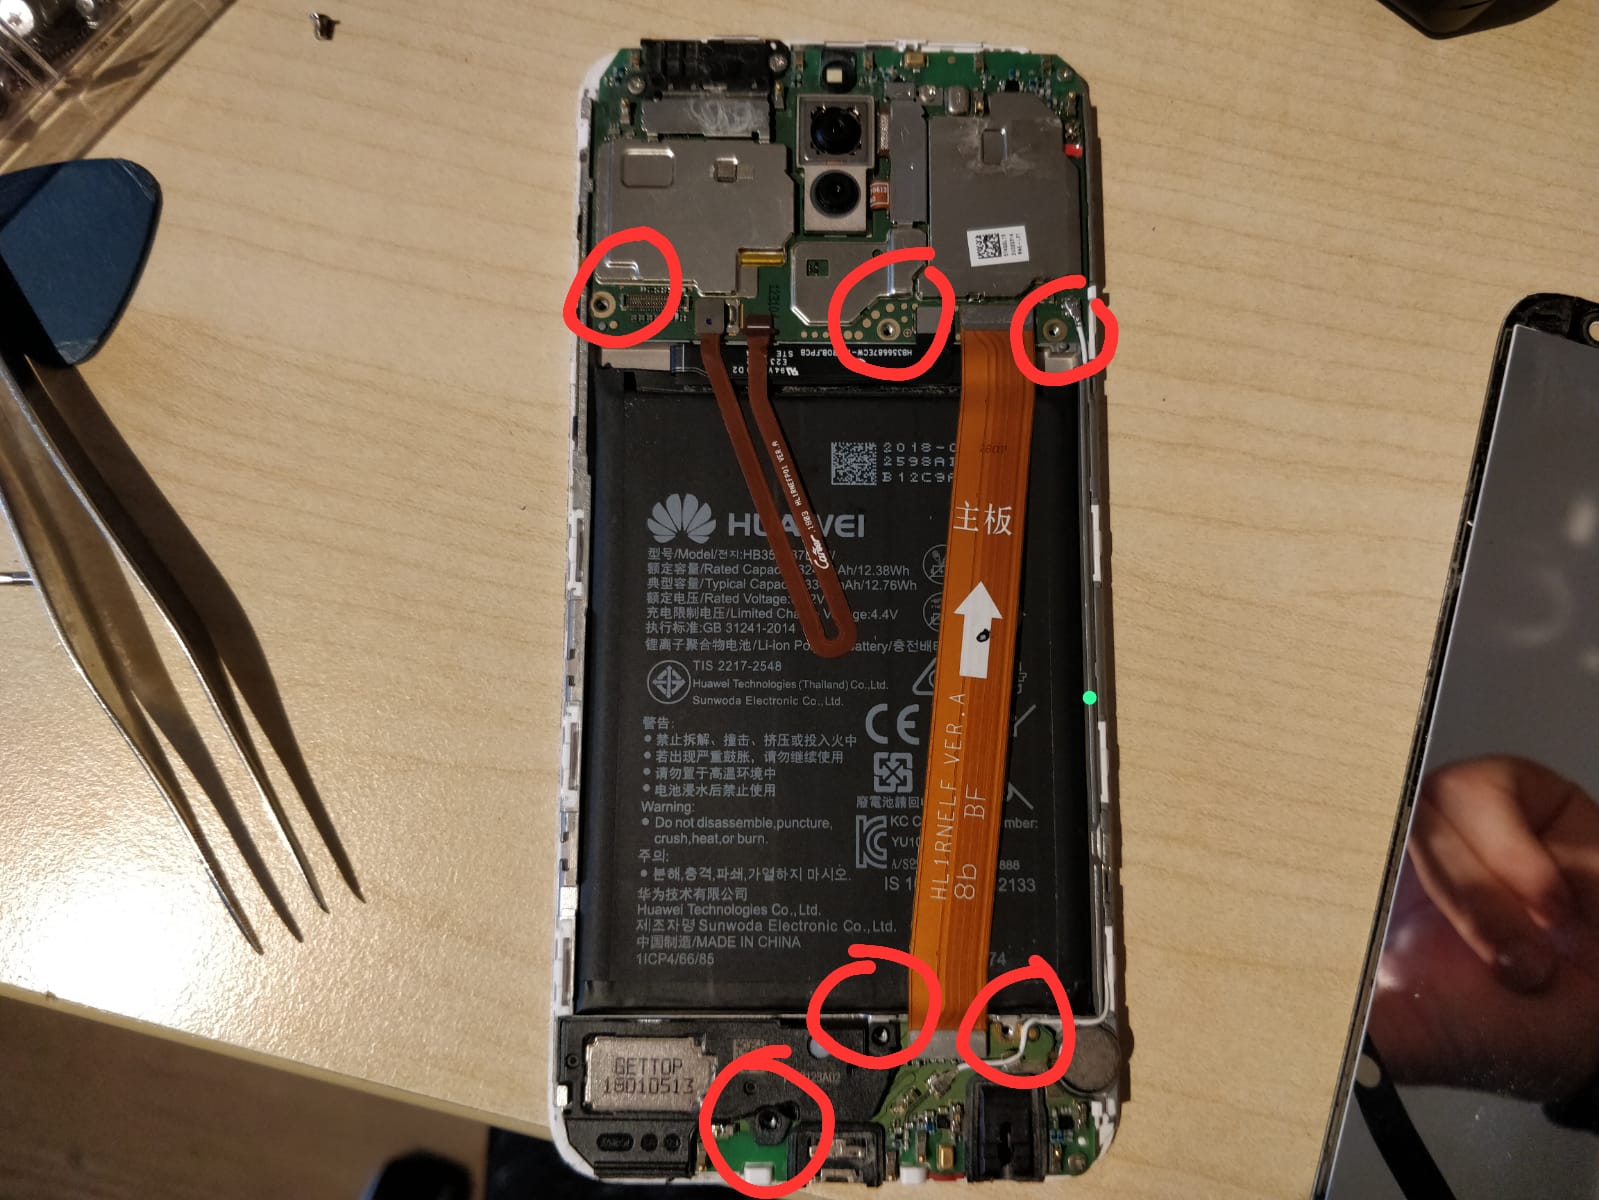
To remove the ribbon cable to the camera, you have to flip up the little gray latch. Then, remove the 3 screws above the battery, 1 to the left of the phone and 2 to the right, holding a little metal cover in place. Note: the middle screw has a white warranty sticker over it. then, I removed the two screws below the battery that held the cover above where the display ribbon cable goes through the PCB. After that, the display could be taken out.

Be careful when you do this as the connector for the display ribbon cable just barely fits through the PCB gap.
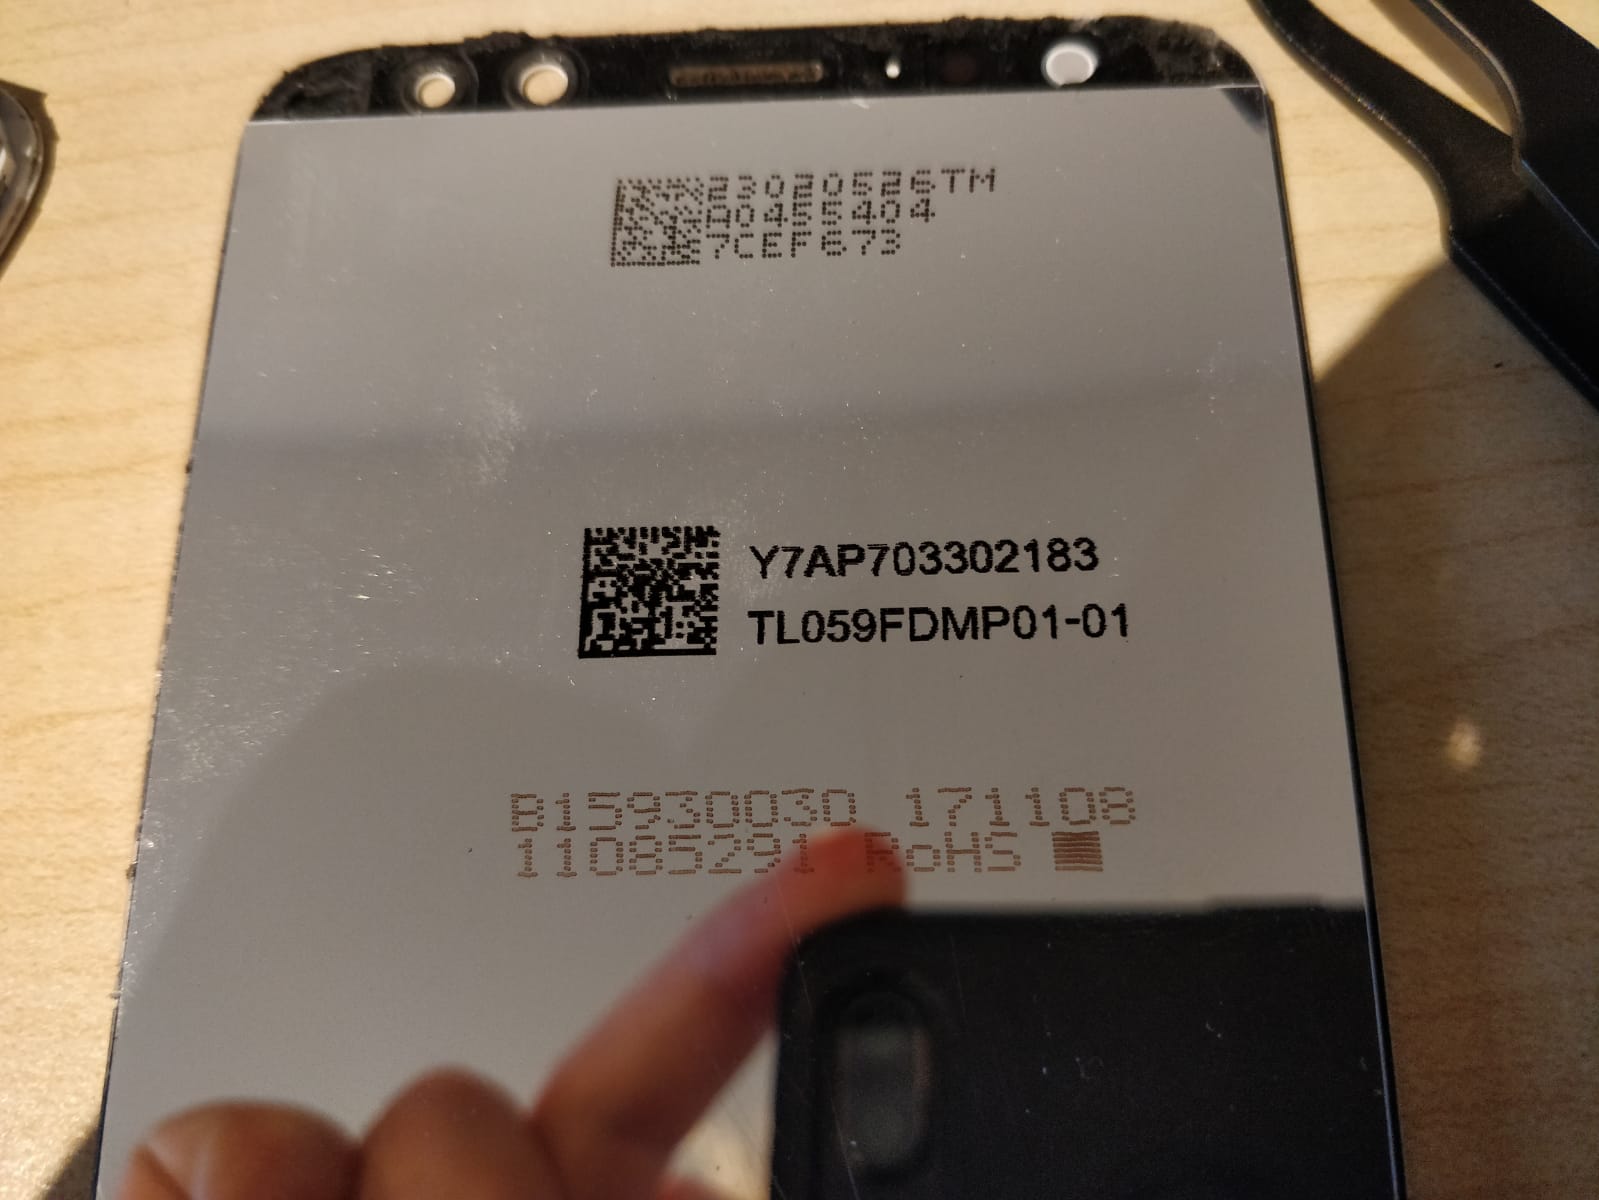
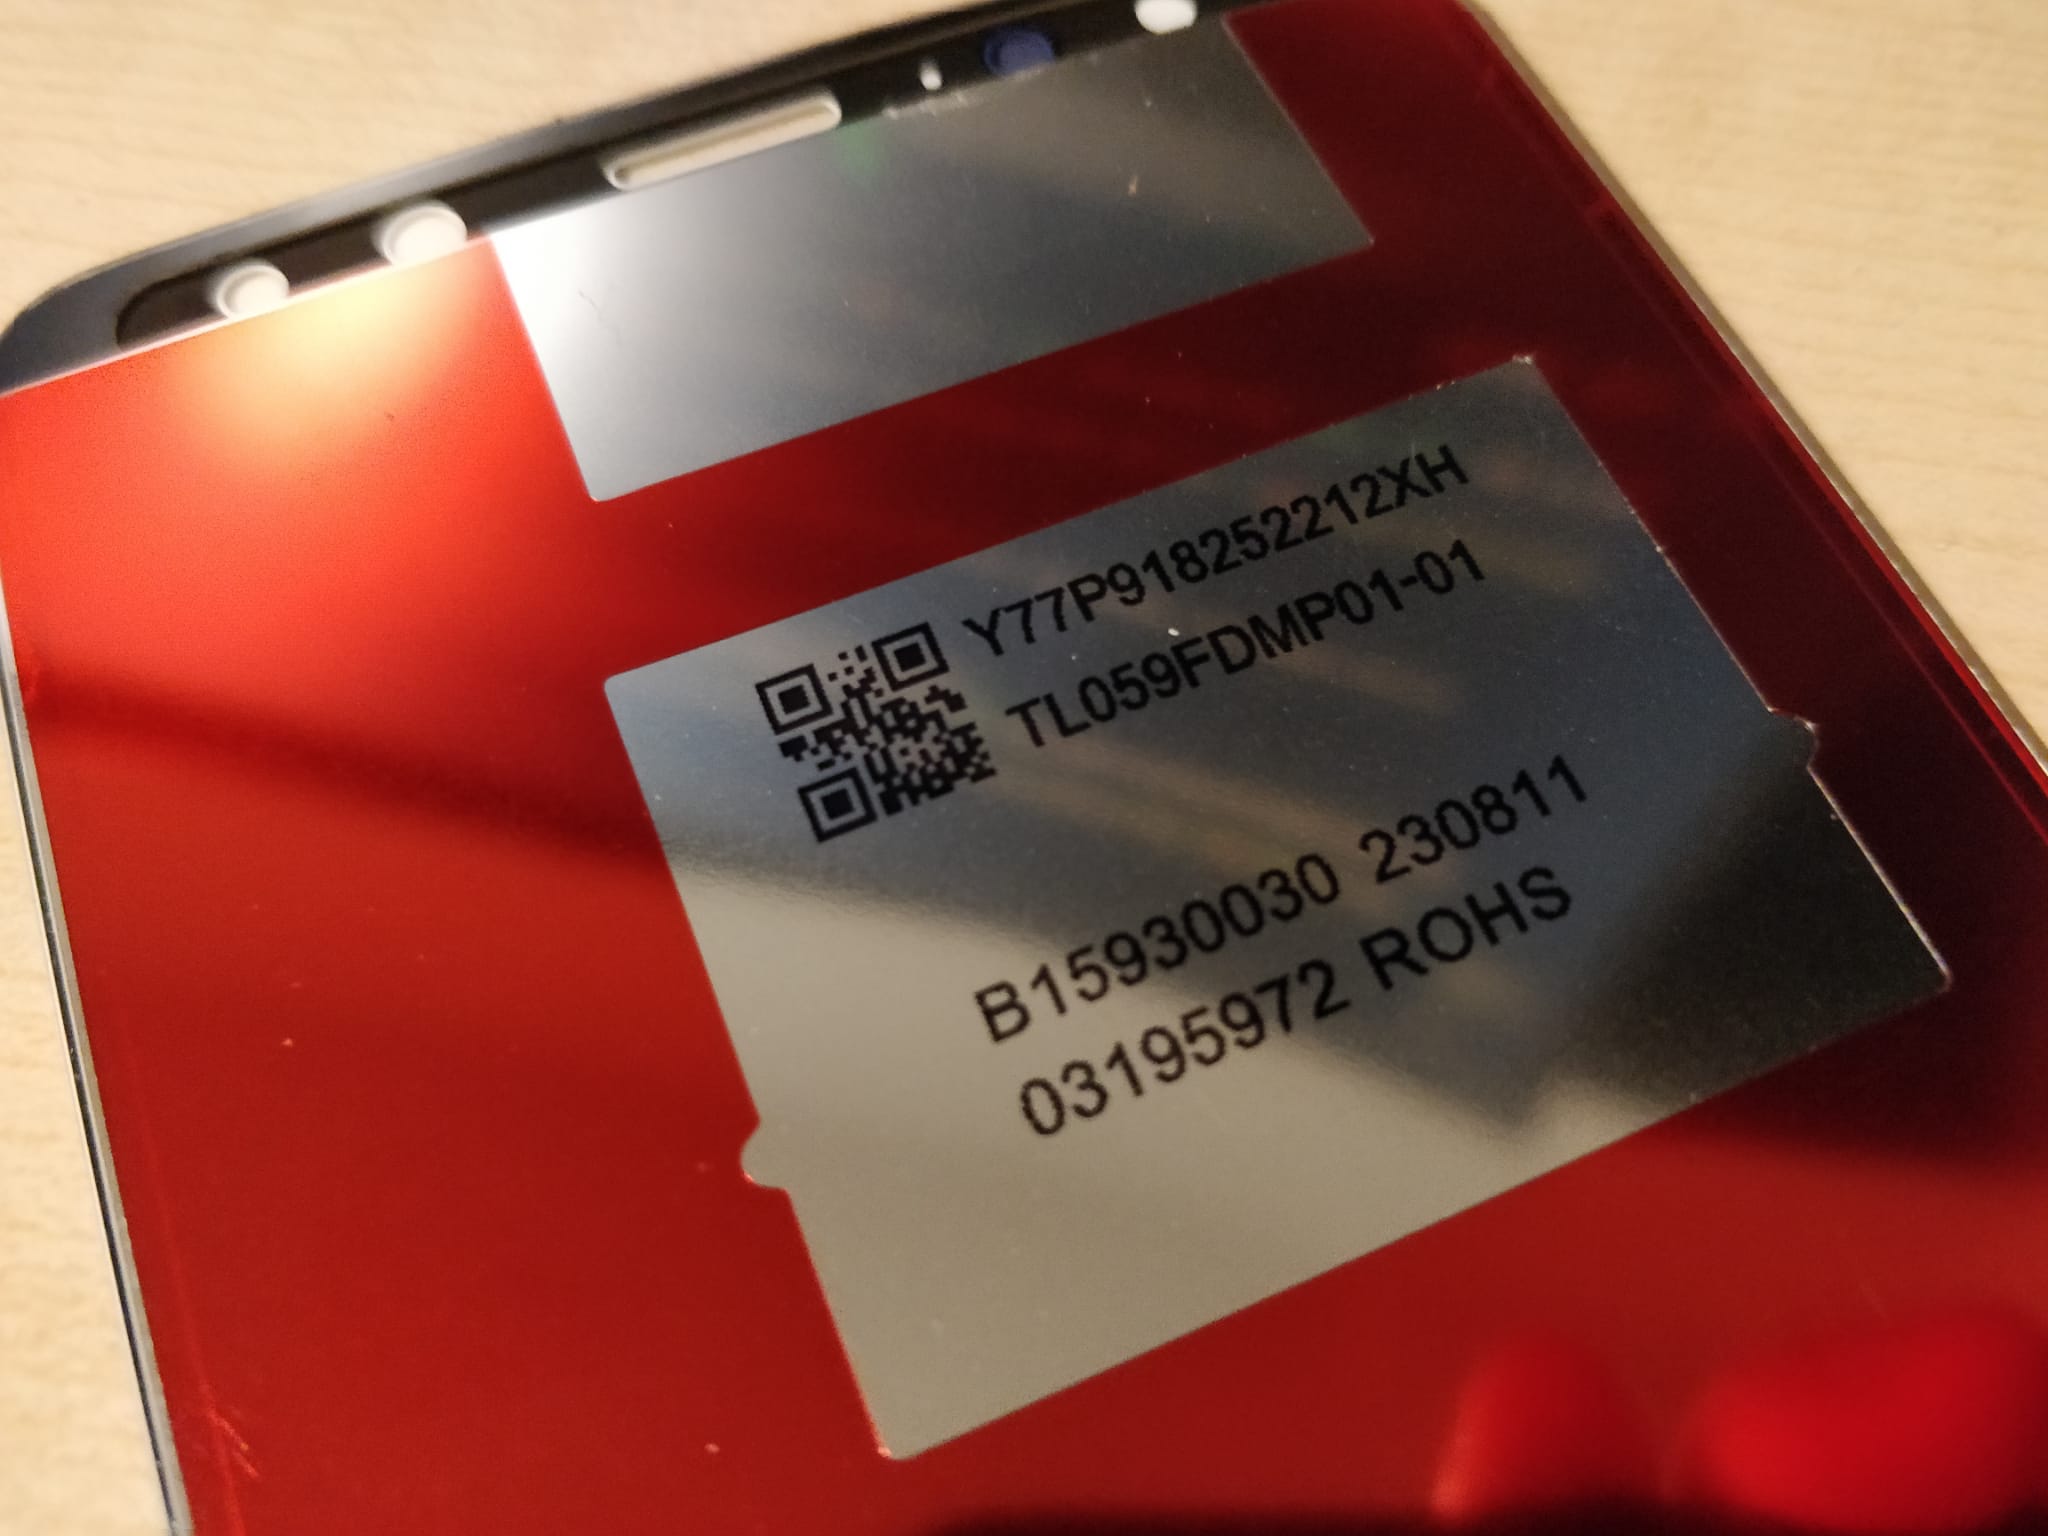
A little closer look at the display codes (left:old, right: new):
Here's an overview of all the screws you need to take out:
And you'll end up with these parts that you need to put back:

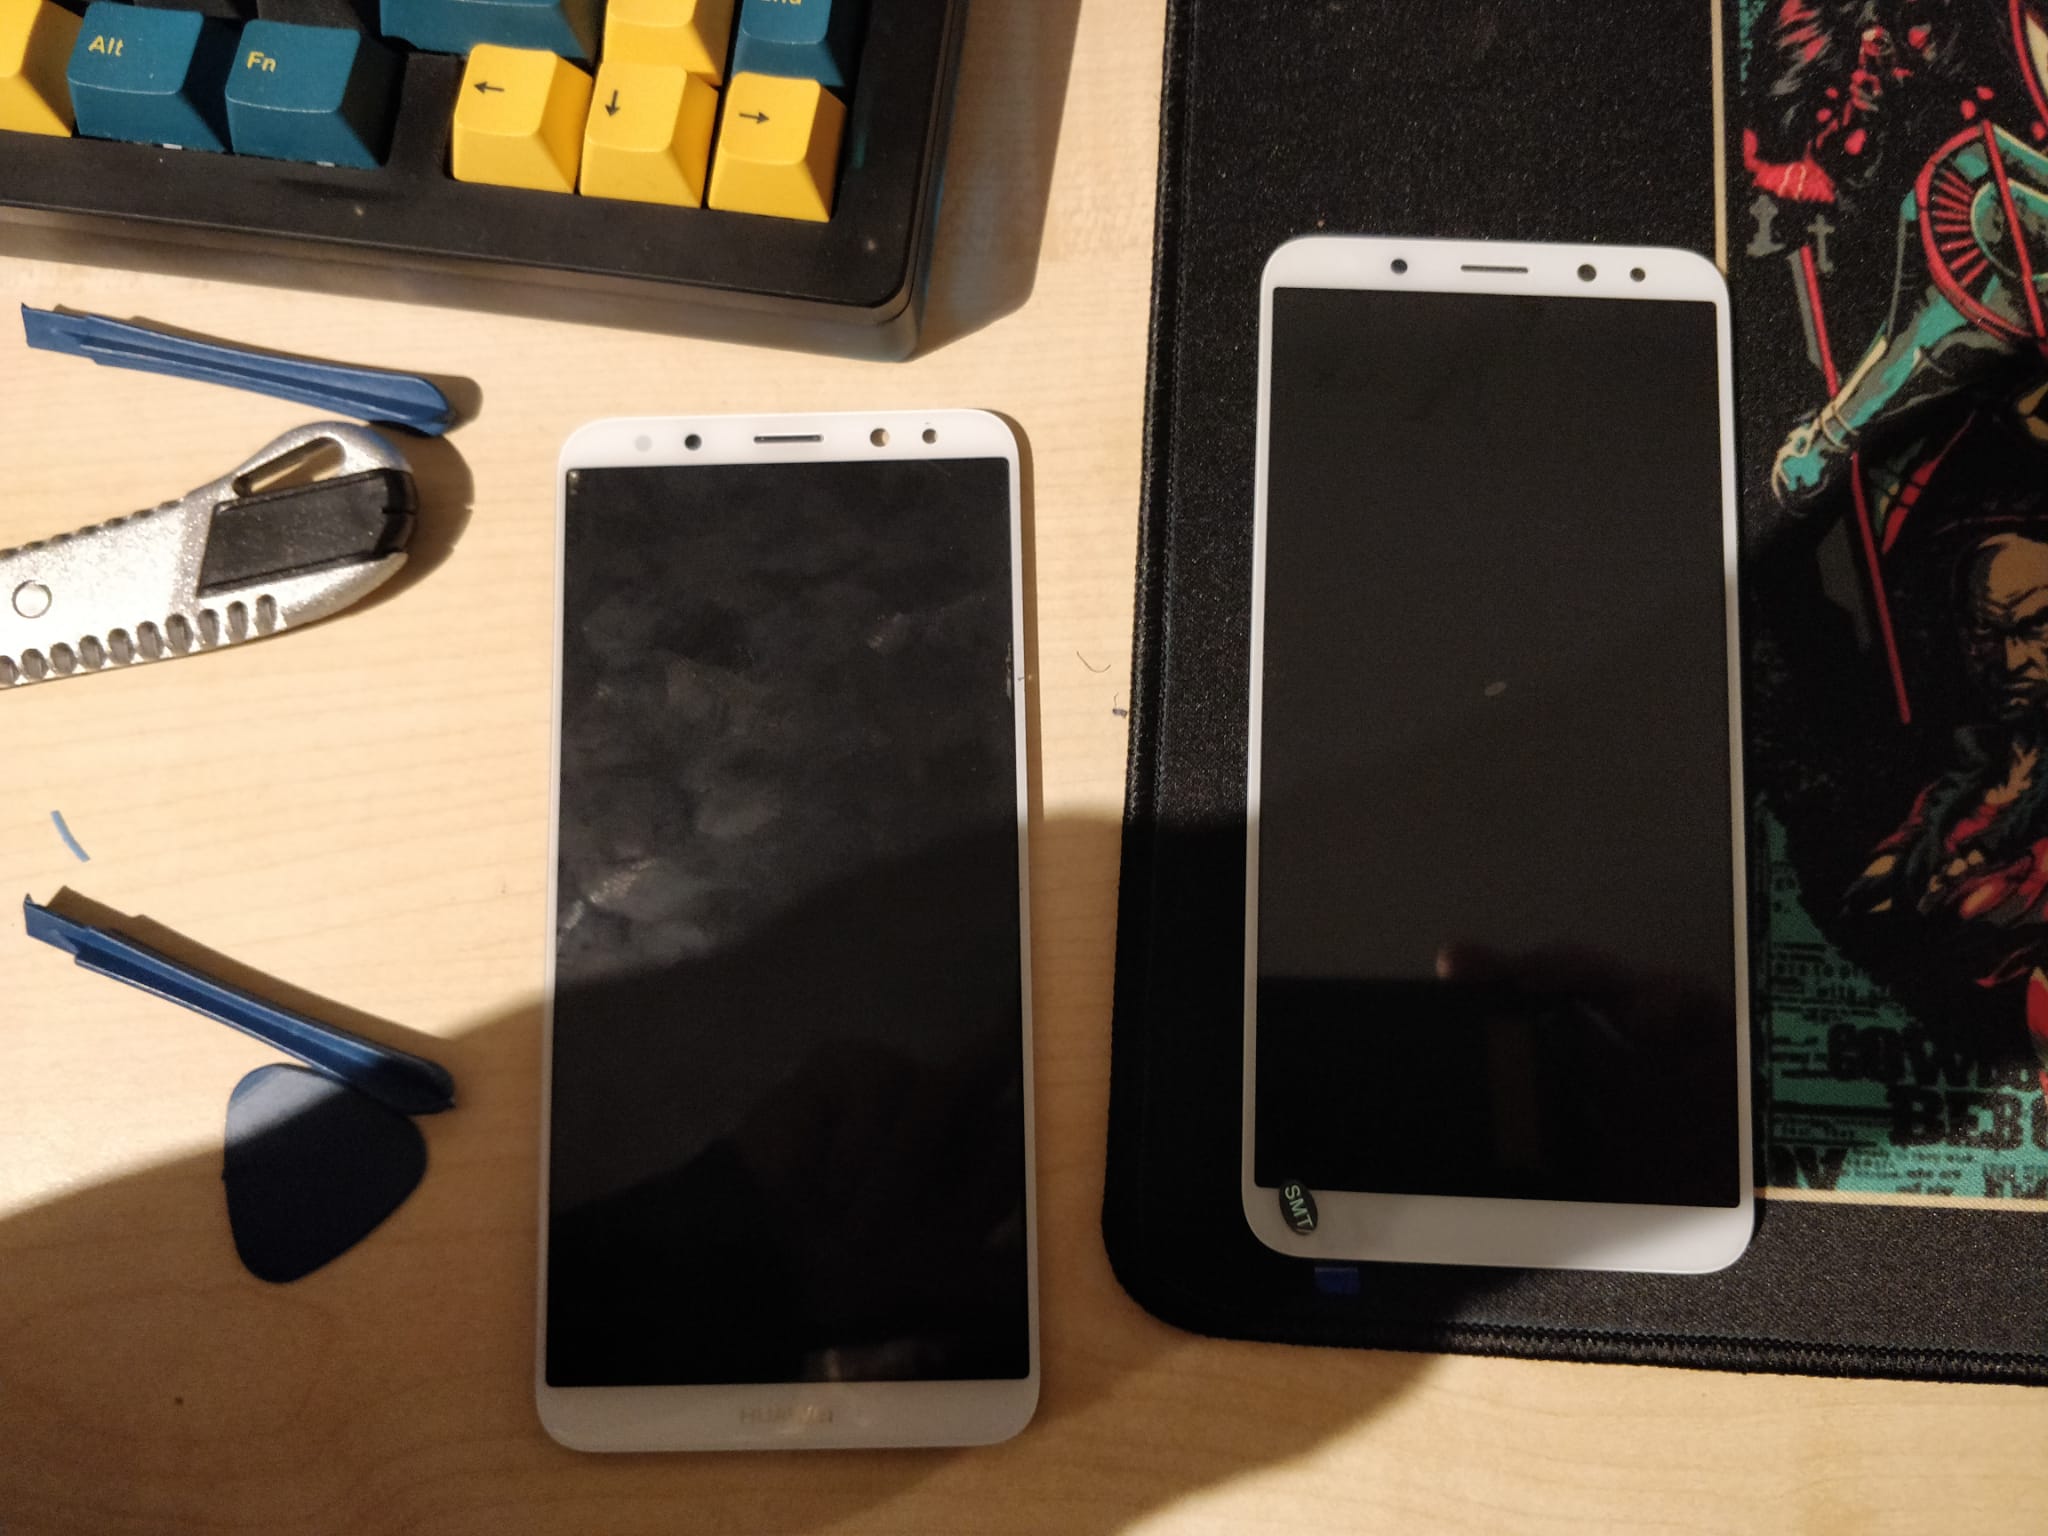
You can see the difference between the old screen (left) and the new one (right)
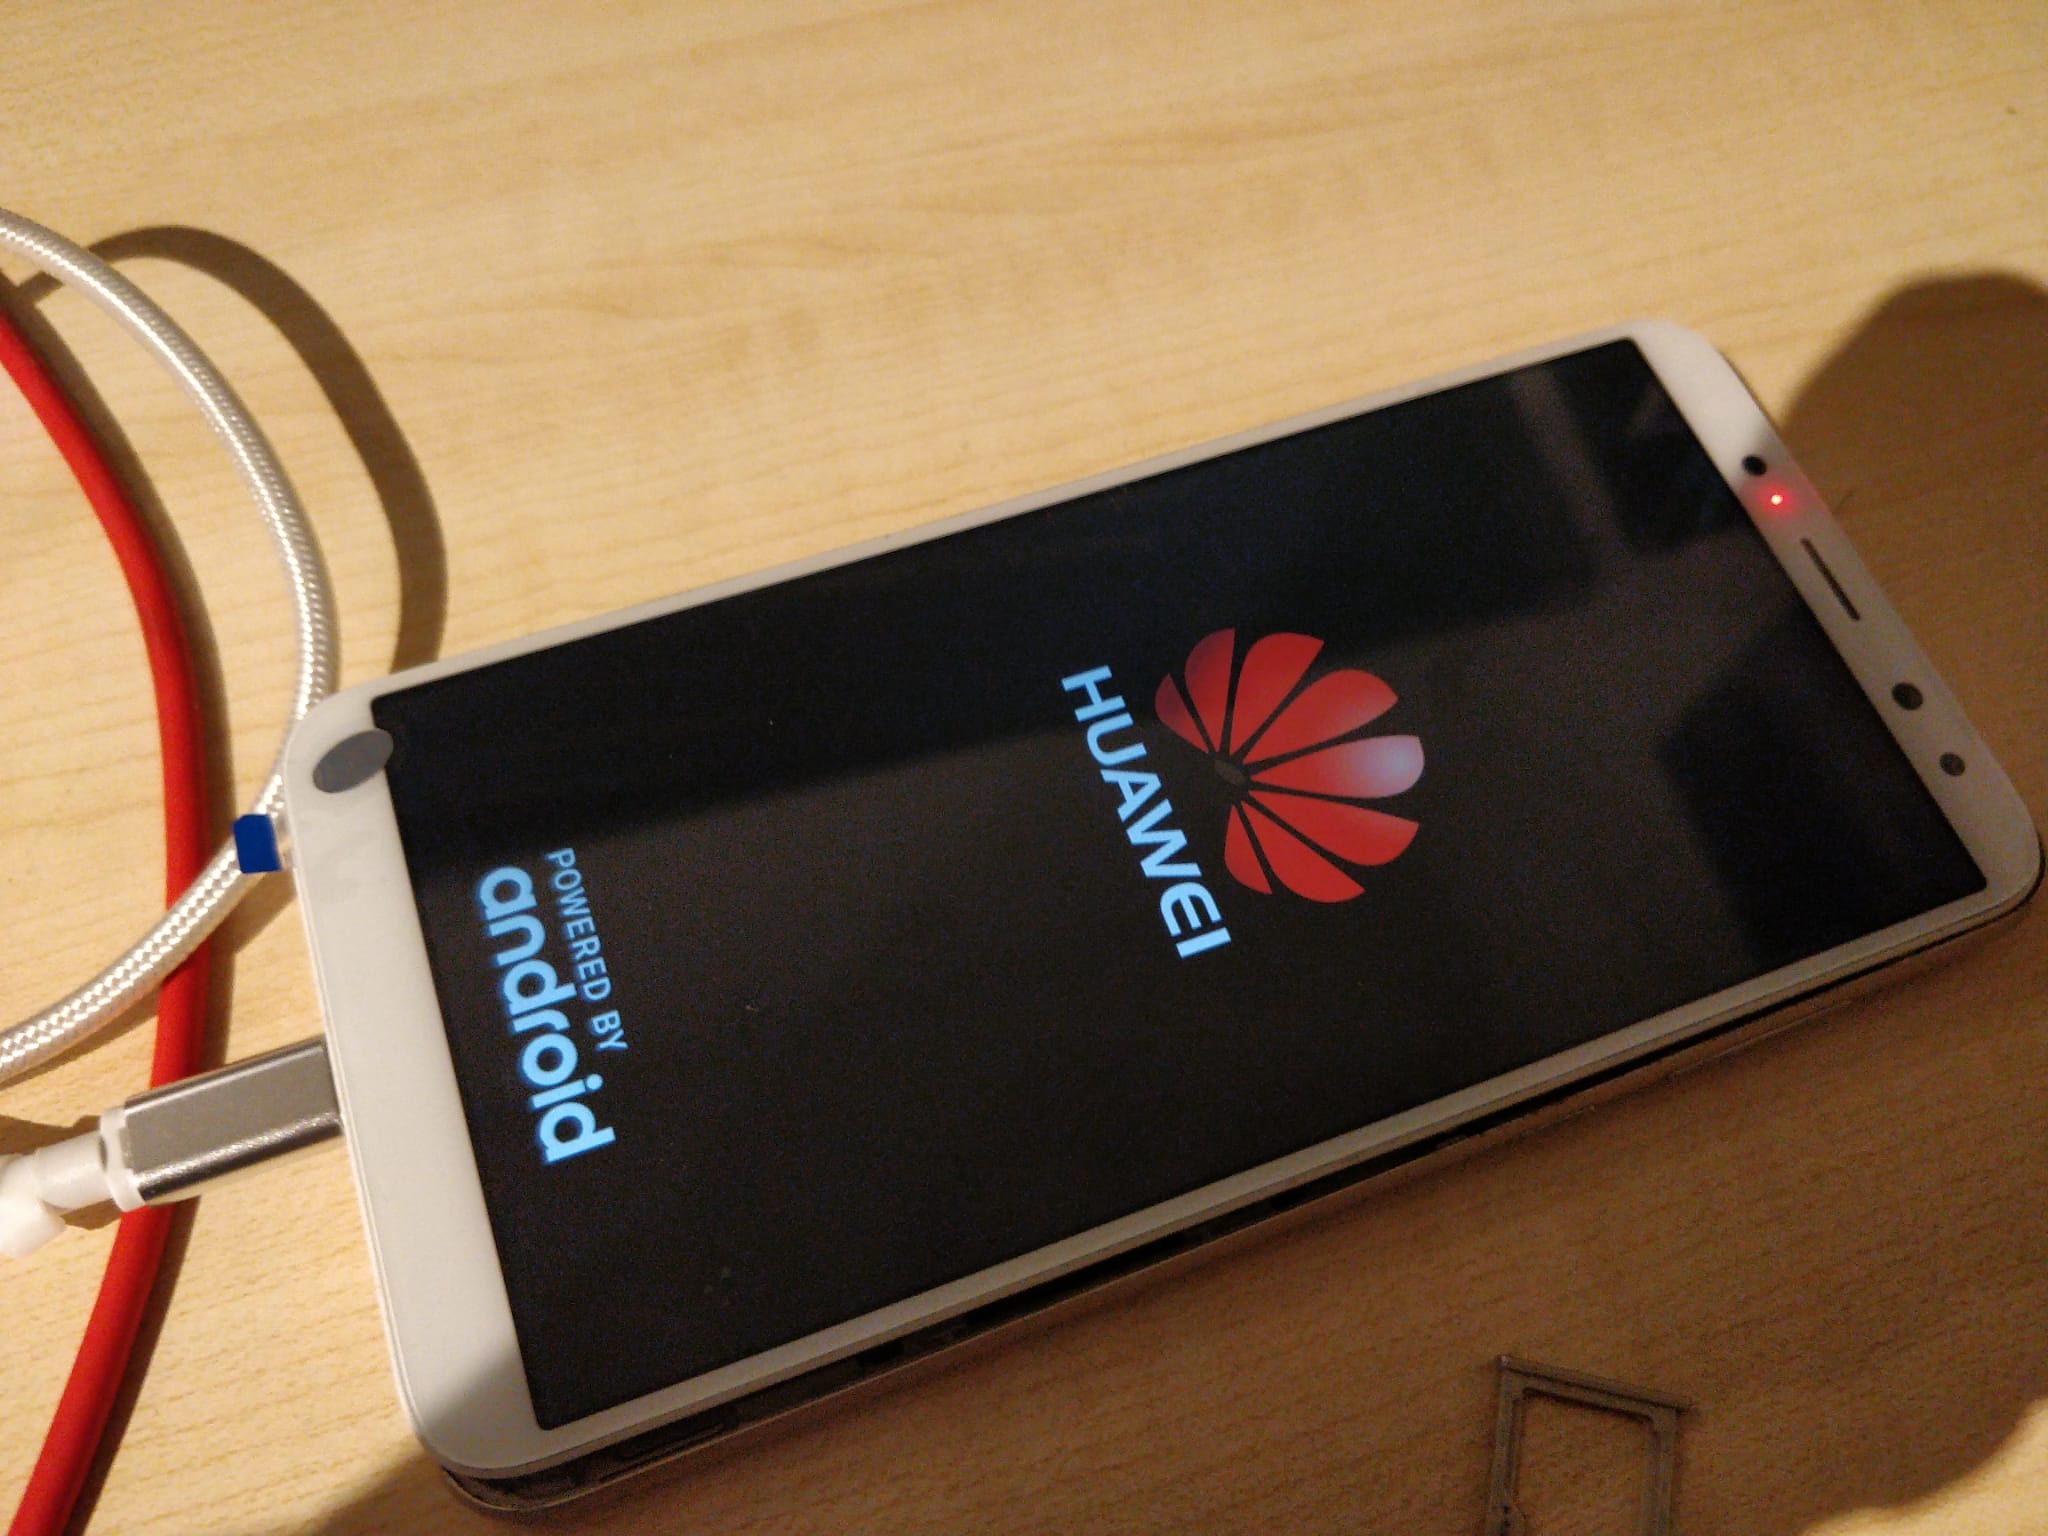
Putting on the new screen was fairly easy, guide the ribbon cable through the PCB, connect it and put the screen back. Before glueing, I fist checked to see if it worked:
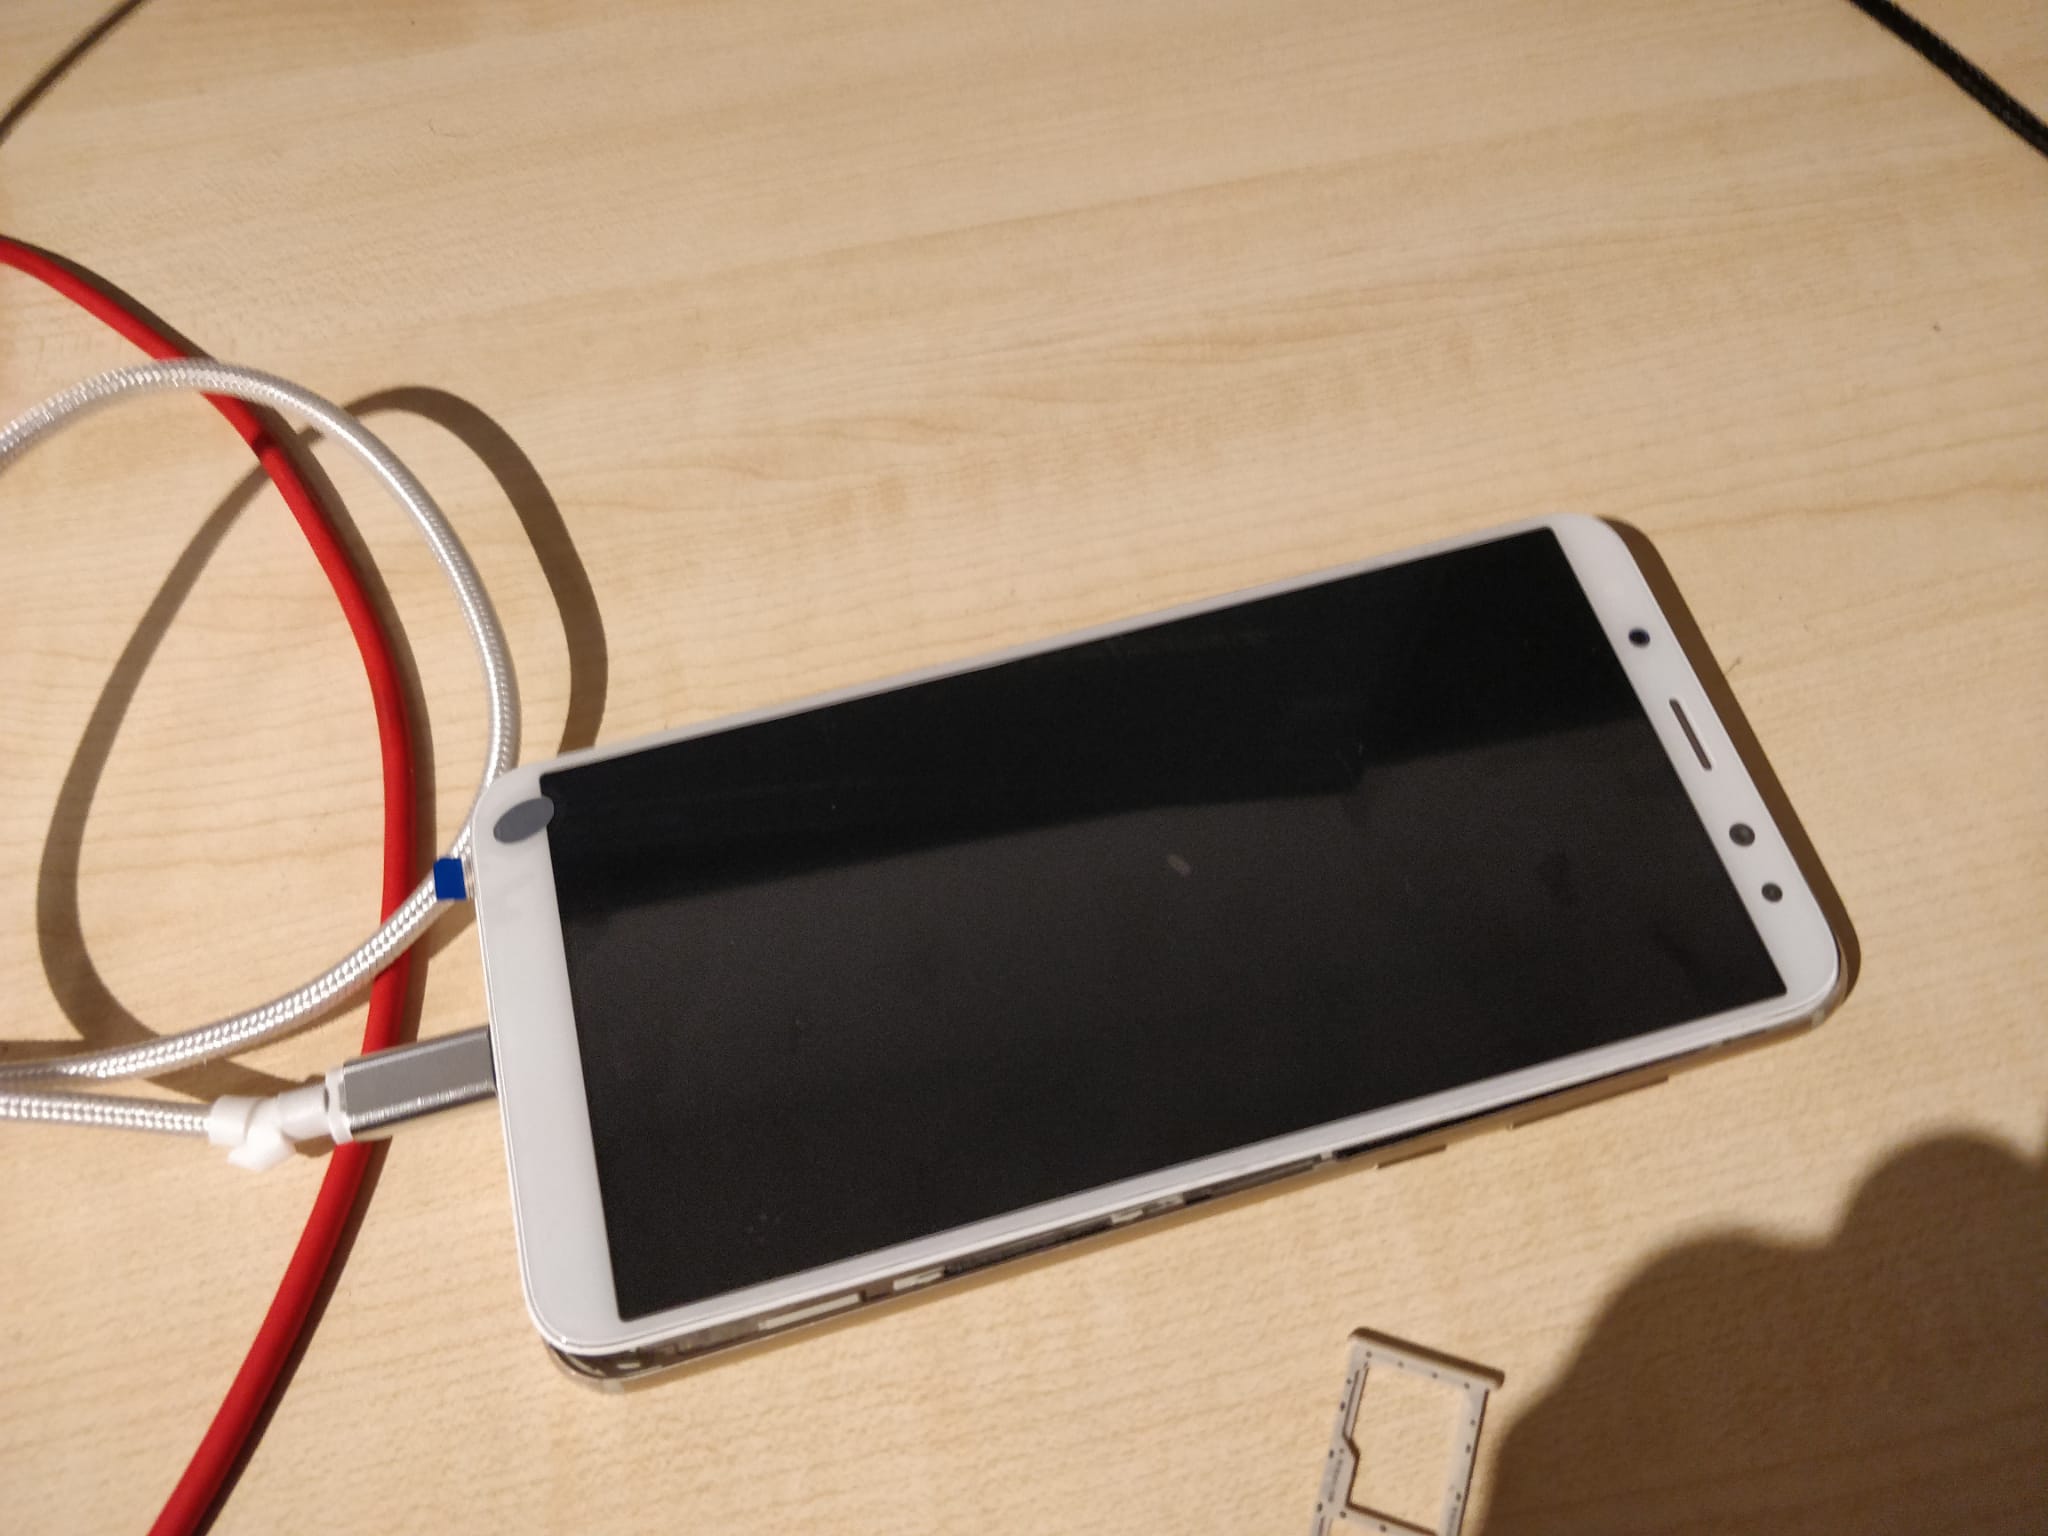
The phone was very empty, so it took a time to boot up, but after that the screen worked perfectly!
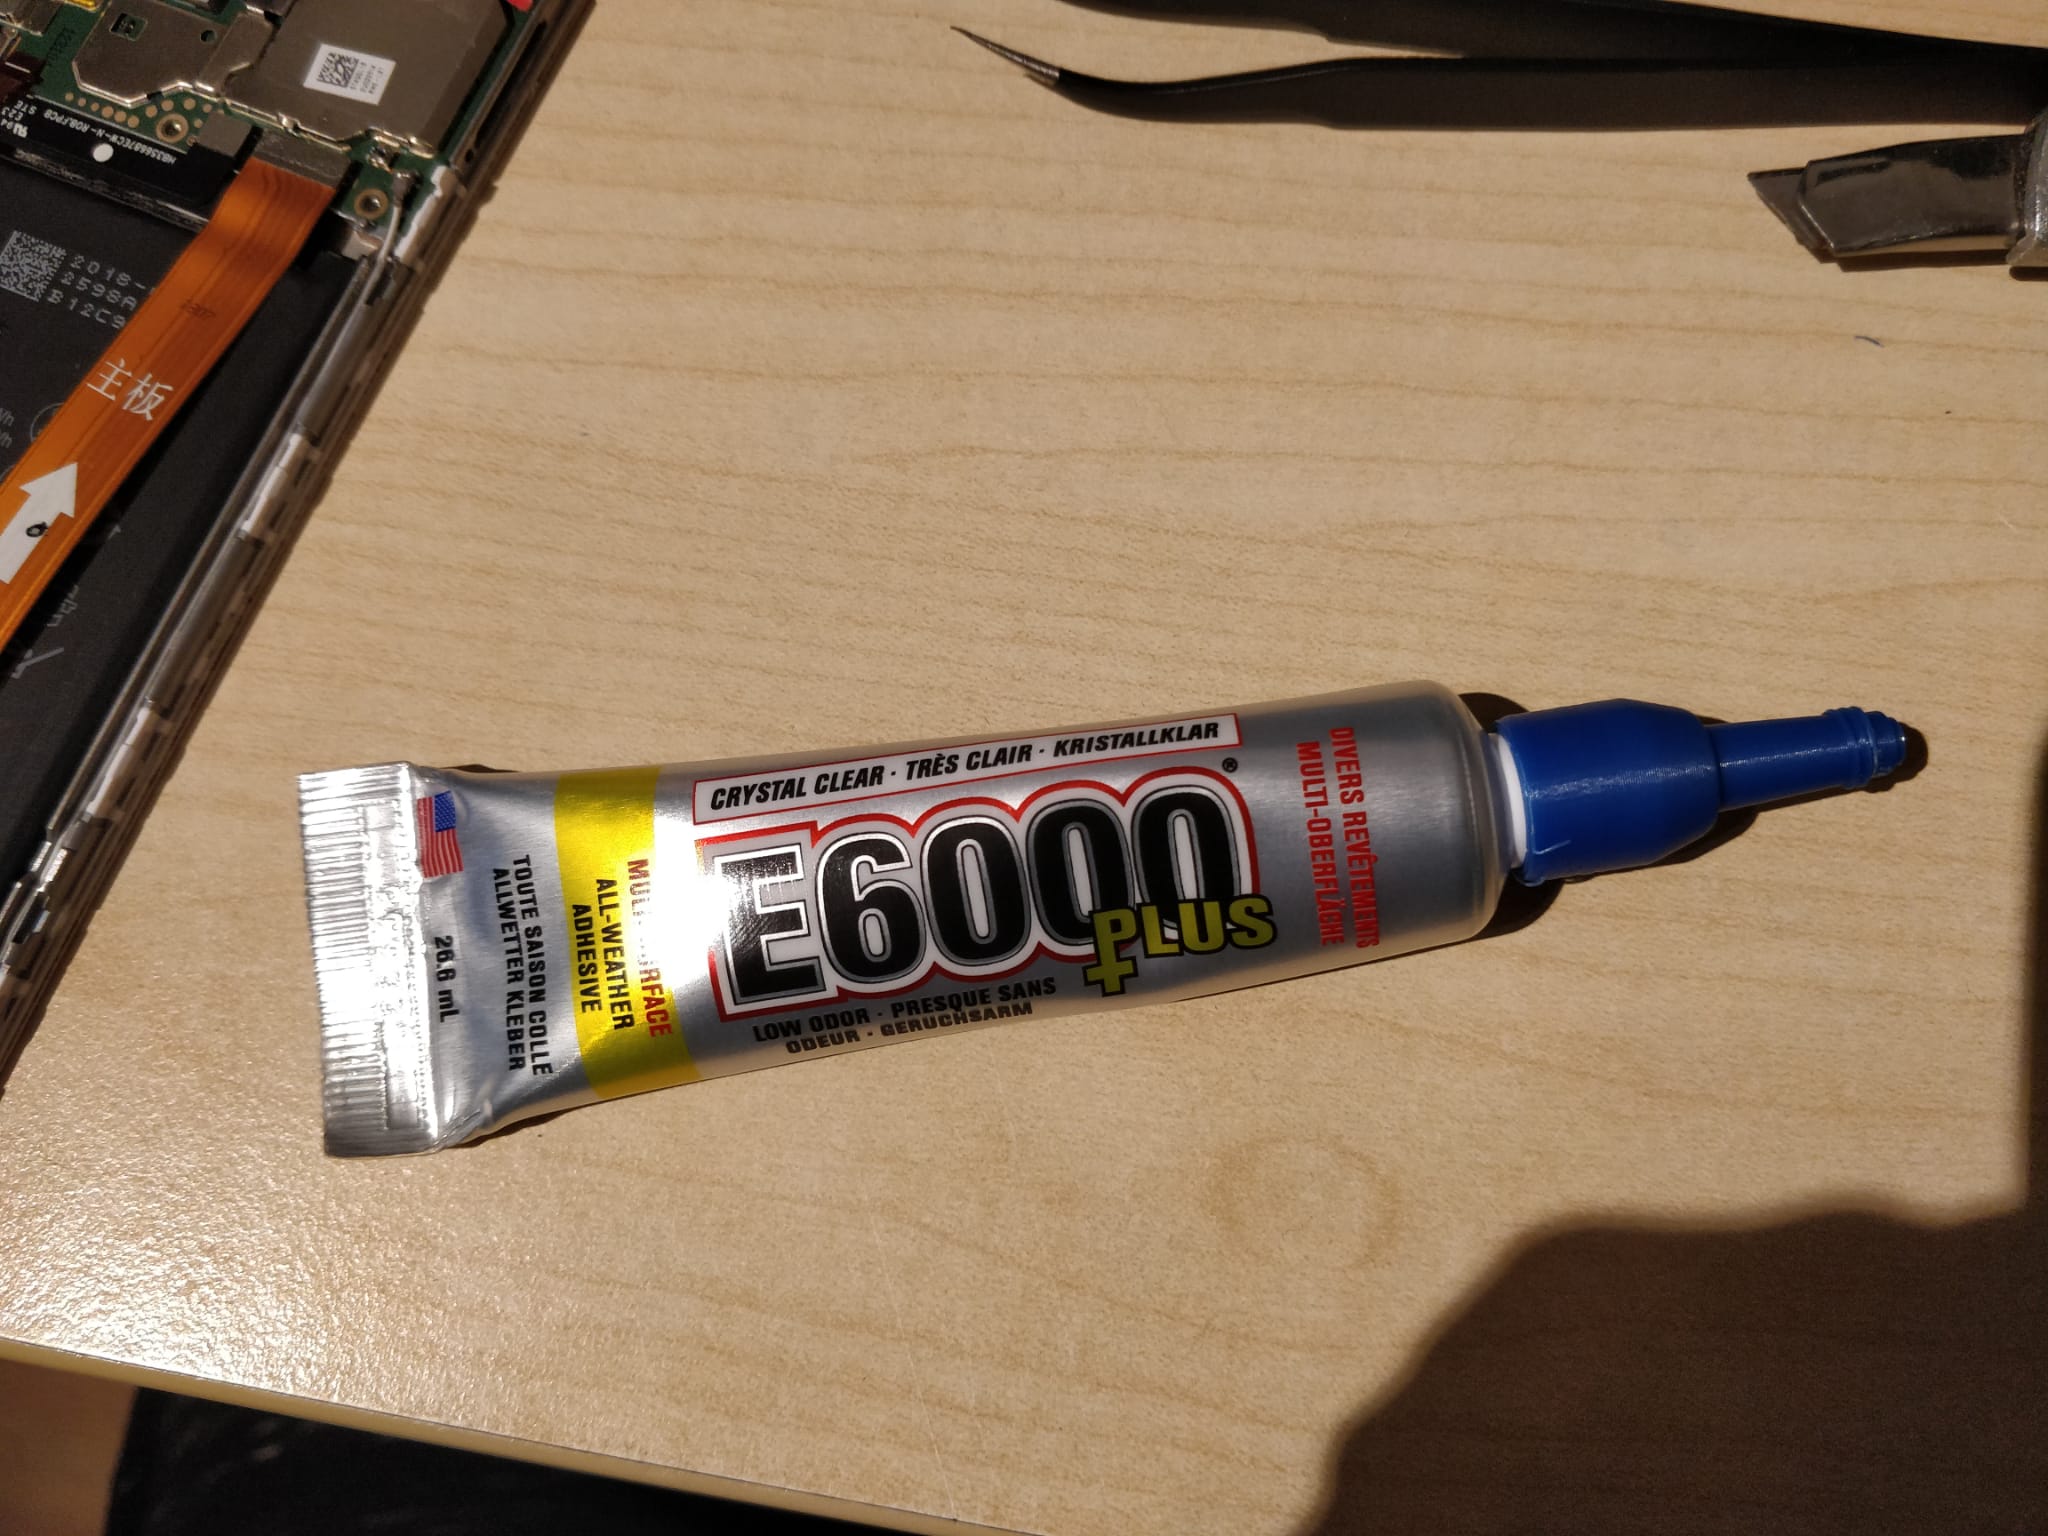
After checking if it worked, it was time to glue the new screen on. I used some E6000+ industrial glue. The tube didn't have a tip, so I 3d printed one
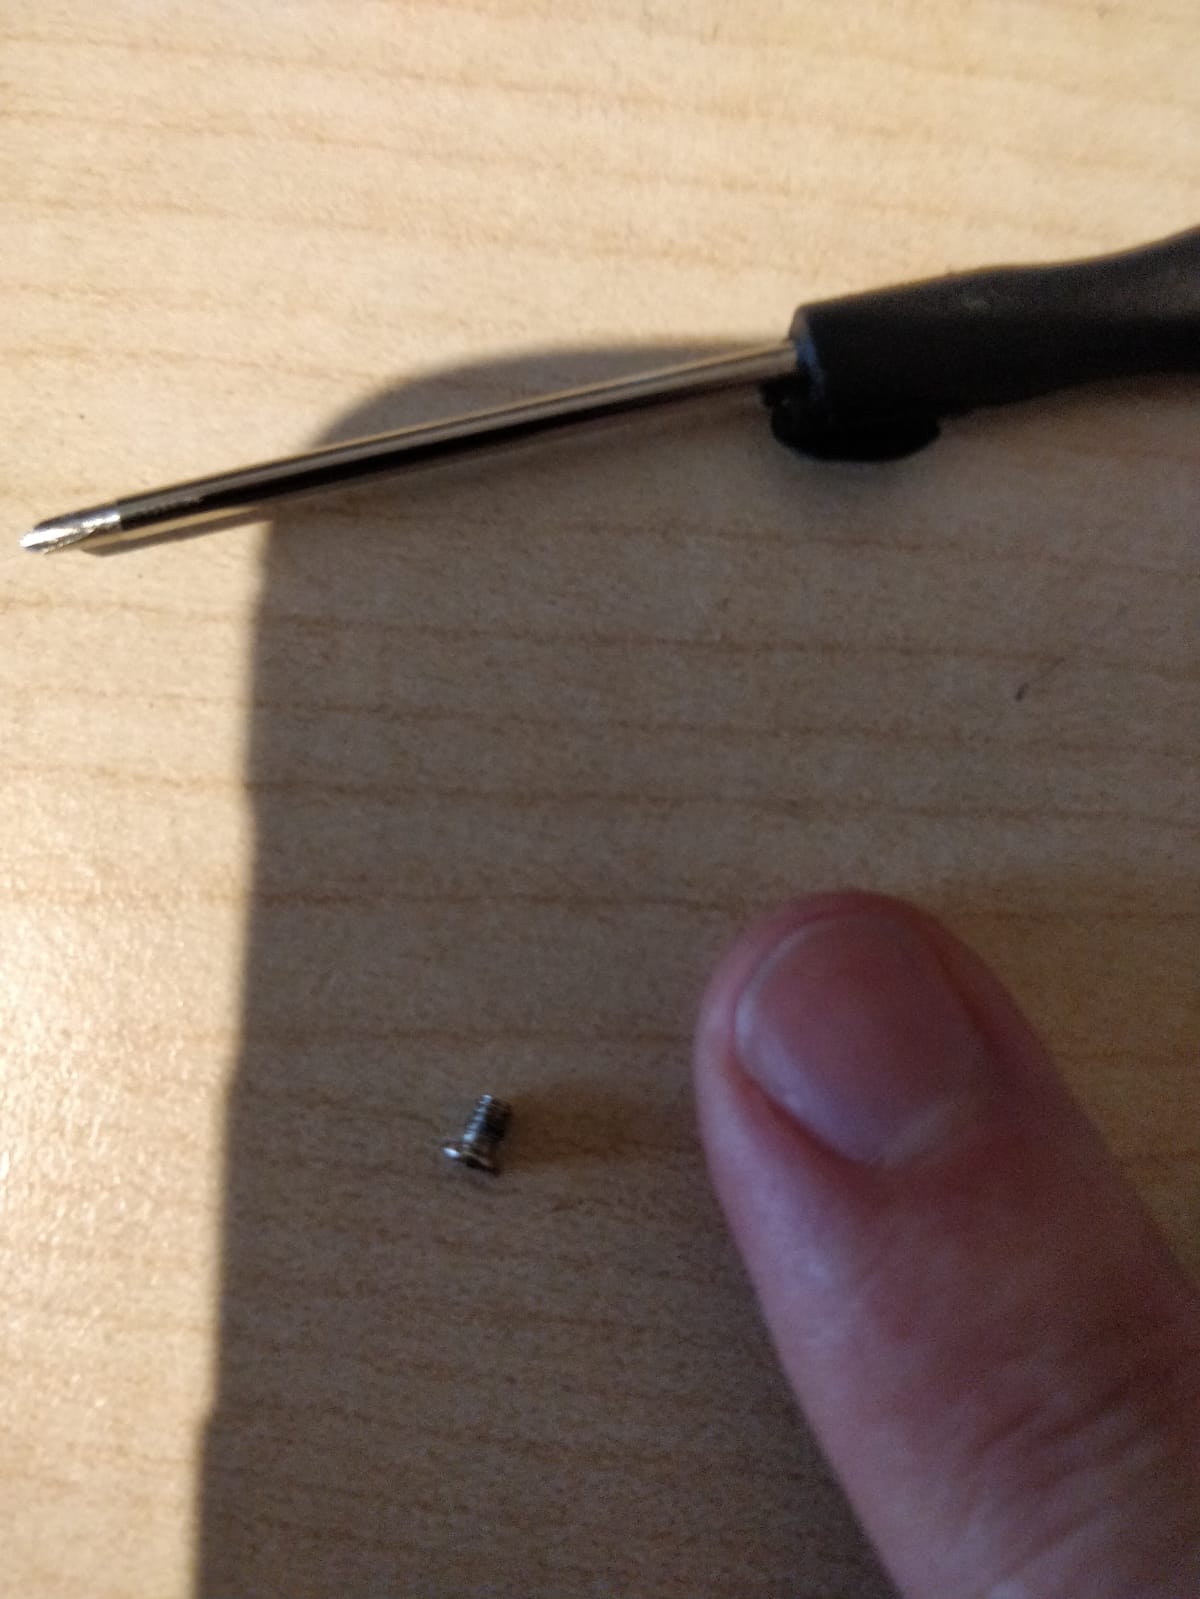
After applying the glue, I only had to put the bottom screws back in, near the charging port. The phone was missing the two bottom screws, so I dug around in my screw basket™ and found this tiny little screw that fit more or less:
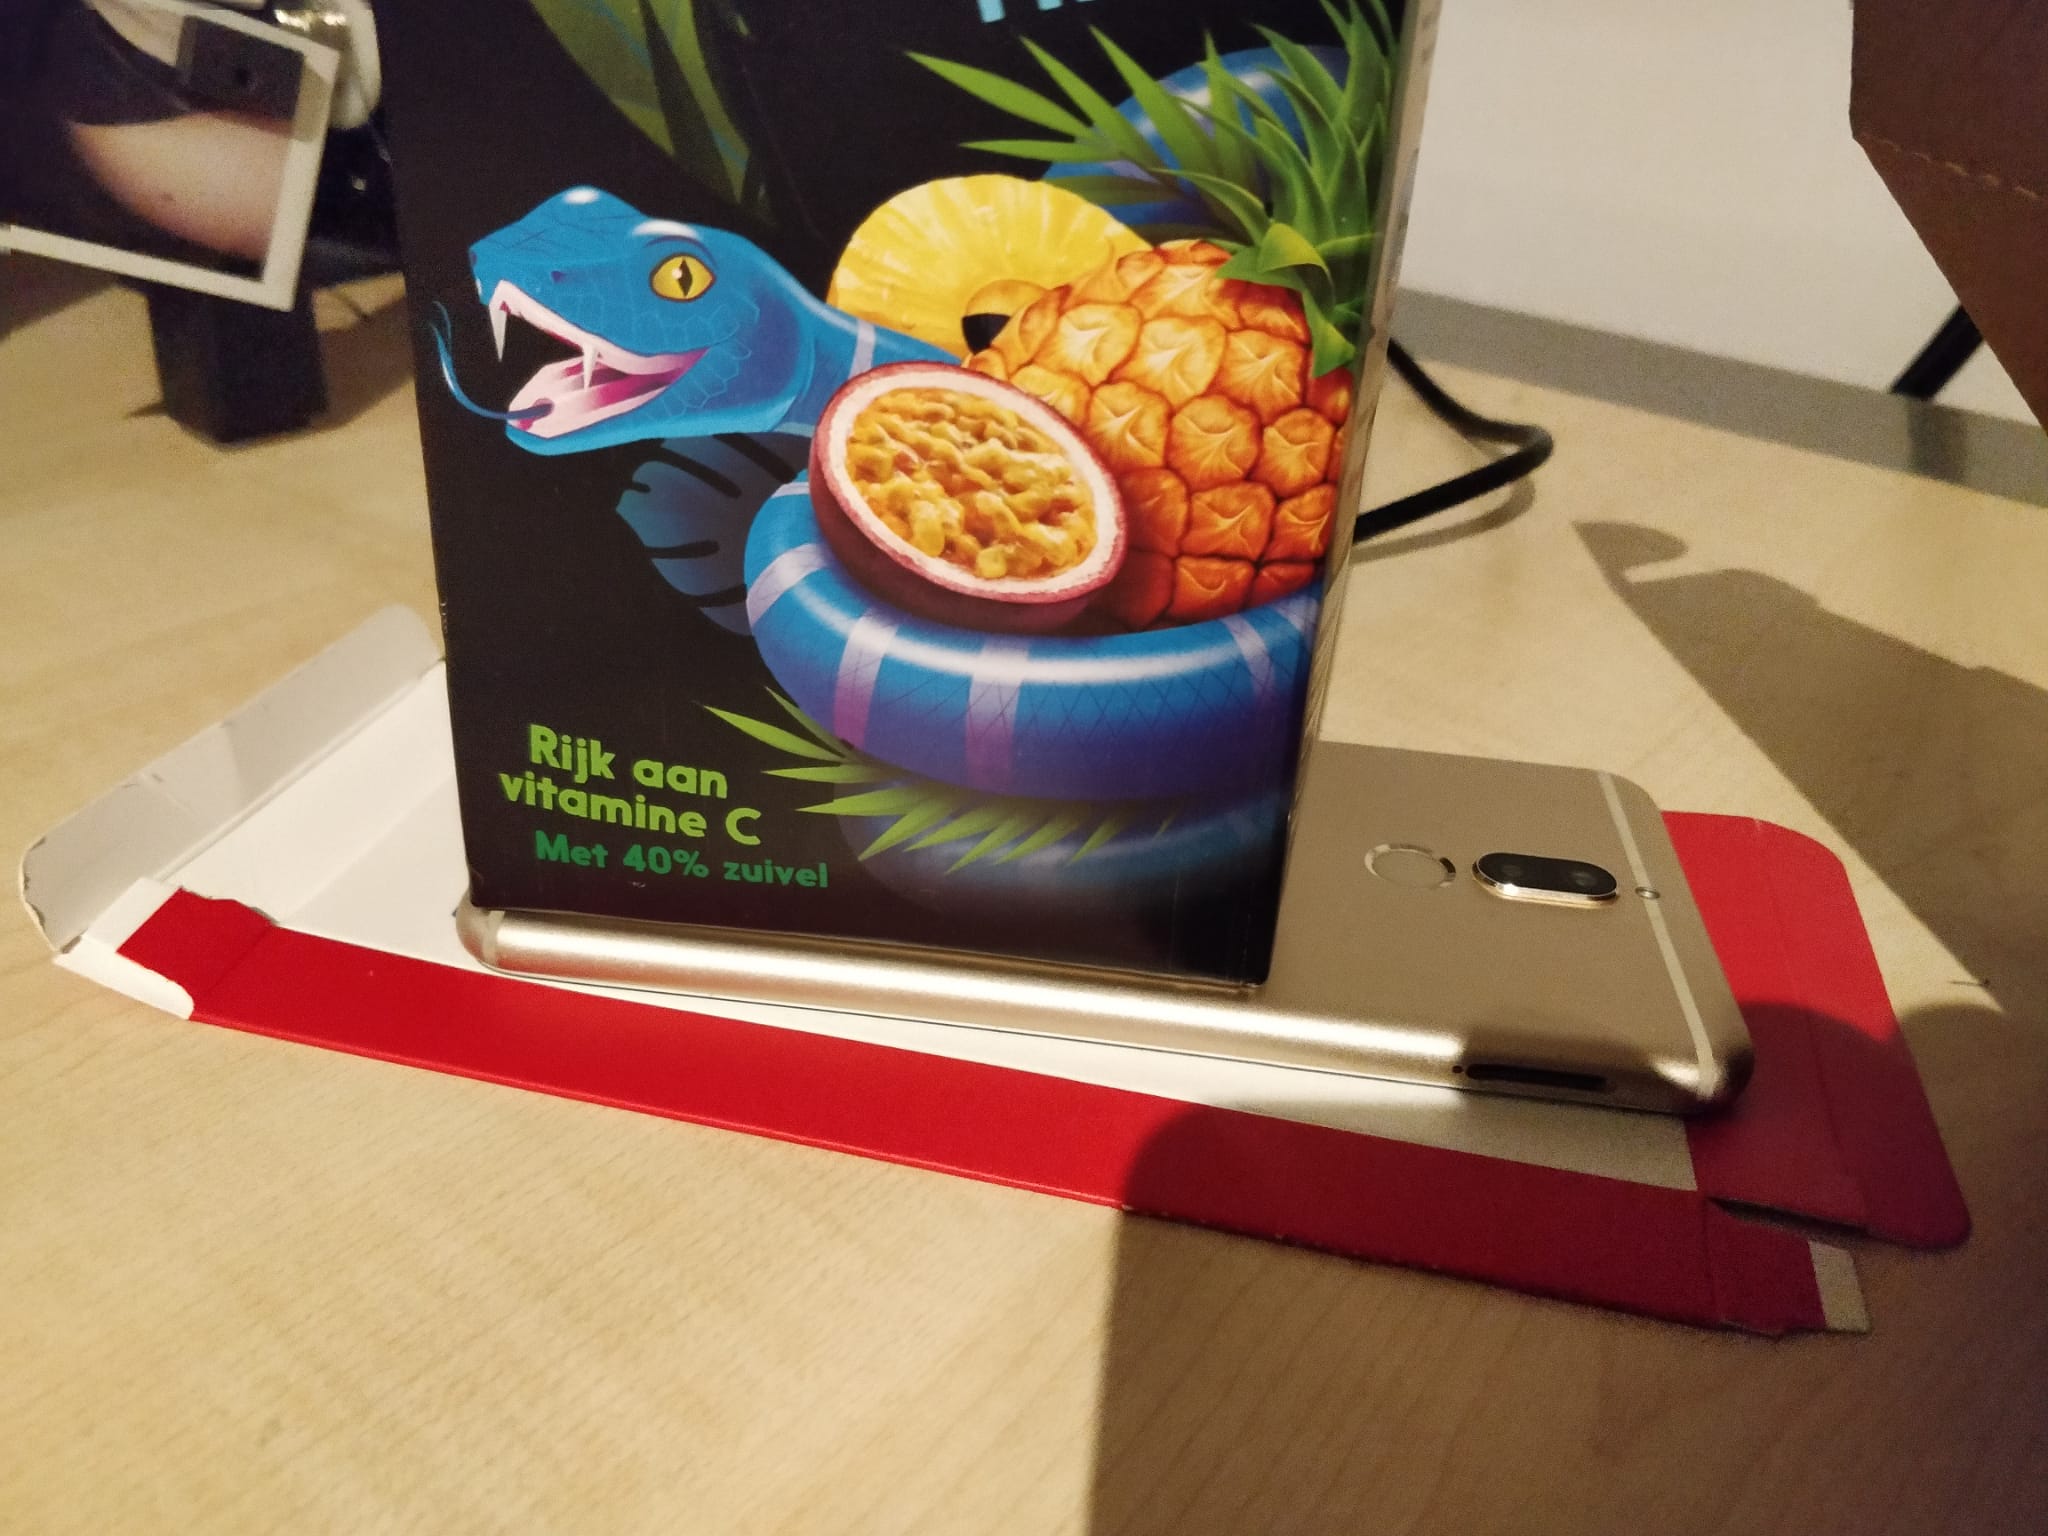
To help it dry, I used the very professional clamping technique of placing something heavy on top of it
I left it to dry overnight, and when I came back the next day, the result was pretty good. And so, it was time to remove the protective film from the screen.
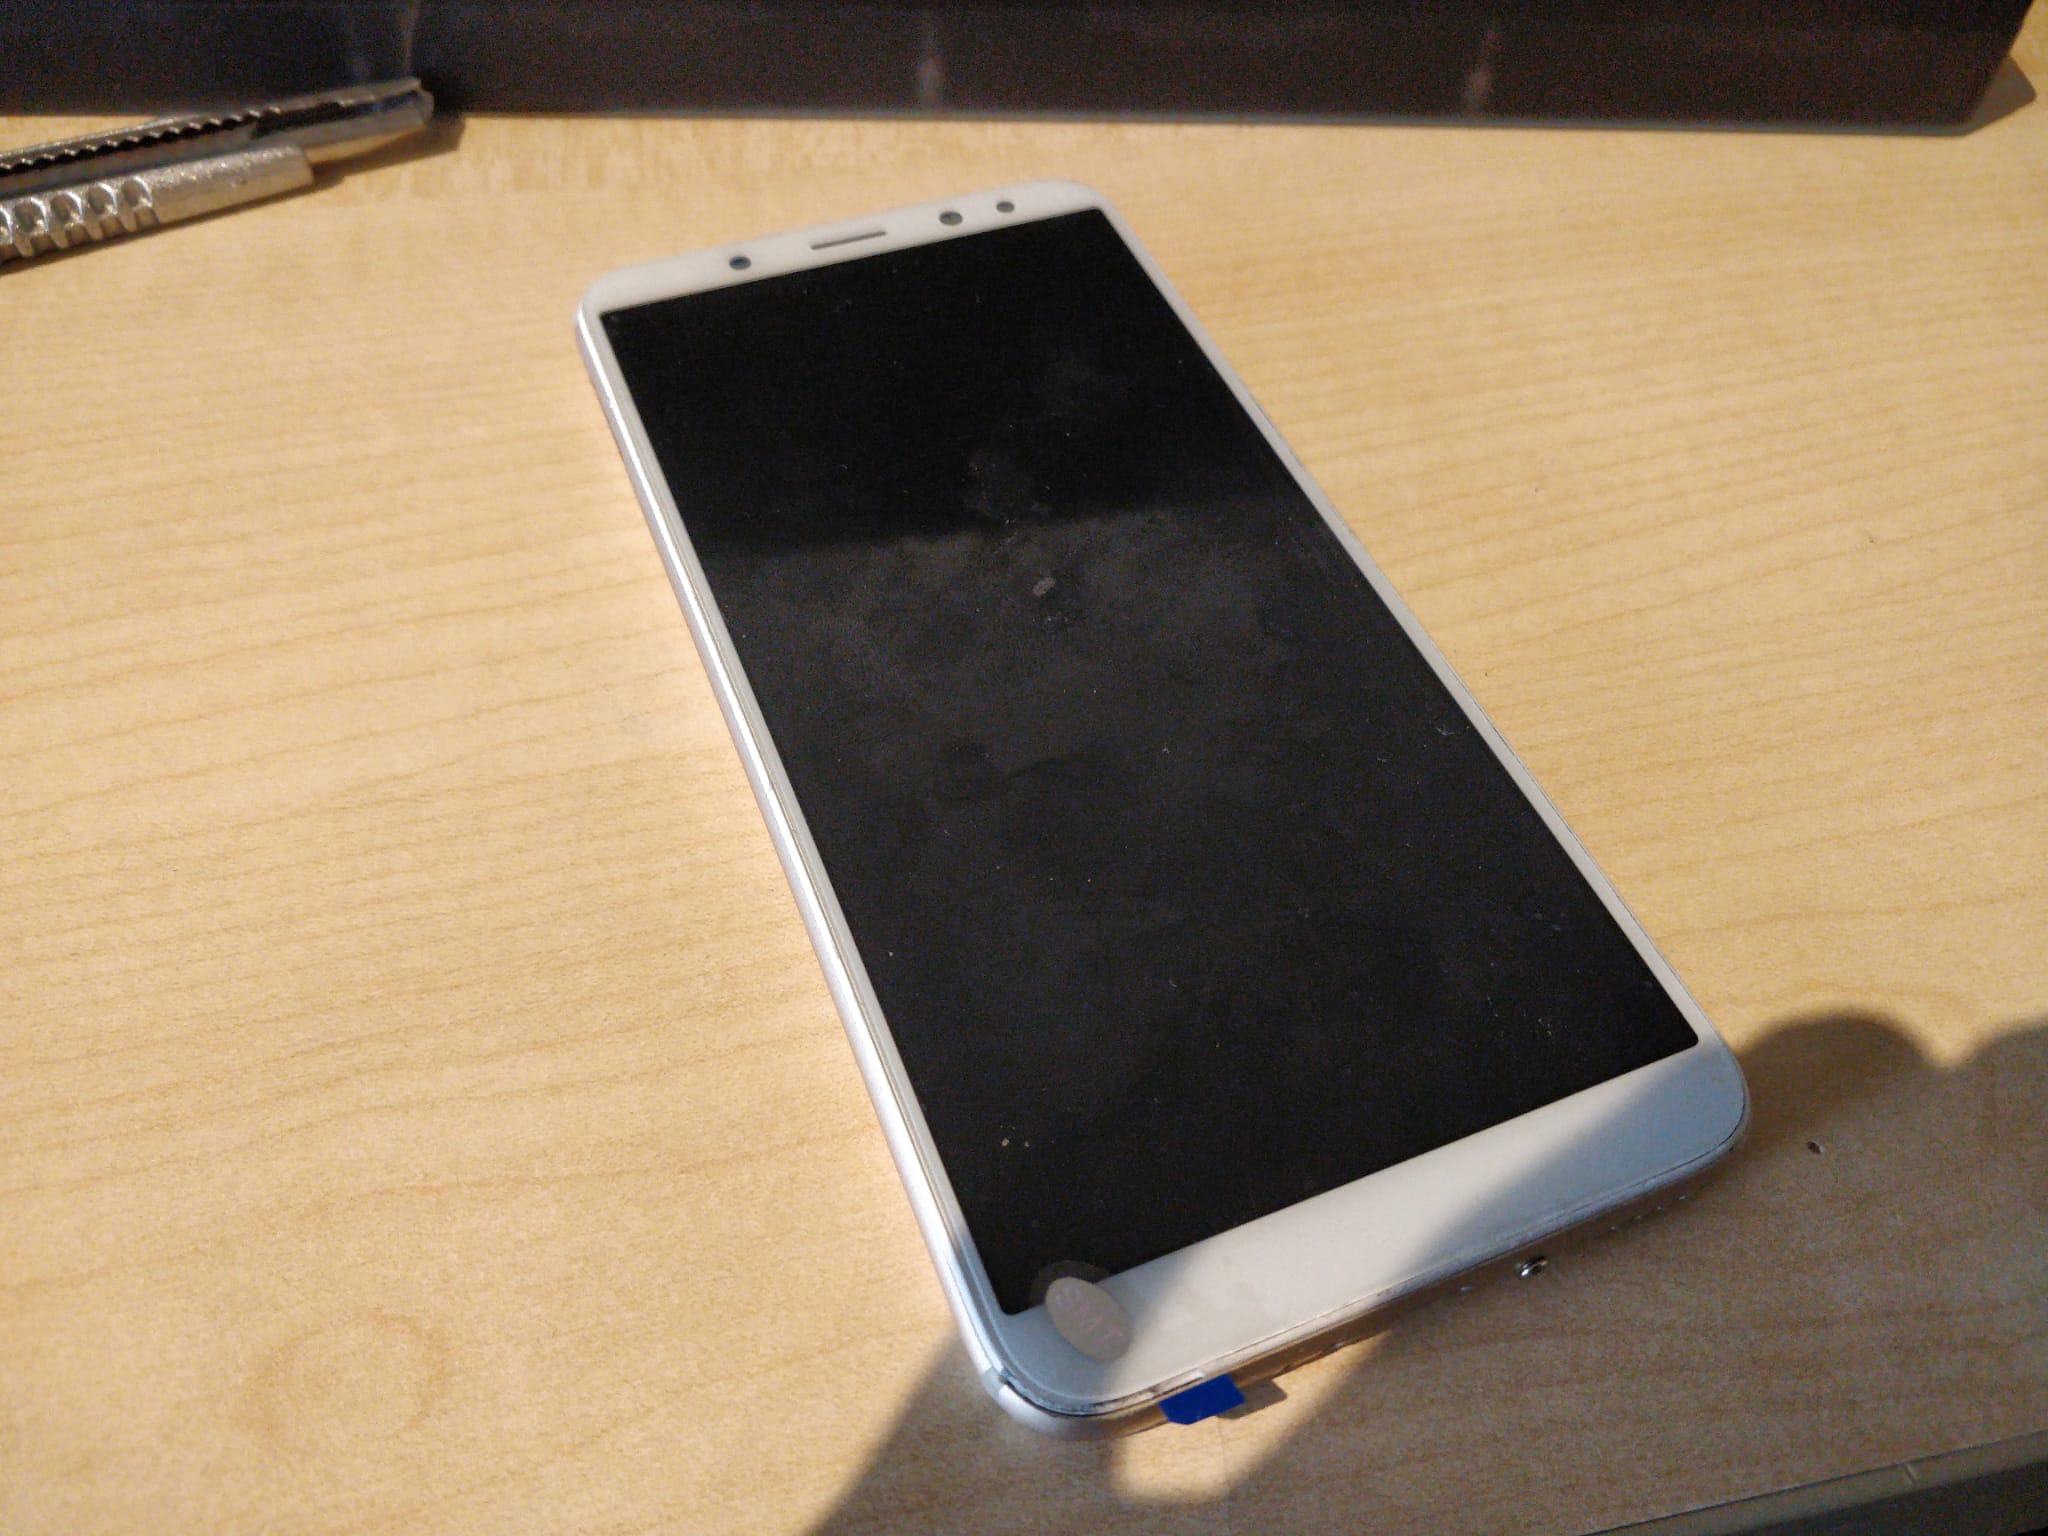
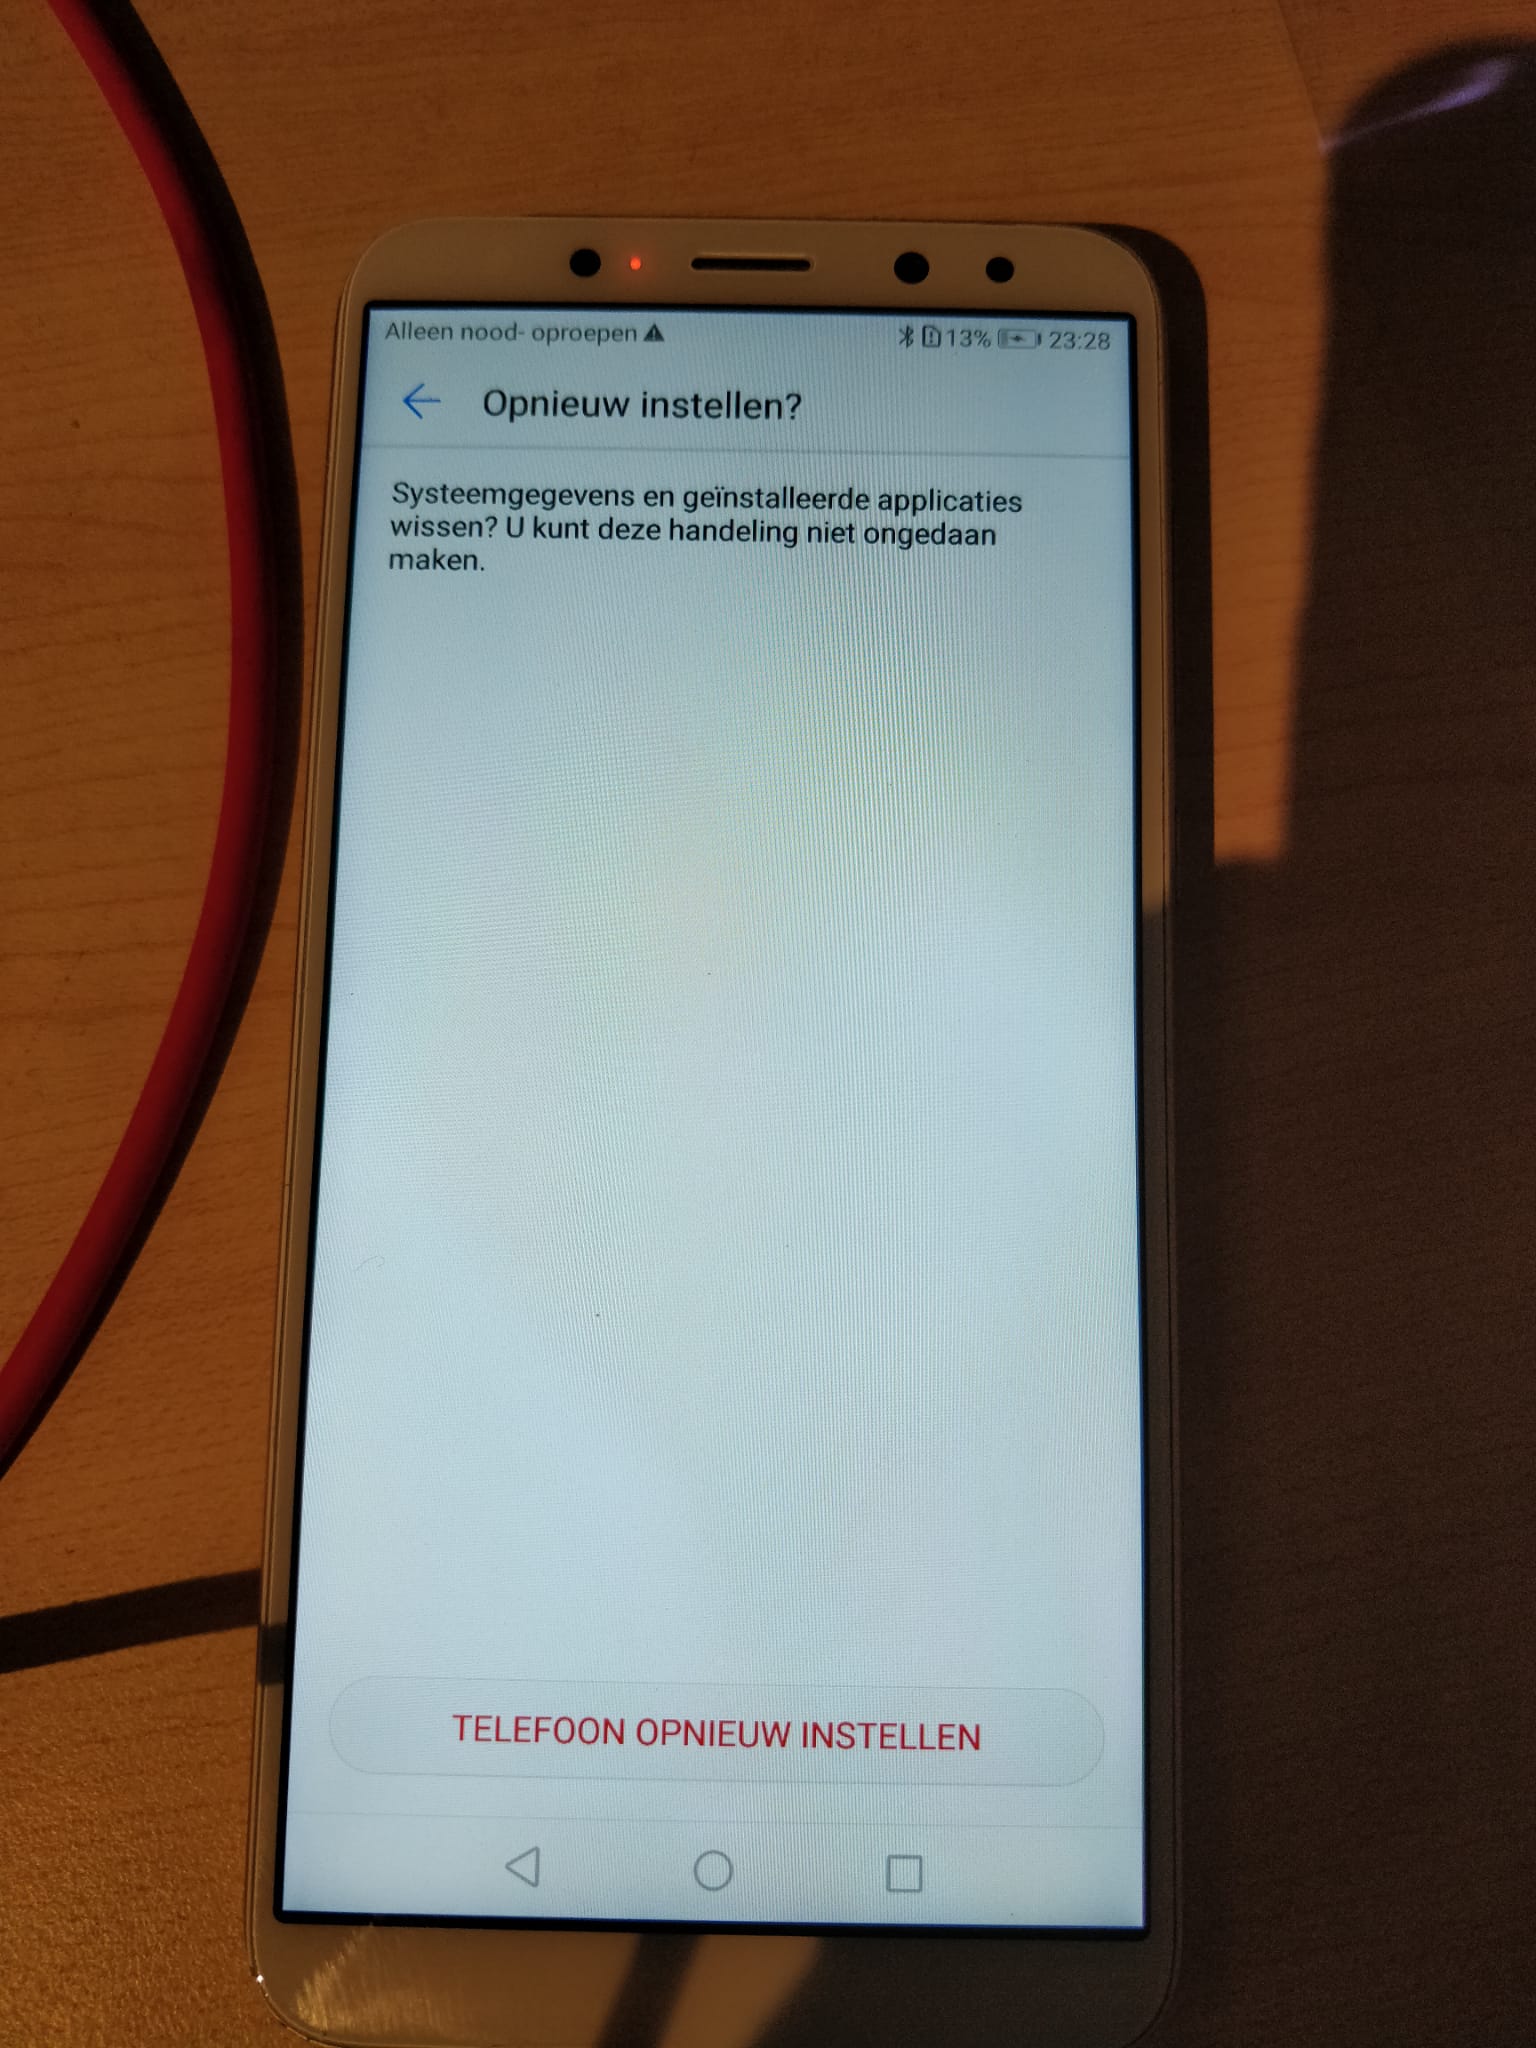
A quick little reset later, and the phone was as good as new!