


When building a server rack, I needed a simple switch, and found a Ziggo Connect box in my attic, so I wanted to use that. However, I thought it was a little too big and wanted to flatten it by removing the case. Here's how to open it and where all the screws are.
There is one screw in the back, underneath the sticker showing all the ports:
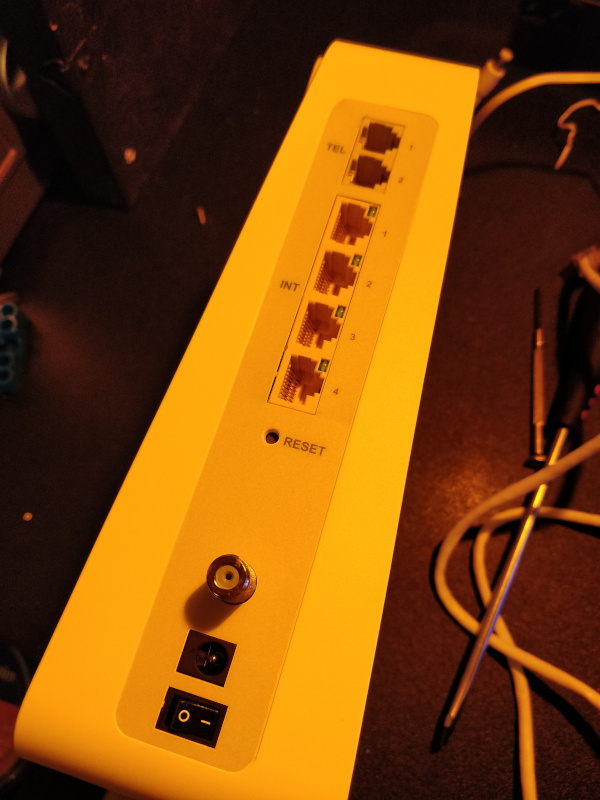
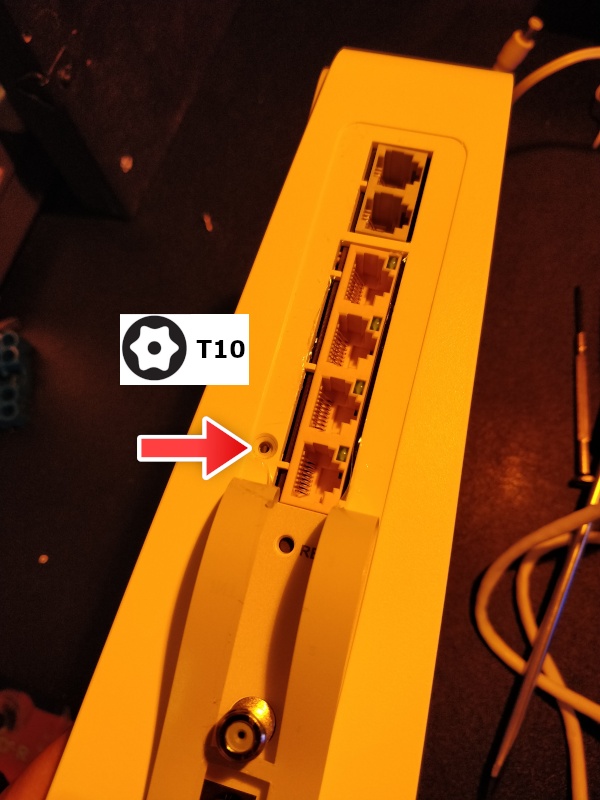
When you remove the sticker, there is one screw that needs to be undone. It's a security torx 10 screw. You can see it on the picture.
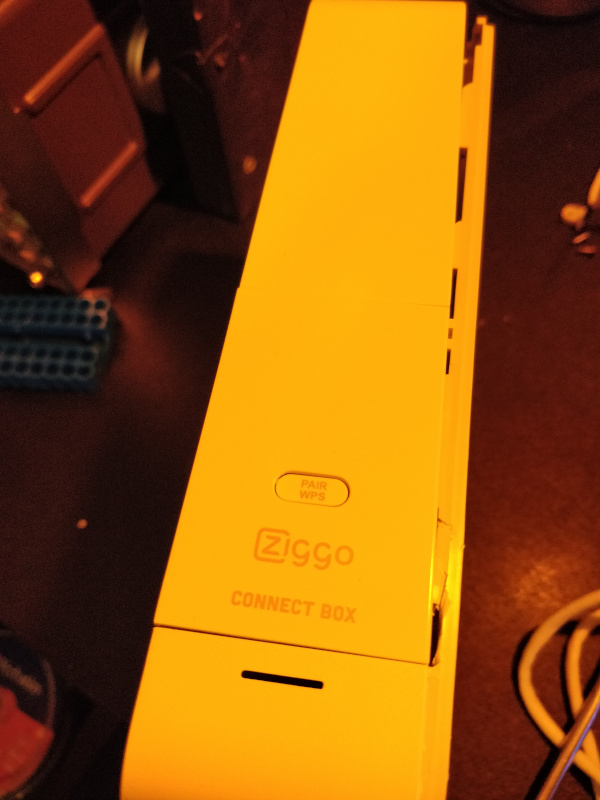
Then, after having taken those out, there are two screws remaining on the front. They are behind a cover surrounding the WLAN connect button
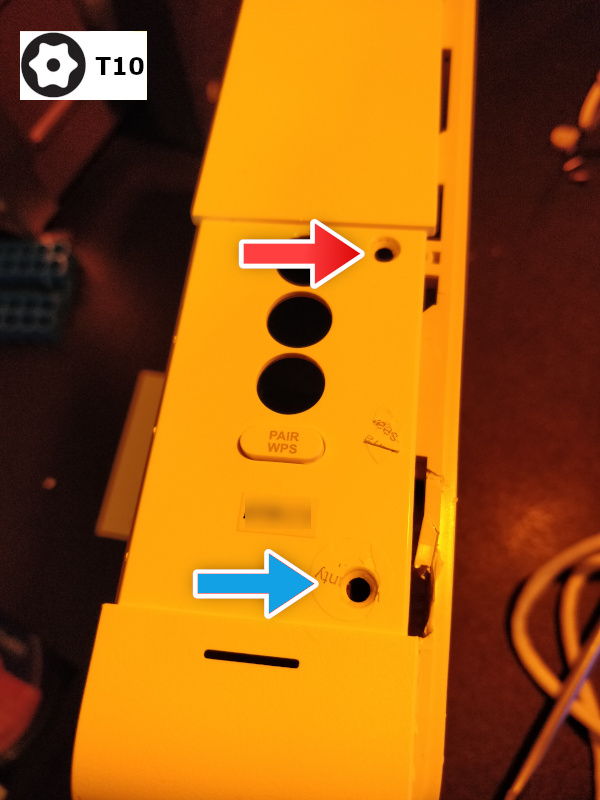
After taking the cover off (you can use a flathead screwdriver or a spudger to lift it open), there are two screws to remove. Be careful tho, the bottom screw (marked with blue) is behind a warranty seal so if you take thet out your warranty is void. In my case this router will be used as a simple wired switch, so I don't need any warranty.
After removing all the screws, you can open the left side cover by lifting it from the bottom. This exposes the Connect box itseld:
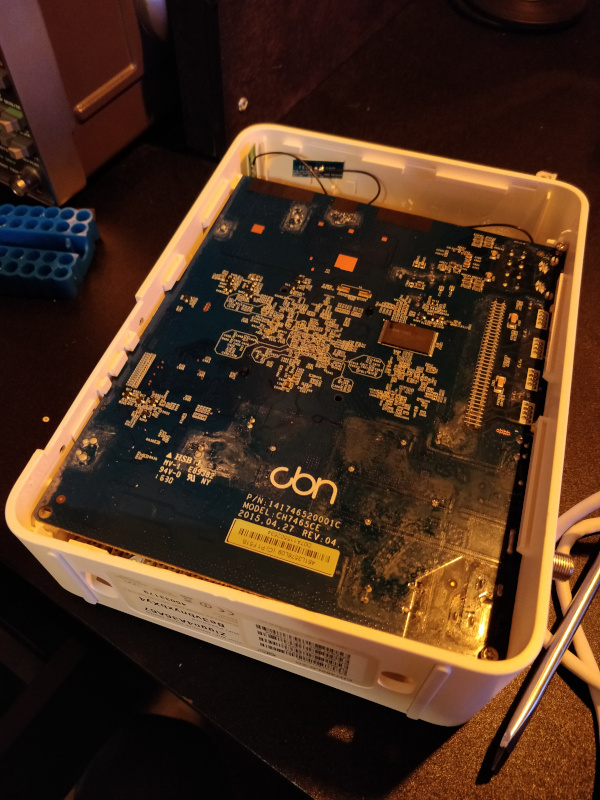
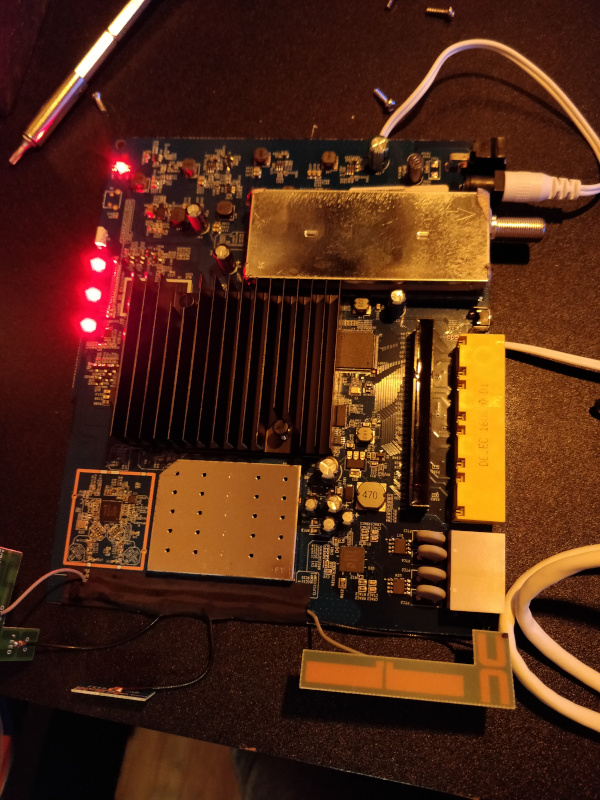
To get the router out of the casing, you need to remove three screws in the corners. They are marked in the picture below:

After removing the screws, you can lift the router out of the casing, starting with the side opposite to the ports, and sliding it out. Be careful to first get all the feed boards out of their casings, and slide it out as to not damage the RF connector.
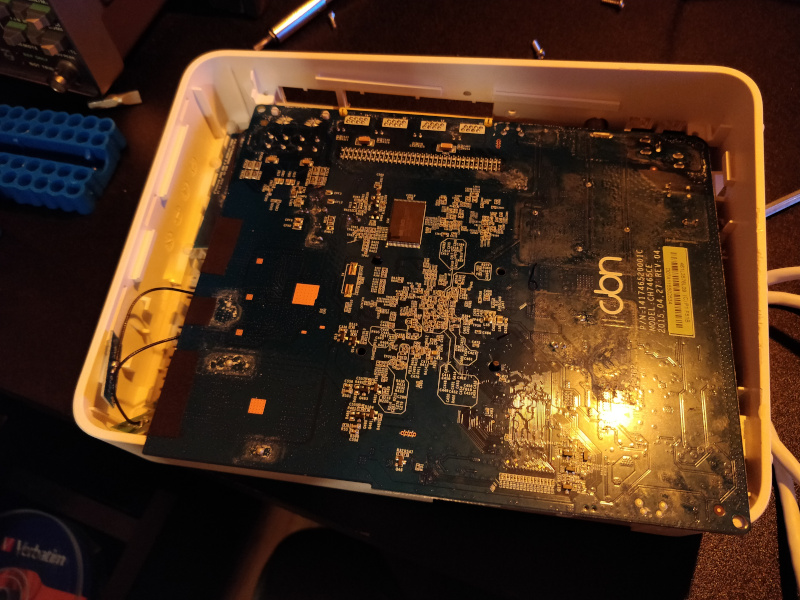
After taking it out, we can now take a look at the router itself
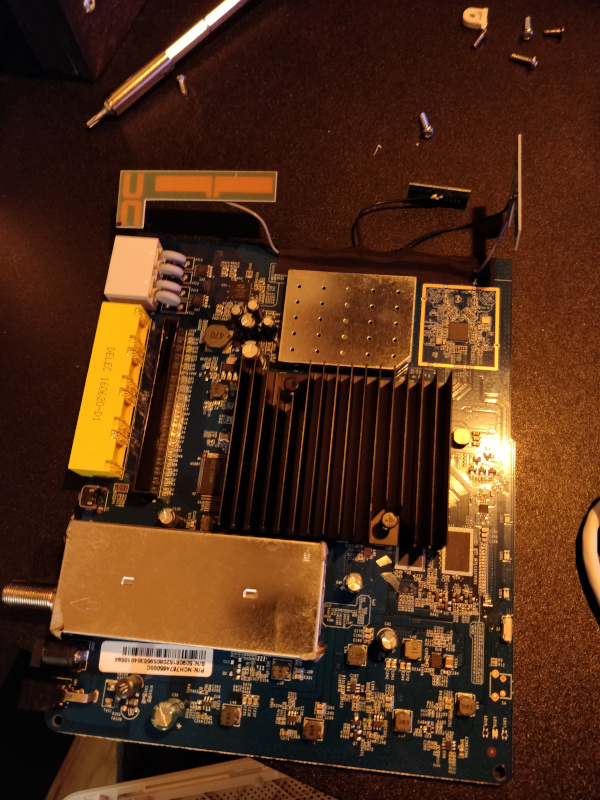
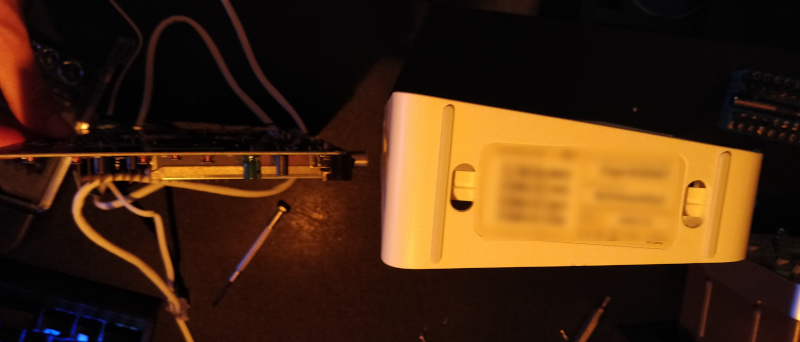
You can see the difference in size when comparing just the router with the casing:
And to check if it still works, here is it powered on:
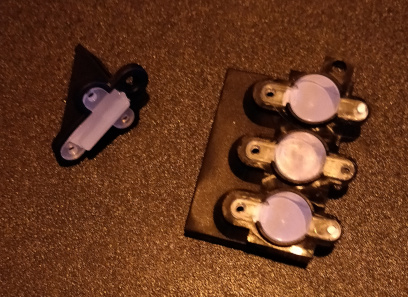
If you don't want to use the casing anymore, don't forget to remove the pieces of plastic that diffuse the lights, you could use them in a smaller encasing to make the LEDS less bright:
And that's it! Have fun with your smaller router / Connect box / switch!