

The interesting corner


I recently got this Lenovo Tab 4 10 To use as the brains for my Ender 3 V3 SE 3d printer. I decided to use a tablet instead of a raspberry pi because I
got this tablet for the same price as a 2GB pi 4b+, and it's specs are basically double the specs of the pi. Even
the extra overhead of running android is kinda negated by it having double the ram (and me wanting to put
lineageOS or something like that on it).
The first thing to do is of course to root it, which I did using this
link. After connecting the tablet to my PC and running adb devices -l the tablet showed up
nicely:
  List of devices attached
  360606f6               device product:LenovoTB-X704L model:Lenovo_TB_X704L device:X704L transport_id:1
After entering the bootloader with adb reboot bootloader I was presented with the bootloader:
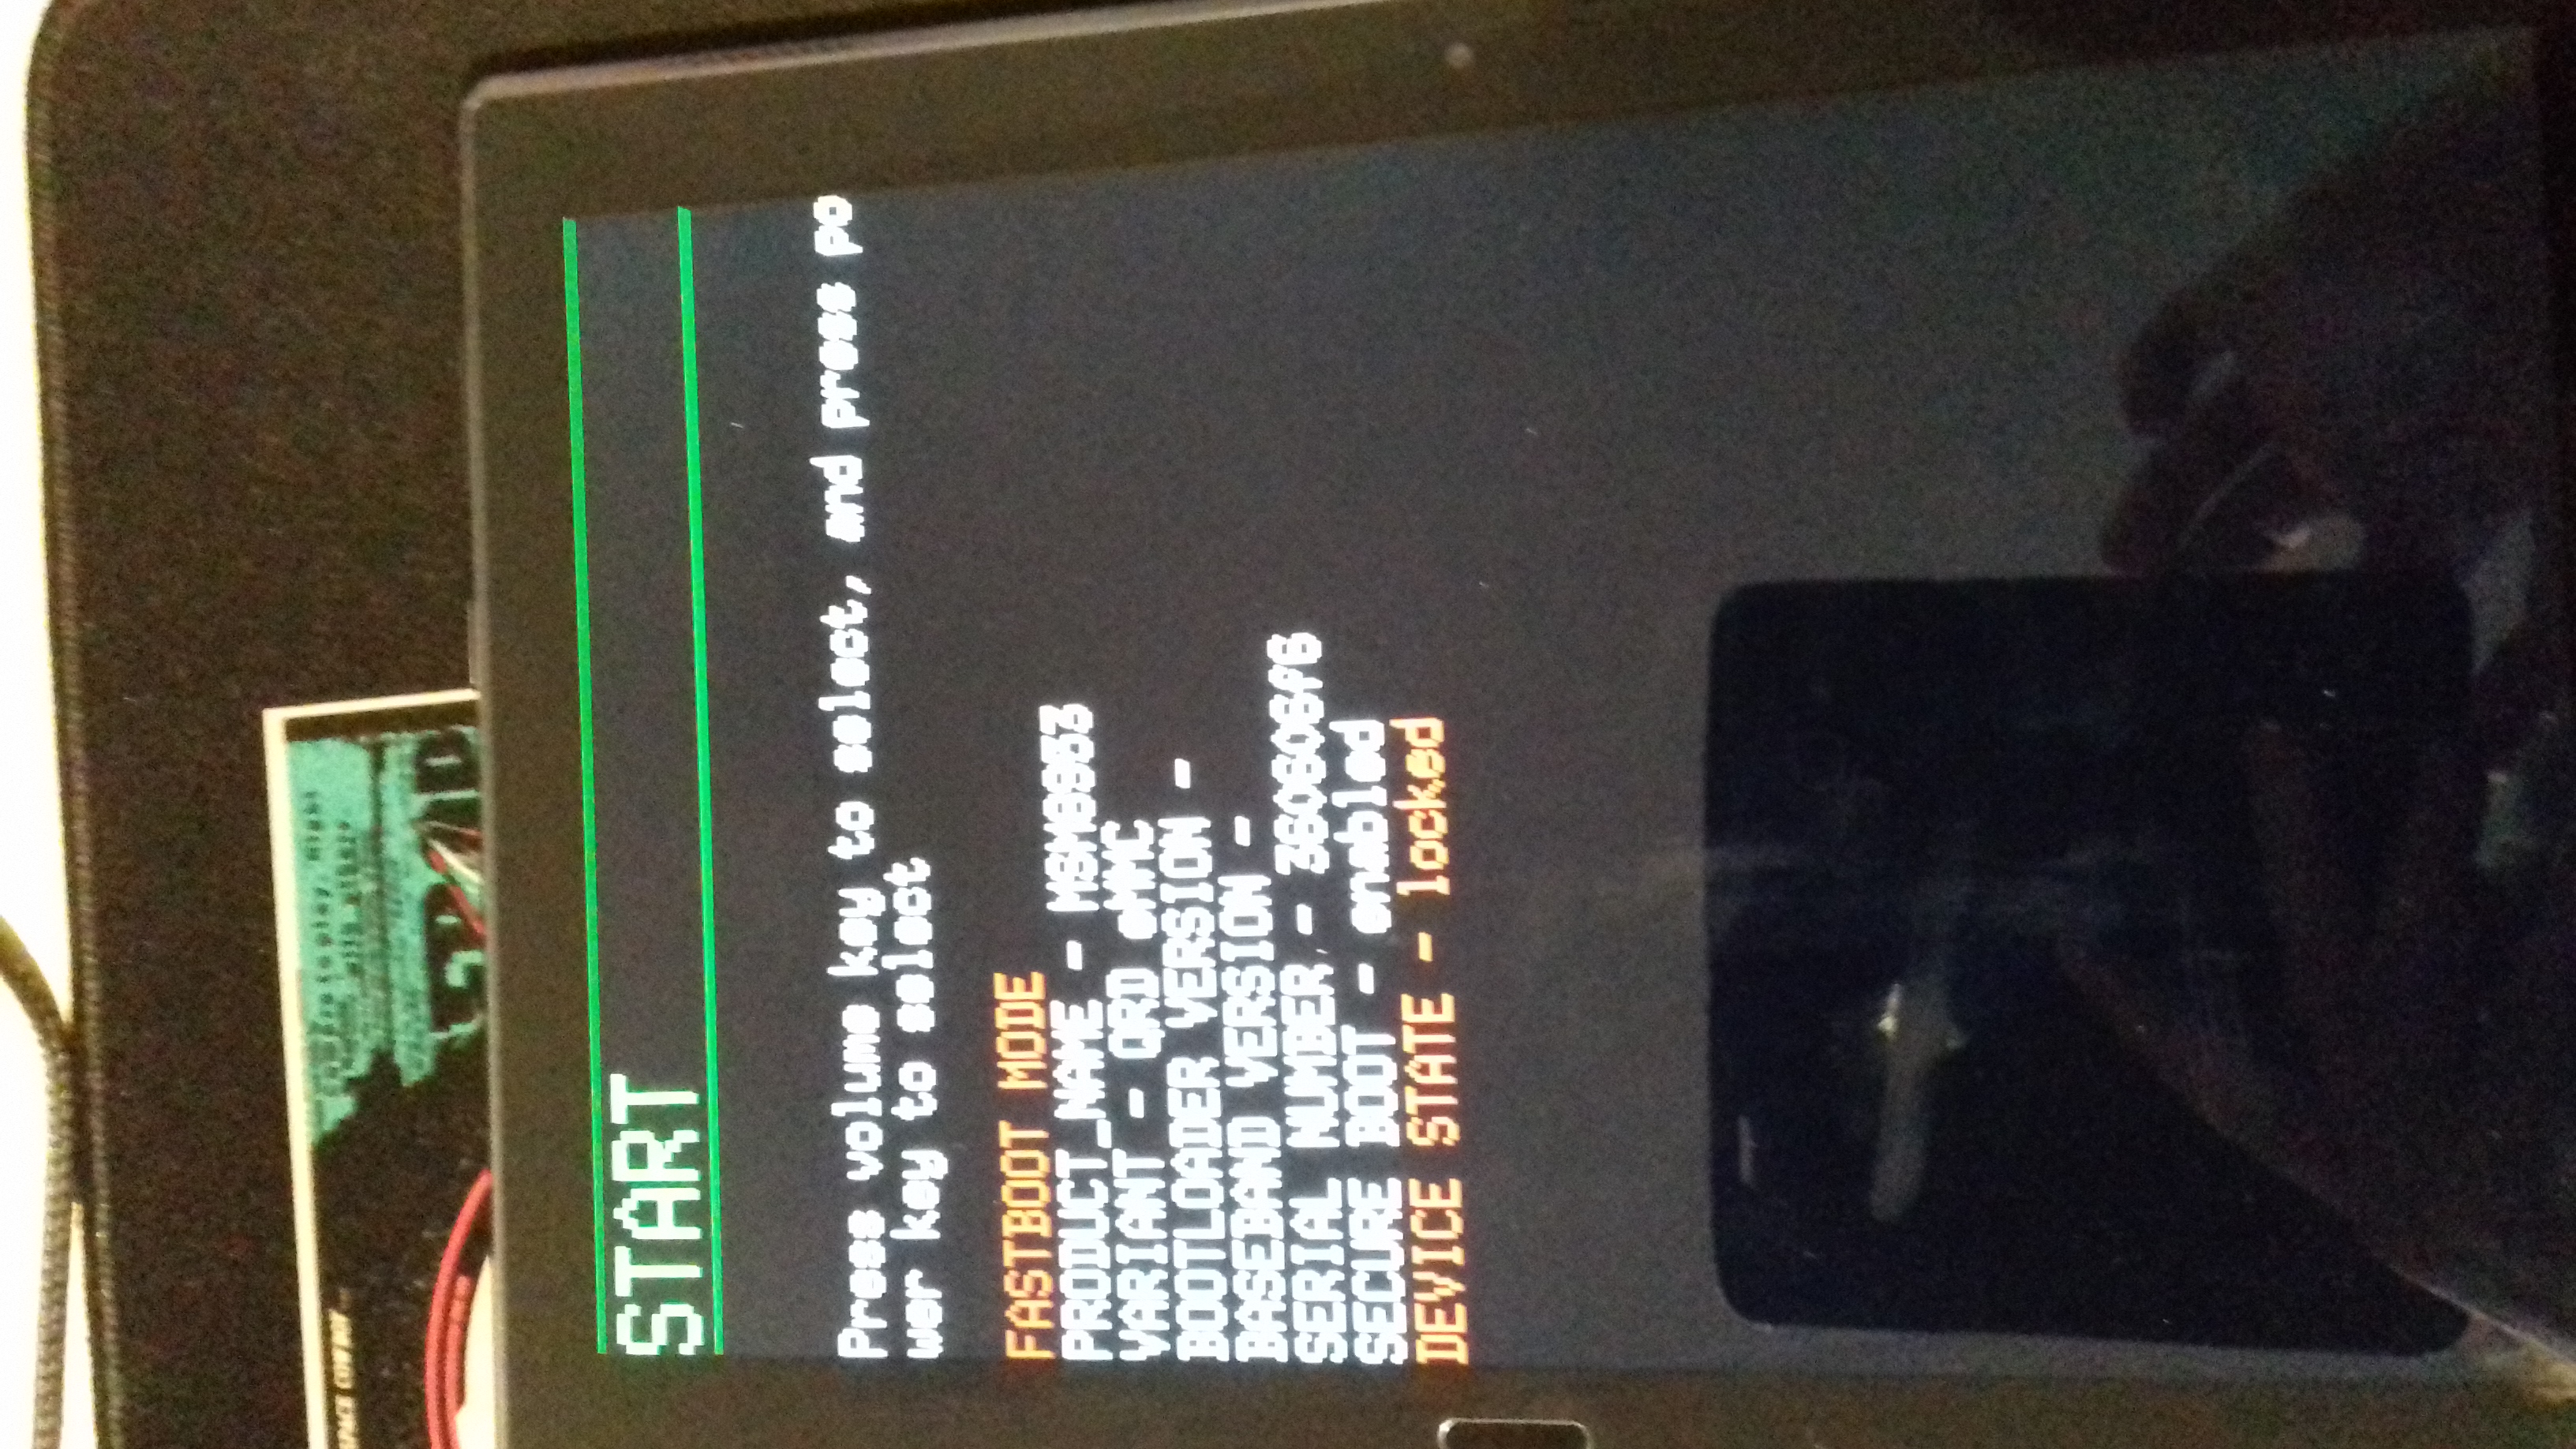
After that, I booted to twrp by issuing fastboot boot twrp-3.2.3-0-tb_x704l.img (some time later I
rebooted back into recovery and used fastboot flash recovery twrp-3.2.3-0-tb_x704l.img to permanently
flash TWRP). I got into TWRP,
kept the system read-only and backed up the boot and system partitions. After that, I copied the SuperSU zip file
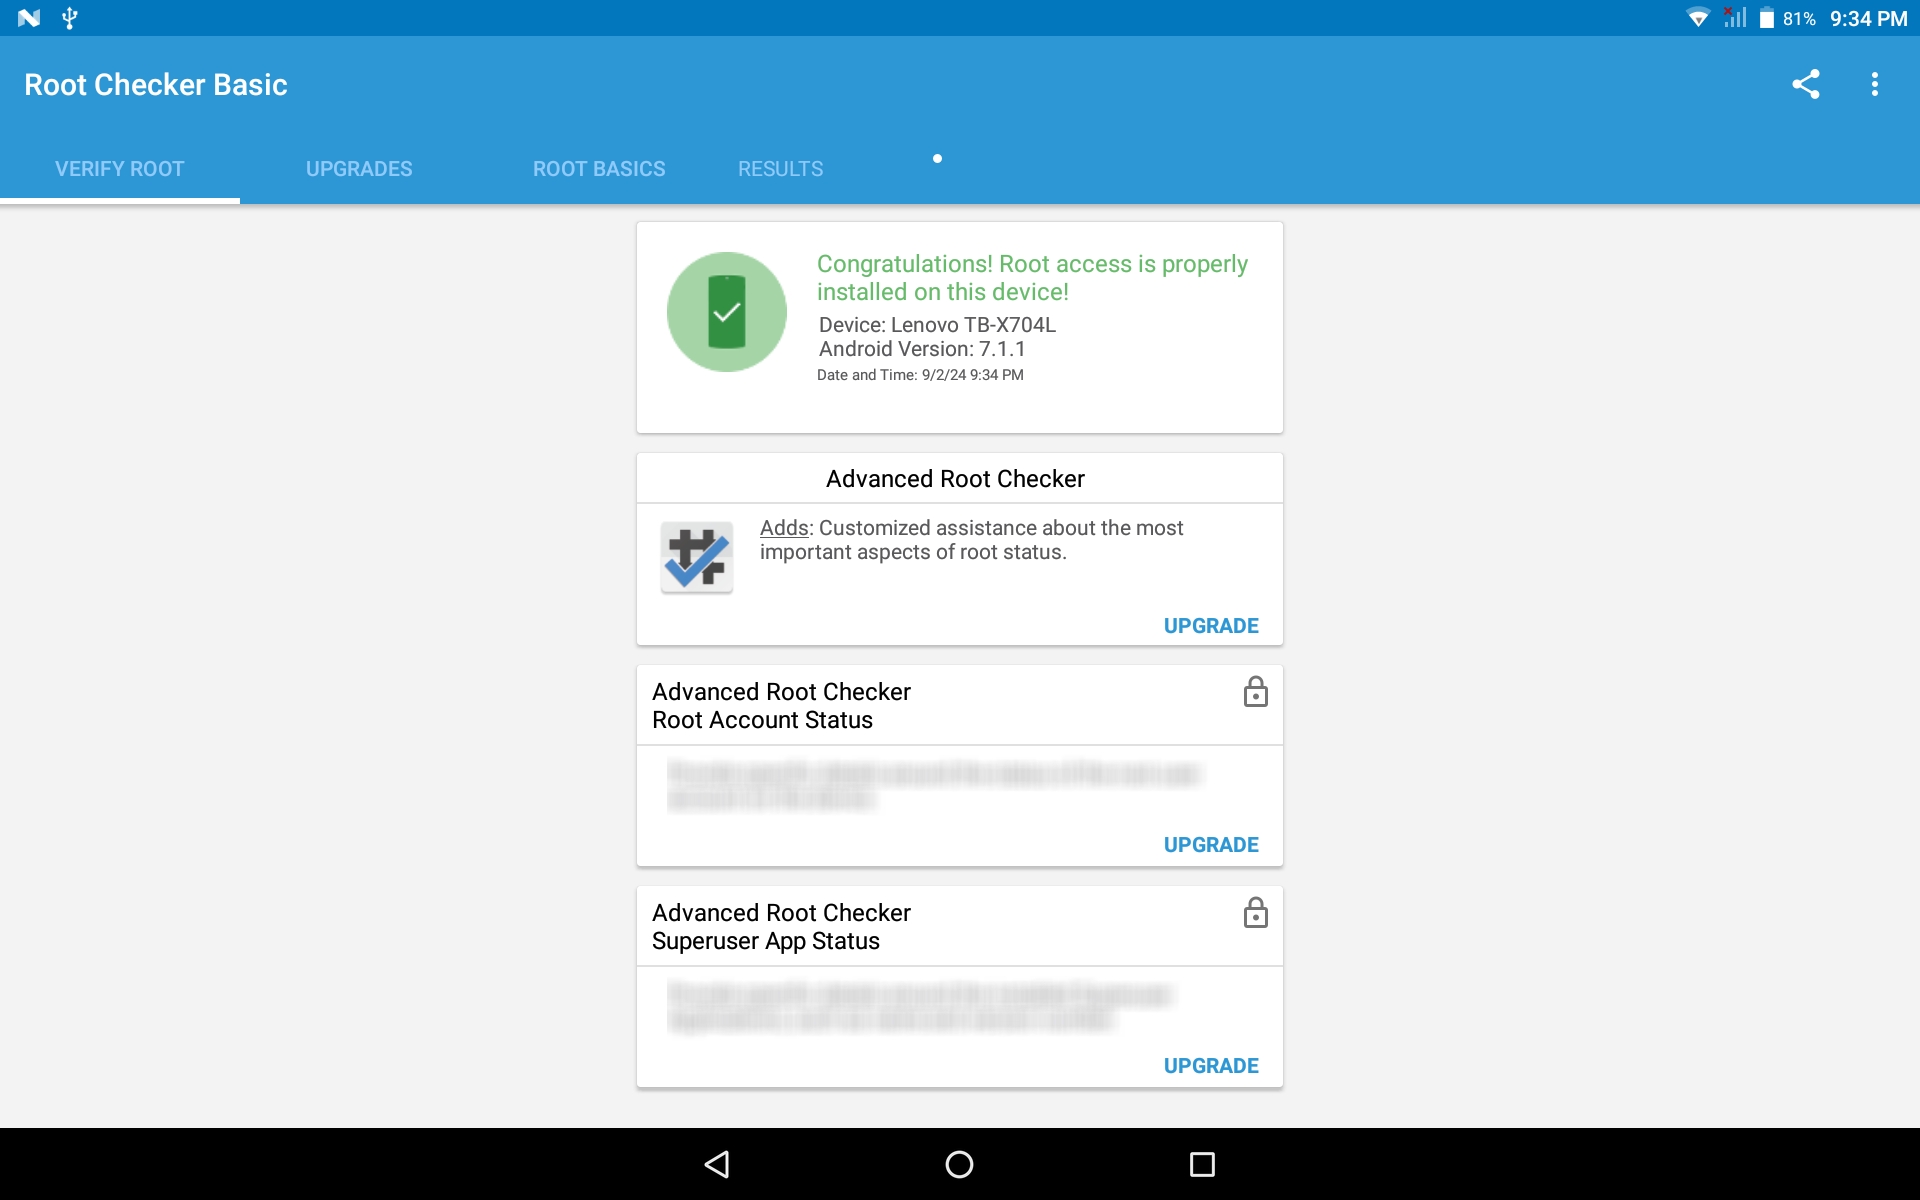
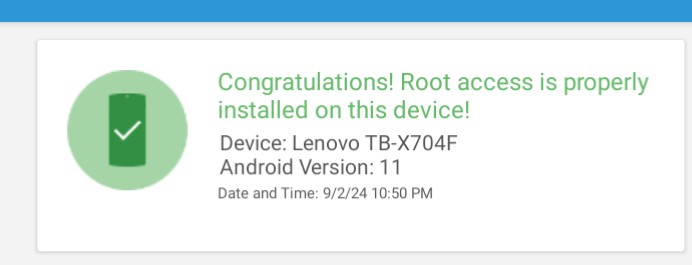
to the tablet and installed it using TWRP. After that, I rebooted the device, installed the root checker apk and
lo and behold: I had root access!
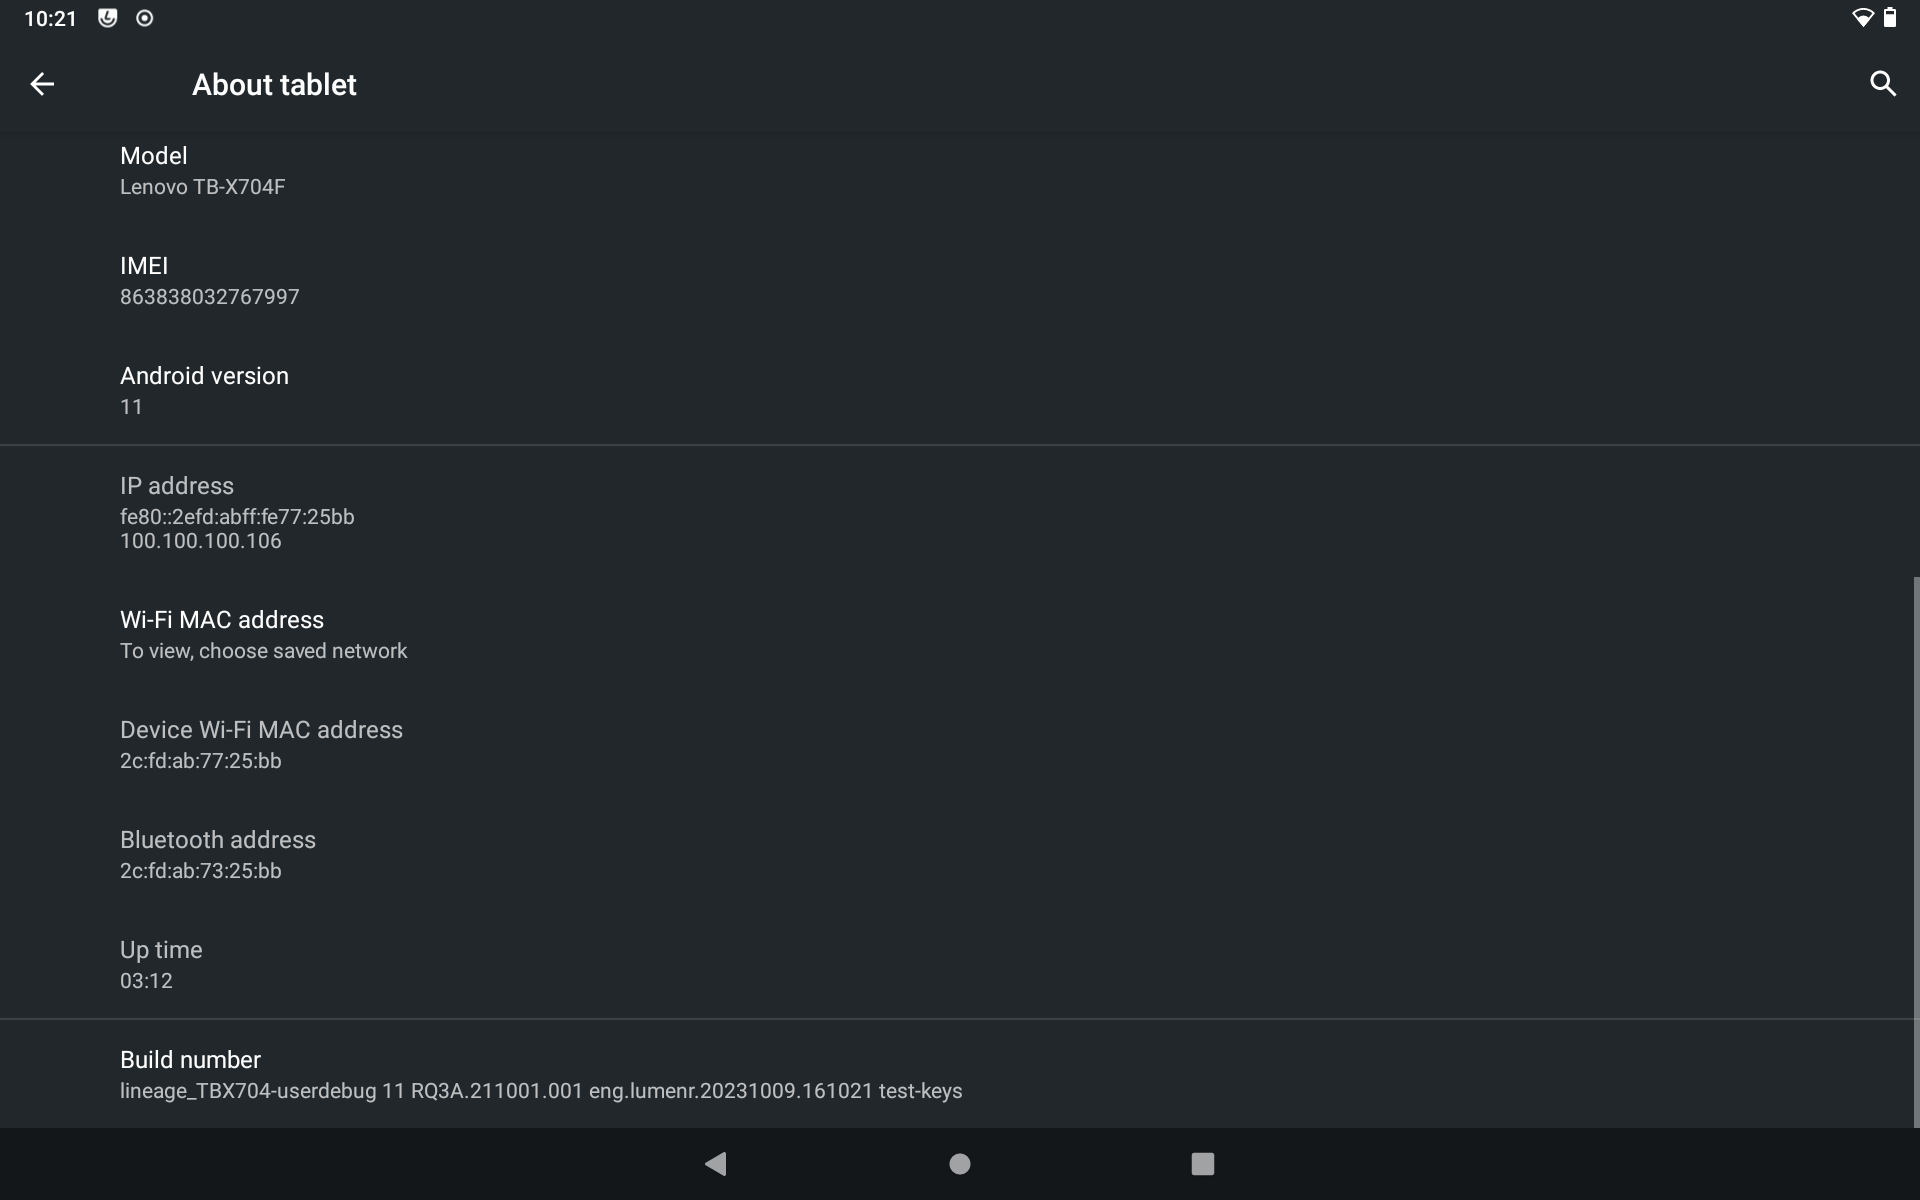
After successfully getting root access, I wanted to install LineageOS. I used This reddit post (first comment by u/Junods) to get the instructions (skipping the unlocking and installing TWRP parts as I had already done that). After rebooting I successfully installed lineageOS!
I first thought about installing postmarketOS, as that seems to be a bit more what I'm looking for: running linux on this tablet so I can use it as a replacement for a raspberry pi, but according to the postmarketOS device page for the Tab 4, the screen is not working yet.
After installing LineageOS, my device was no longer rooted. Since it now runs android 11, I can't use SuperSU anymore, so I used this blogpost to gain root access. Below is an overview of the commands I used:
            Z:\webserver\public\img\hardware\lenovotab4\files>ls
            Magisk-v27.0.apk                             minimal_adb_fastboot_v1.4.3_setup.exe
            SuperSU-v2.82-201705271822.zip               root-checker-6-5-3.apk
            lineage-18.1-20231009-UNOFFICIAL-TBX704.zip  supersu-2-82.apk
            magisk-tb8054-remount-v17.1.zip              twrp-3.2.3-0-tb_x704l.img

            Z:\webserver\public\img\hardware\lenovotab4\files>adb install Magisk-v27.0.apk
            Success

            Z:\webserver\public\img\hardware\lenovotab4\files>adb root

            Z:\webserver\public\img\hardware\lenovotab4\files>adb shell dd if=/dev/block/by-name/boot of=/sdcard/boot.img
            131072+0 records in
            131072+0 records out
            67108864 bytes (64 M) copied, 1.511906 s, 42 M/s

            Z:\webserver\public\img\hardware\lenovotab4\files>adb shell ls /sdcard/Download/*.img
            /sdcard/Download/magisk_patched-27000_rf9iZ.img

            // now, go into the magisk app, click on install, select the boot.img file and patch it

            Z:\webserver\public\img\hardware\lenovotab4\files>adb pull /sdcard/Download/magisk_patched-27000_rf9iZ.img
            /sdcard/Download/magisk_patched-27000_rf9iZ.img: 1 file pulled. 1.6 MB/s (67108864 bytes in 40.665s)

            Z:\webserver\public\img\hardware\lenovotab4\files>dir
             Volume in drive Z is interesting-corner-share
             Volume Serial Number is 9258-B060

             Directory of Z:\webserver\public\img\hardware\lenovotab4\files

            02-09-2024  22:43    <DIR>          .
            02-09-2024  22:22    <DIR>          ..
            02-09-2024  21:51       665.088.830 lineage-18.1-20231009-UNOFFICIAL-TBX704.zip
            02-09-2024  20:25            11.305 magisk-tb8054-remount-v17.1.zip
            02-09-2024  21:05        12.498.796 Magisk-v27.0.apk
            02-09-2024  22:44        67.108.864 magisk_patched-27000_rf9iZ.img
            02-09-2024  19:22         1.053.464 minimal_adb_fastboot_v1.4.3_setup.exe
            02-09-2024  21:15        10.334.757 root-checker-6-5-3.apk
            02-09-2024  21:11         6.201.401 supersu-2-82.apk
            02-09-2024  21:29         5.903.921 SuperSU-v2.82-201705271822.zip
            02-09-2024  19:20        31.404.032 twrp-3.2.3-0-tb_x704l.img
                           9 File(s)    799.605.370 bytes
                           2 Dir(s)  402.824.945.664 bytes free

            Z:\webserver\public\img\hardware\lenovotab4\files>adb reboot bootloader

            Z:\webserver\public\img\hardware\lenovotab4\files>fastboot devices
            360606f6        fastboot

            Z:\webserver\public\img\hardware\lenovotab4\files>fastboot flash boot magisk_patched-27000_rf9iZ.img
            target reported max download size of 536870912 bytes
            sending 'boot' (65536 KB)...
            OKAY [ 23.337s]
            writing 'boot'...
            OKAY [  0.304s]
            finished. total time: 23.641s

            Z:\webserver\public\img\hardware\lenovotab4\files>fastboot reboot
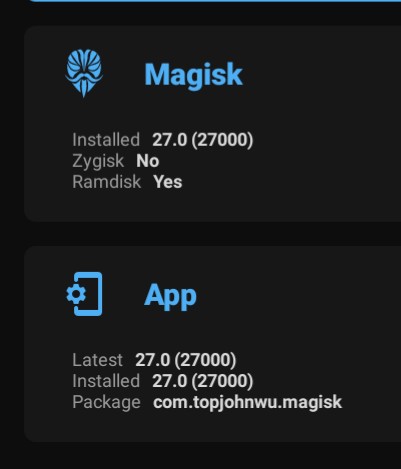
Now I was successfully rooted:
Z:\webserver\public\img\hardware\lenovotab4\files>adb shell
TBX704:/ $ su
TBX704:/ # id
uid=0(root) gid=0(root) groups=0(root) context=u:r:magisk:s0
I used this github (using mainsail) to install
everything. First off, getting linux deploy working was kind of a pain in the ass. I eventually installed busybox
as a Magisk module and used SELinuxModeChanger to change the SELinux mode
to permissive. I also needed to set the PATH variable in linux deploy to
/data/user/0/ru.meefik.linuxdeploy/files:/system/xbin and change the architecture to
arm64. After that though, the container installed and started without the error that it failed
mounting and I could SSH into the container:
ssh android@100.100.100.106
Warning: Permanently added '100.100.100.106' (ED25519) to the list of known hosts.
android@100.100.100.106's password:
Linux localhost 3.18.140-lineageos-gf21bb40e154a #1 SMP PREEMPT Mon Oct 9 16:45:05 CEST 2023 aarch64
Debian GNU/Linux 10 (buster) [running via Linux Deploy]
$ chsh -s /bin/bash
Password:
android@localhost:~$
Now it was time to install all the programs. cloned the kiuah repo and started the script:
sudo apt install git
git clone https://github.com/th33xitus/kiauh.git
kiauh/kiauh.sh
Installing Klipper, Moonraker and Mainsail went without a hitch. However, installing KlipperScreen was a PAIN in the a s s. First, the problem was the python3 version. The latest version for debian buster (10) is 3.7, but the script required 3.8 or above. That wasn't that much of a problem, I could just install it from source. I opted to use python3.11 instead of 3.9 to be nice and up to date
sudo apt update
sudo apt install build-essential zlib1g-dev libncurses5-dev libgdbm-dev libnss3-dev libssl-dev libsqlite3-dev libreadline-dev libffi-dev curl libbz2-dev
wget https://www.python.org/ftp/python/3.11.8/Python-3.11.8.tar.xz
tar -xvf Python-3.11.8.tar.xz
cd Python-3.11.8
./configure --enable-optimizations # optimizes the python binary by running multiple tests, makes the building slower though
make -j$(nproc) # use max amount of cores to compile (in my case this was 8)
sudo make altinstall # do not install as main version
python3.11 --version # check if it's installed properly
After building and alt-installing python3.11, I changed it to the default with this:
sudo update-alternatives --config python3
There are 2 choices for the alternative python3 (providing /usr/bin/python3).

  Selection    Path                       Priority   Status
------------------------------------------------------------
* 0            /usr/local/bin/python3.11   1         auto mode
  1            /usr/bin/python3.7          1         manual mode
  2            /usr/local/bin/python3.11   1         manual mode

Press <enter> to keep the current choice[*], or type selection number:
After I set python3.11 as my default choice, I got an error about a module not being found when I tried to run
add-apt-repository. Changing it back to python3.7 (default for debian buster) fixed this.
Python3.11 had no effect on any other packages.
After changing the Python binary, I got 2 other errors:
Dependency gobject-introspection-1.0 found: NO. Found 1.58.3 but need: ‘>= 1.64.0’

DEPRECATION:
            CMake support for versions <3.17 is deprecated since Meson 0.62.0.
            |
            | However, Meson was only able to find CMake 3.13.4.
The CMake error was easy to fix. The latest debian buster version of CMake is 3.13.4, so I downloaded the source and installed it:
wget https://github.com/Kitware/CMake/releases/download/v3.30.3/cmake-3.30.3.tar.gz
tar -xvf cmake-3.30.3.tar.gz
cd cmake-3.30.3
./bootstrap
make -j$(nproc)
sudo make install
The other error about gobject-introspection-1.0 however, I spent a few hours on trying to fix. The
first thing I tried, was to install the libgirepository1.0-dev package. But, as the message said, it
was already installed (1.58.3) but it needed a version of or above 1.64.0. I thought "well, that's easy, I could
just install it from source again", so I downloaded the source (first 1.81, then
1.70, 1.66 and 1.64 (T_T) ) and started to
build. However, I got the error doctemplates: file not found.
I got this on every version I tried, and almost gave up. I asked CoPilot, and he gave me a pretty good
suggestion: temporarily add the debian bullseye PPA and install the pacakge from there. I added the line deb http://deb.debian.org/debian bullseye main to my /etc/apt/sources.list file and updated using sudo apt-get update Then I could install the packages:
sudo apt-get install -t bullseye libgirepository1.0-dev
sudo apt-get install -t bullseye gobject-introspection
To prevent the whole system from updating, I added this to
/etc/apt/preferences.d/pin-gobject-introspection:
Package: gobject-introspection
Pin: release a=bullseye
Pin-Priority: 990
And this to /etc/apt/preferences.d/pin-libgirepository:
Package: libgirepository1.0-dev
Pin: release a=bullseye
Pin-Priority: 990
Now, I could finally install KlipperScreen, and it installed without any problems []~( ̄▽ ̄)~*
Now that everything was installed, I wasn't there yet. There were still a few problems:
provider: systemd_dbus entry in the [machine] section of the moonraker.conf to provider: none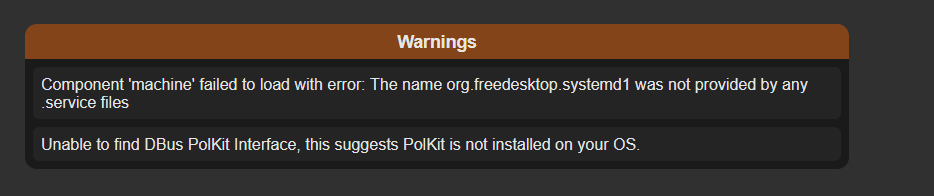
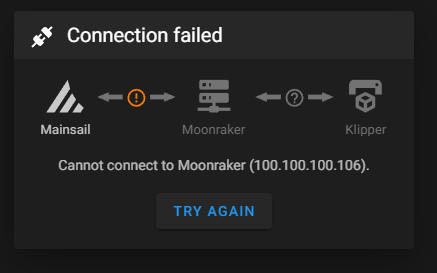
Getting mainsail and moonraker connected to eachother took a bit more work. The first thing I had to do was change
the socket in the config file of both moonraker and klipper. The KLIPPY_SOCKET=/tmp/klippy_uds variable in the /etc/default/klipper
file needed to be changed to KLIPPY_SOCKET=/home/android/printer_data/comms/klippy.sock. In the
/home/android/printer_data/config/moonraker.conf moonraker config file I also had to make sure the
klippy socket was correct: klippy_uds_address: /home/android/printer_data/comms/klippy.sock. The moonraker
socket also needed to change in /etc/default/moonraker to MOONRAKER_SOCKET=/home/android/printer_data/comms/moonraker.sock.
The second thing I had to change was in the nginx configuration. According to the first comment on this
Reddit post, I needed to change the /etc/nginx/nginx.conf file to use user android instead of using the www-data user. After this, mainsail and moonraker
connected to eachother!
I used this github to get the printer.cfg for my printer. I also followed parts of this guide. I ran the menuconfig to create the bin file using
cd ~/klipper/
make menuconfig
And I used the settings:
- Micro-controller architecture: STMicroelectronics STM32
- Processor model: STM32F103
- Bootloader offset: 28KiB
- Communication interface: Serial (on USART1 PA10/PA09)
After that, create the file using make. Format an SD card with FAT32 and 4069
cluster size, put the klipper.bin file on the root of the SD card, stick it in your printer and Klipper is
flashed! On an ender 3 V3 SE the screen will just show an empty background without logo, as Klipper does not use
that screen.
I still got the error about Polkit. On top of this, Klipper also did not want to run. Remember where I installed
Python 3.9? That seemed to be the issue now. Running the klipper sysvinit script resulted in it failing to start.
When I tried to start the command manually by running /home/android/klippy-env/bin/python /home/android/klipper/klippy/klippy.py /home/android/printer_data/config/printer.cfg -l /home/android/printer_data/logs/klippy.log -a /home/android/printer_data/comms/klippy.sock
I got this error:
  Could not find platform independent libraries <prefix>
  Could not find platform dependent libraries <exec_prefix>
  Consider setting $PYTHONHOME to <prefix>[:<exec_prefix>]
  Fatal Python error: initfsencoding: unable to load the file system codec
  ModuleNotFoundError: No module named 'encodings'

  Current thread 0x0000007b4e7c6010 (most recent call first):
  Aborted
I thought the problem was maybe the python virtual environment, so I tried to get the version of the environment
binary. When I executed /home/android/klippy-env/bin/python -VI got this error:
  Could not find platform independent libraries <prefix>
  Could not find platform dependent libraries <exec_prefix>
  Consider setting $PYTHONHOME to <prefix>[:<exec_prefix>]
  Python 3.7.3
I recreated the venv and reinstalled the requirements:
rm -rf /home/android/klippy-env
python3 -m venv /home/android/klippy-env
source /home/android/klippy-env/bin/activate
pip install -r /home/android/klipper/scripts/klippy-requirements.txt
However, when installing the requirements I got the error
AttributeError: 'HTMLParser' object has no attribute 'unescape'. This is where I got the idea that
python3.9 was the issue, as the HTMLParser got deprecated in
python3.9.
I removed it by running sudo apt remove python3.9. When I now tried to install
the requirements, I got this error:
ImportError: cannot import name 'sysconfig' from 'distutils' (/usr/lib/python3.9/distutils/__init__.py)
My next thing to try was to reinstall the python3.7 packages:
sudo apt-get install --reinstall python3.7 python3.7-venv python3.7-dev
sudo apt-get install --reinstall python3-distutils
However, reinstalling the packages did not work, as I got the error:
The following packages have unmet dependencies:
python3.7-dev : Depends: libpython3.7-dev (= 3.7.3-2+deb10u3) but it is not going to be installed
                Depends: libexpat1-dev but it is not going to be installed
                Recommends: libc6-dev but it is not going to be installed or
                            libc-dev
E: Unable to correct problems, you have held broken packages.
I also got the error
moonraker-env/bin/python: /lib/aarch64-linux-gnu/libm.so.6: version `GLIBC_2.29' not found (required by moonraker-env/bin/python)
when trying to run moonraker. To finally fix this, I ended up upgrading to debian 11.
This finally fixed it and I could run klipper without issue.
After installing KlipperScreen, getting it to run was a whole other can of worms. The first part was to make sure
my tablet recognized the printer. I wanted to do this by using an OTG + charge cable. I first tried to make a Y
cable from a usb-c to usb-c cable from which I disconnected the 5V and GND wires to connect them to a power
supply, and that worked for a bit when I connected it to my PC, but after a while Windows gave a message that the
device caused a malfunction and it didn't work anymore. Then, I bought this RUXELY USB-C OTG-adapter so I could charge the device through a
power brick without having to DIY an OTG cable. After installing octo4a on the tablet, connecting the cable and
turning on the printer, it successfully recognized my printer on address /dev/bus/001/002 (this can
change on every reconnect. We will account for this later).
Following the Github article, I closed the debian VM and added a mount by editing the container:
Mounts:
  enable: yes
  Mount point:
    Source: /data/data/com.octo4a/files
    Target: /home/android/octo4a
Now, I restarted the container and checked if it worked. However, I got the error:
mcu 'mcu': Unable to open serial port: [Errno 13] could not open port /home/android/octo4a/serialpipe:
[Errno 13] Permission denied: '/home/android/octo4a/serialpipe'
I managed to fix this by fixing the permissions:
sudo chmod 666 /home/android/octo4a/serialpipe
sudo chown android:android -R /home/android/octo4a
This fixed the mcu error, but now I got these two errors when starting klipperscreen:
Running /home/android/KlipperScreen/scripts/launch_KlipperScreen.sh
setting DISPLAY=:0 and running xterm to start klipperscreen
Unable to init server: Could not connect: Connection refused
Unable to init server: Could not connect: Connection refused
20240907 23:12:01,801 [functions.py:log_start] - --------------------KlipperScreen Log Start--------------------
20240907 23:12:01,802 [functions.py:log_start] - KlipperScreen Version: v0.4.3-58-g7fd759d5
20240907 23:12:01,802 [functions.py:log_start] - Python version: 3.9
Unable to init server: Could not connect: Connection refused
20240907 23:12:01,808 [screen.py:__init__] - Gtk couldn't be initialized. Use Gtk.init_check() if you want to handle this case.

Traceback (most recent call last):
  File "/home/android/KlipperScreen/screen.py", line 81, in __init__
    super().__init__(title="KlipperScreen")
  File "/home/android/.KlipperScreen-env/lib/python3.9/site-packages/gi/overrides/Gtk.py", line 508, in __init__
    raise RuntimeError(
RuntimeError: Gtk couldn't be initialized. Use Gtk.init_check() if you want to handle this case.
(==) Log file: "/var/log/Xorg.0.log", Time: Sat Sep  7 23:13:29 2024
(==) Using system config directory "/usr/share/X11/xorg.conf.d"
(EE)
Fatal server error:
(EE) parse_vt_settings: Cannot find a free VT: Inappropriate ioctl for device
(EE)
(EE)
Please consult the The X.Org Foundation support
          at http://wiki.x.org
  for help.
(EE) Please also check the log file at "/var/log/Xorg.0.log" for additional information.
(EE)
(EE) Server terminated with error (1). Closing log file.
I managed to fix this by creating the file
/home/android/KlipperScreen/scripts/launch_KlipperScreen.sh:
echo "setting DISPLAY=:0 and running xterm to start klipperscreen"
export DISPLAY=:0
xterm
UPDATE 10-11-2024: The launch_KlipperScreen script is automatically
called by the KlipperScreen-start.sh
script. The KlipperScreen-start script checks if the launch_KlipperScreen script exists, and if it does, it
executes it. It's shortly mentioned here
on the docs. Thanks Stefan for pointing this out!
I also created a sysvinit file for klipperscreen at /etc/init.d/klipperscreen
#!/bin/sh
### BEGIN INIT INFO
# Provides:          klipperscreen
# Required-Start:    $remote_fs $syslog
# Required-Stop:     $remote_fs $syslog
# Default-Start:     2 3 4 5
# Default-Stop:      0 1 6
# Short-Description: Start KlipperScreen service
# Description:       This file starts and stops KlipperScreen.
### END INIT INFO

NAME=klipperscreen
USER=android
KS_DIR="/home/android/KlipperScreen"
KS_EXEC="$KS_DIR/scripts/KlipperScreen-start.sh"
PIDFILE="/var/run/$NAME.pid"

. /lib/lsb/init-functions

start() {
    log_daemon_msg "Starting KlipperScreen service"
    start-stop-daemon --start --background --pidfile $PIDFILE --make-pidfile --chuid $USER --exec $KS_EXEC \
    >> /home/android/printer_data/logs/klipperscreen.log 2>&1 # 2>&1 means redirect stderr to stdout
    log_end_msg $?
}

stop() {
    log_daemon_msg "Stopping KlipperScreen service"
    start-stop-daemon --stop --quiet --pidfile $PIDFILE --retry 5
    log_end_msg $?
}

case "$1" in
    start)
        start
        ;;
    stop)
        stop
        ;;
    restart|reload|force-reload)
        stop
        start
        ;;
    status)
        status_of_proc "$KS_EXEC" "$NAME" && exit 0 || exit $?
        ;;
    *)
        echo "Usage: /etc/init.d/klipperscreen {start|stop|restart|status}"
        exit 1
        ;;
esac

exit 0
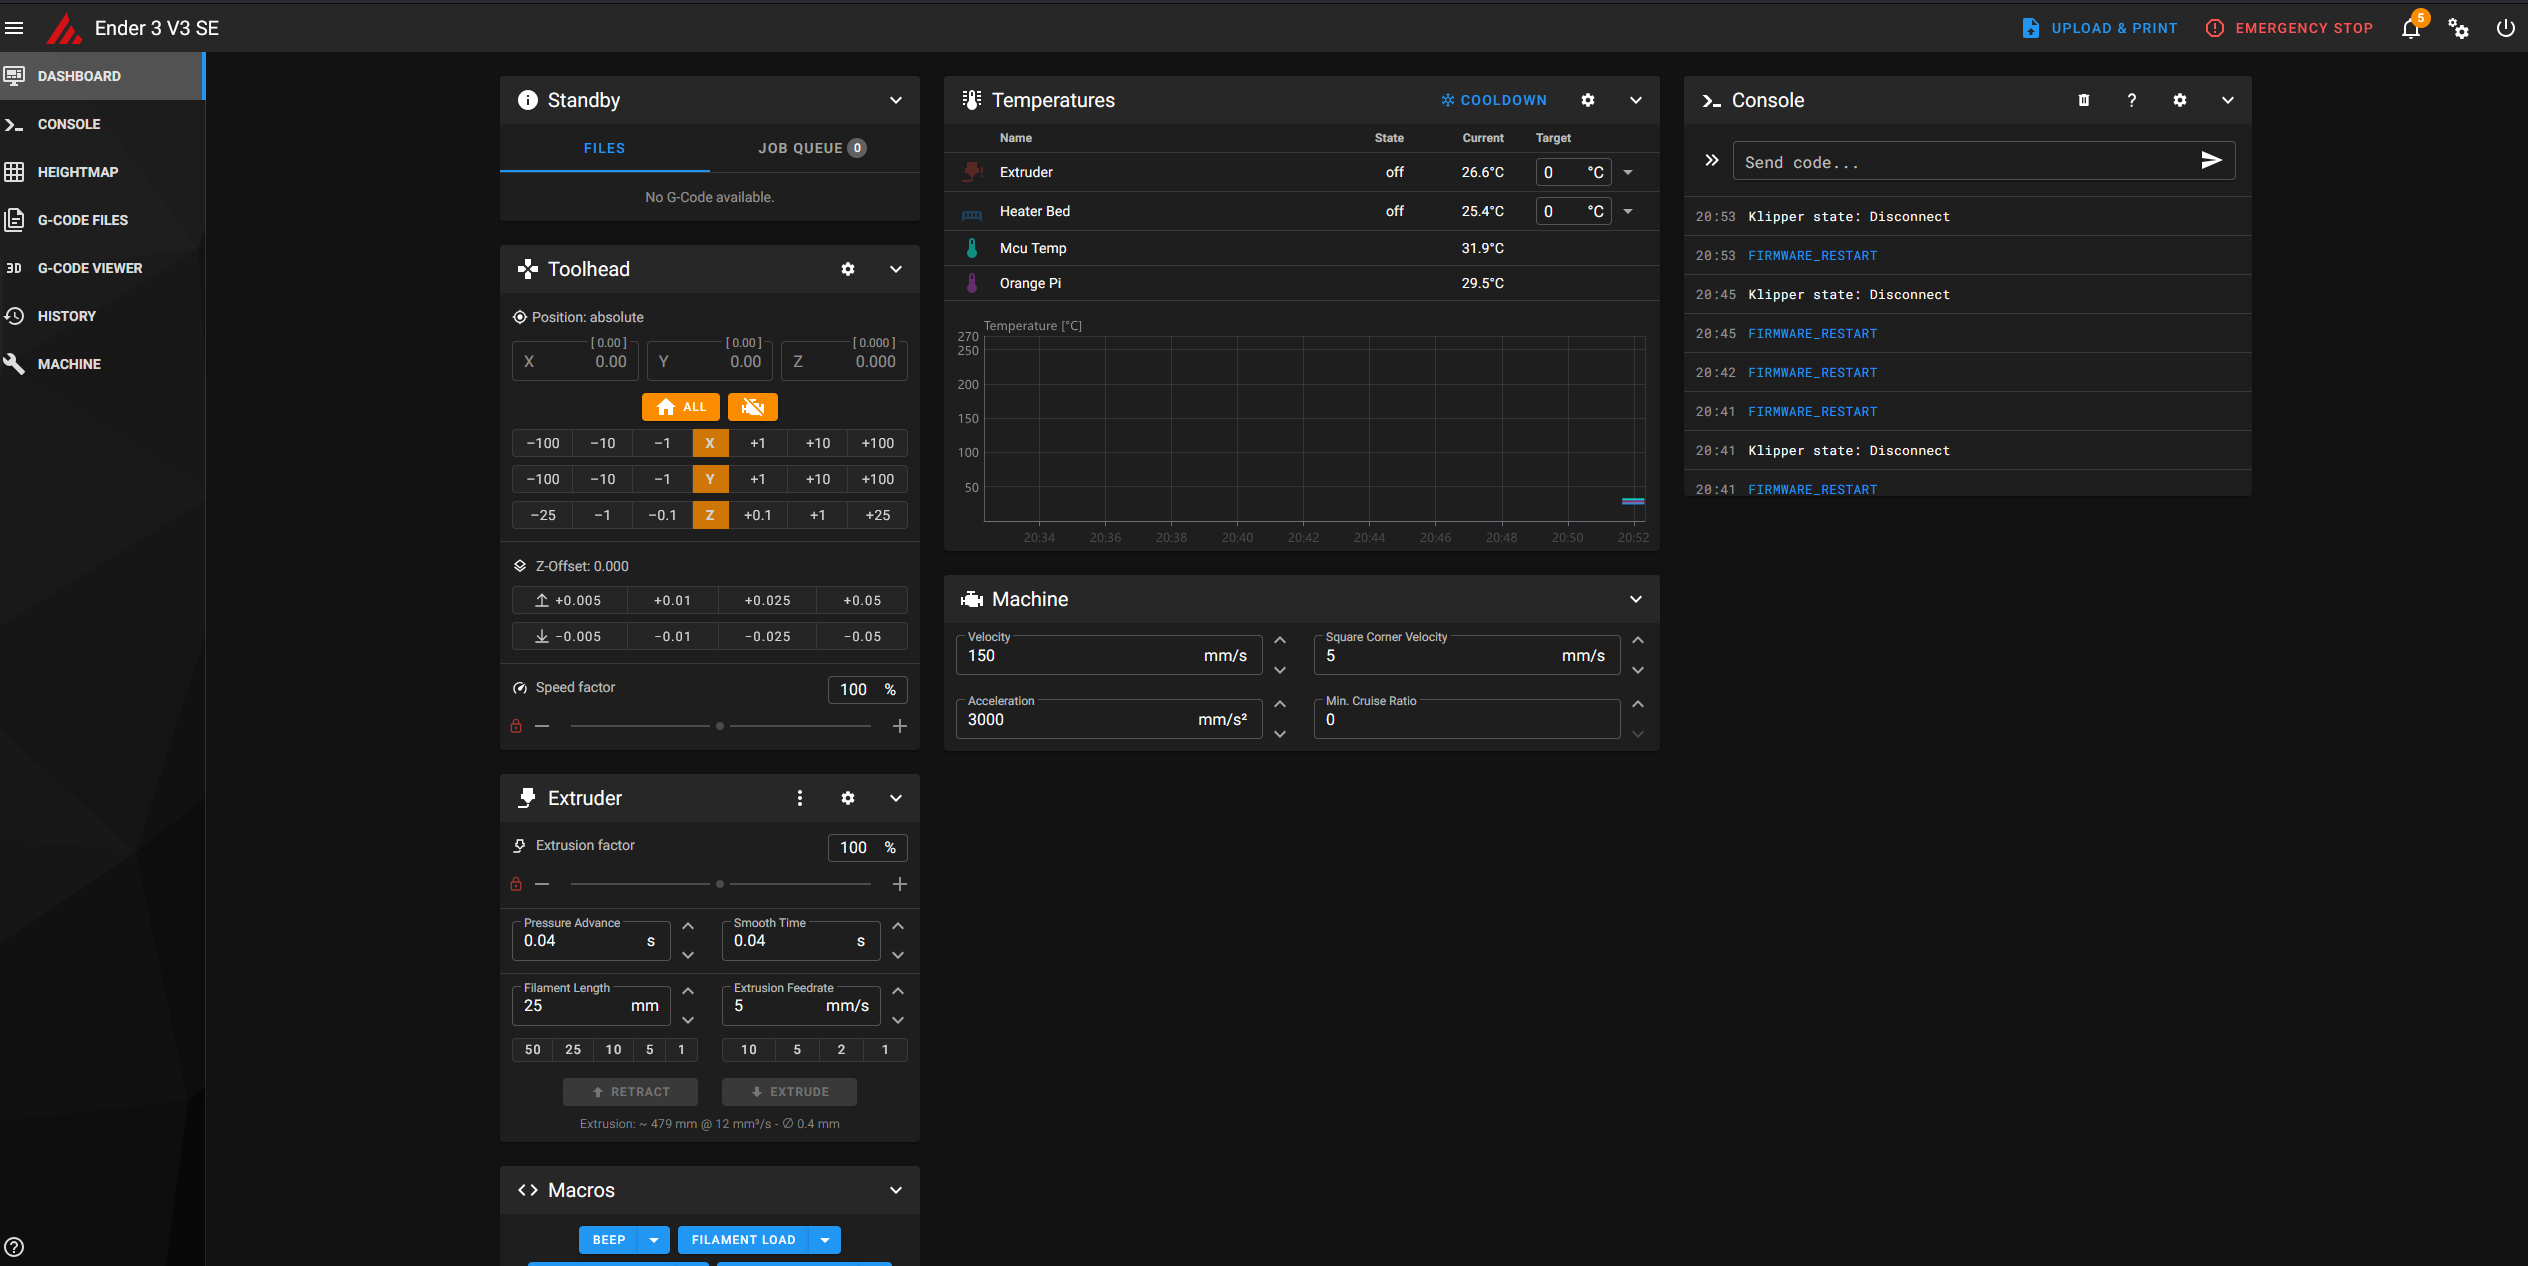
Finally, after all this, I had mainsail, moonraker, klipper and klipperscreen all working on the tablet
I also updated the octo4a questionnaire and created a PR to add my changes.
UPDATE 15-10-2024
Sometimes, when I restart the container or the tablet, for
some reason octoprint just forgets it's installed and I have to clear the data and install it again. The steps I
then have to do to make sure everything works again are:
sudo chmod 666 /home/android/octo4a/serialpipe; sudo chown android:android -R /home/android/octo4a
sudo /etc/init.d/klipper restart; sudo /etc/init.d/klipperscreen restartUPDATE 15-07-2025
Well choom, who woulda thunk it: the battery flatlined. I'll
probably hook it up to 5V just like with the Immich Kiosk photo
frame, but I've also got some other blog posts to finish ( ఠ ͟ʖ ఠ)
UPDATE 01-12-2025
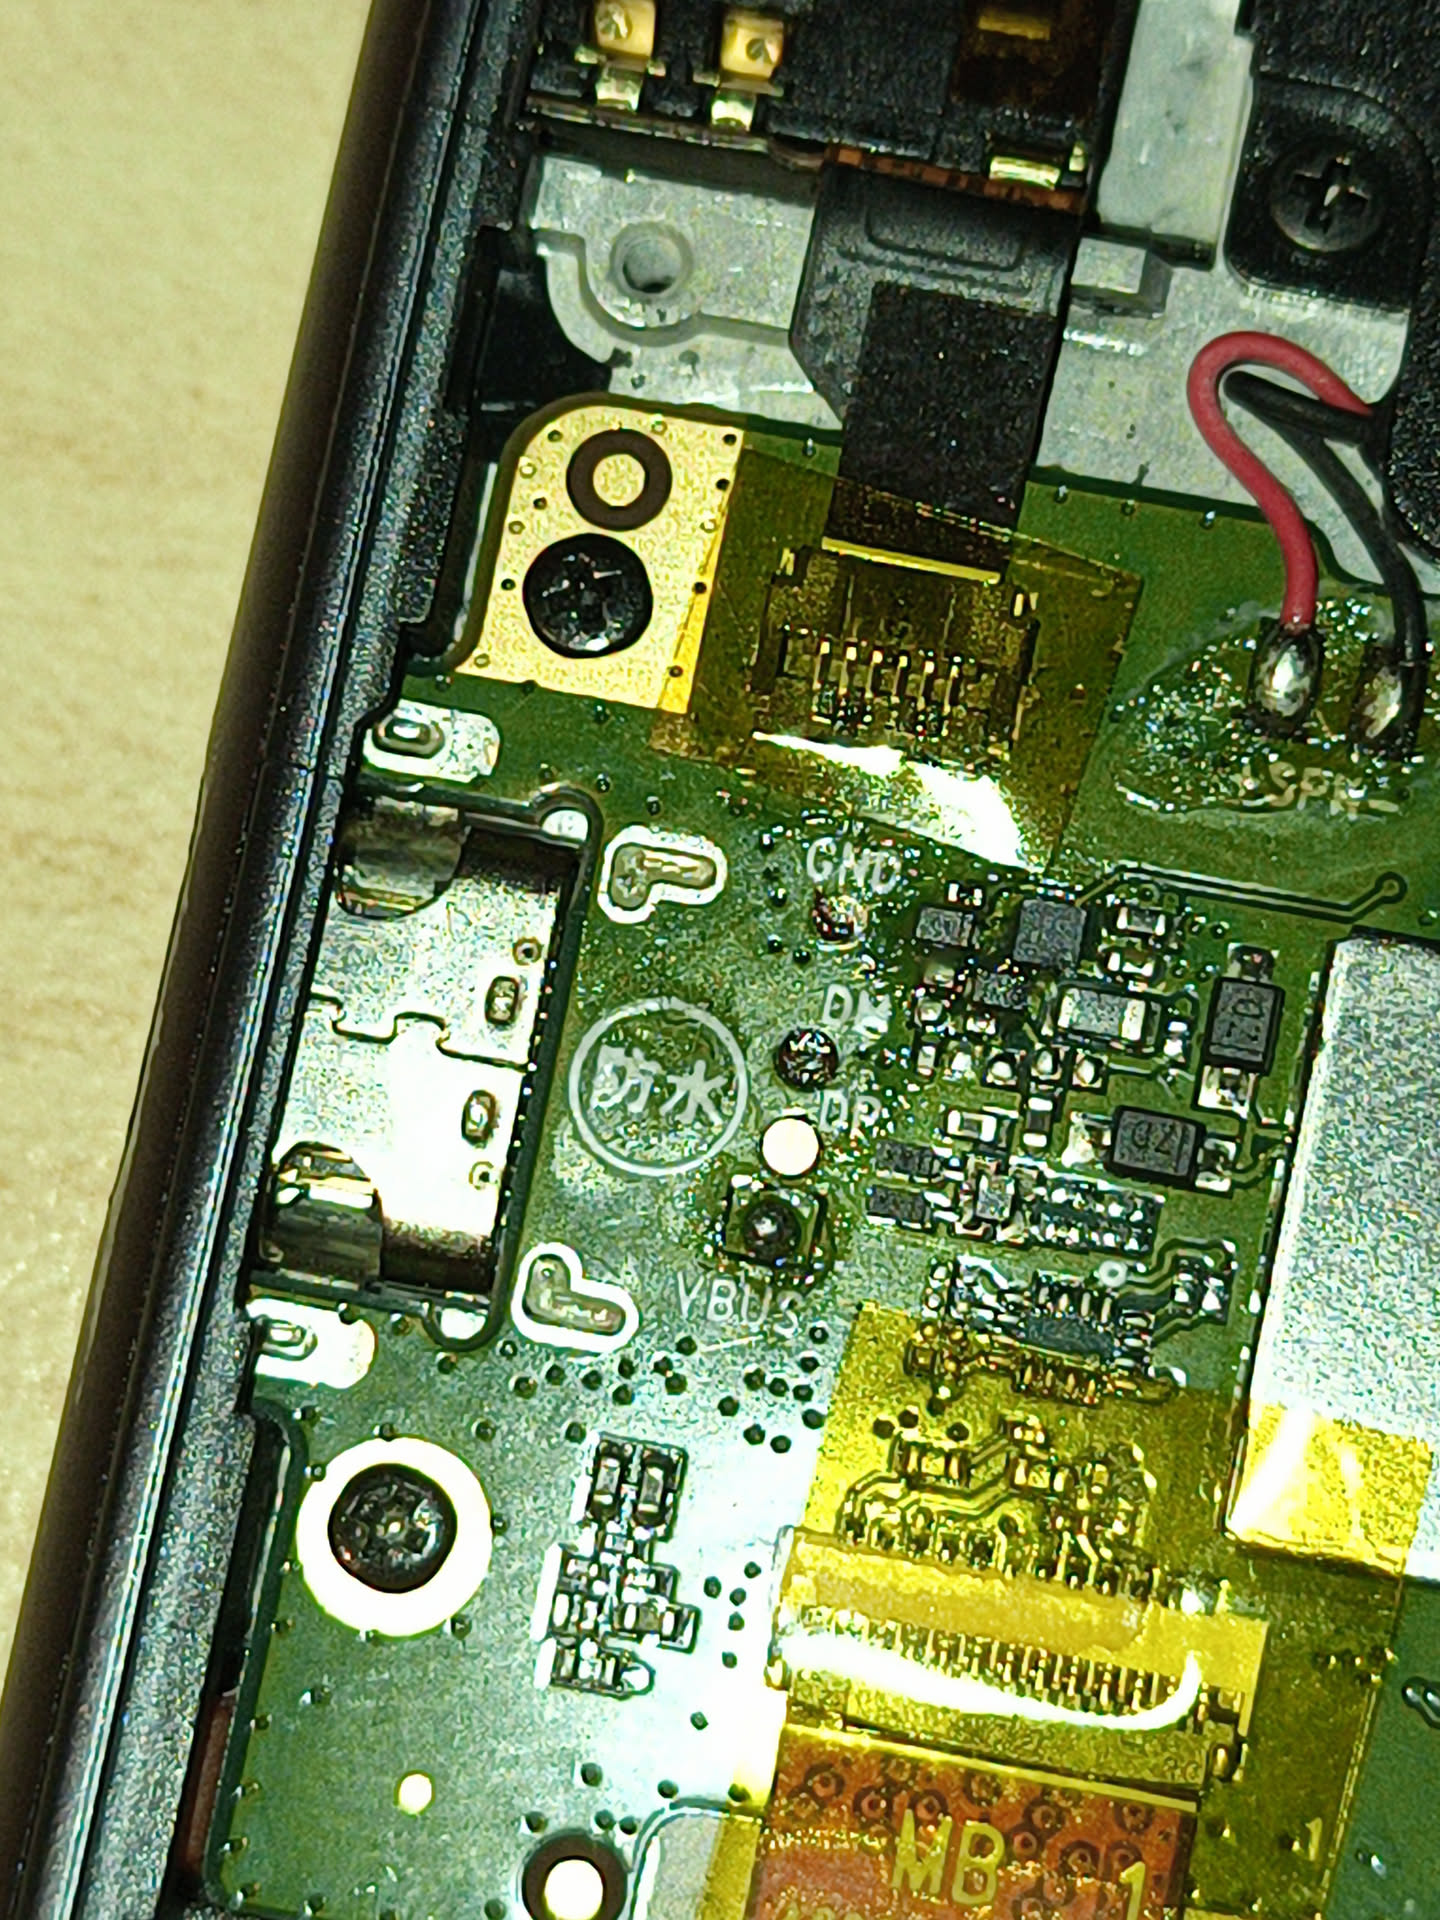
I tried to connect the battery directly to 5V, but that didn't really help anything. The tablet still didn't respond, so I ordered a new battery to see if that would fix the issue. Sadly, the battery wasn't the issue, as it still wouldn't charge or boot. There was 5V on the USB C connector and 3.69V on the battery + and -, but still no life. I did see that the DN and part of the GND pads of the USB C connector were torn off, but that should not prohibit the device from booting.
_preview.jpeg)
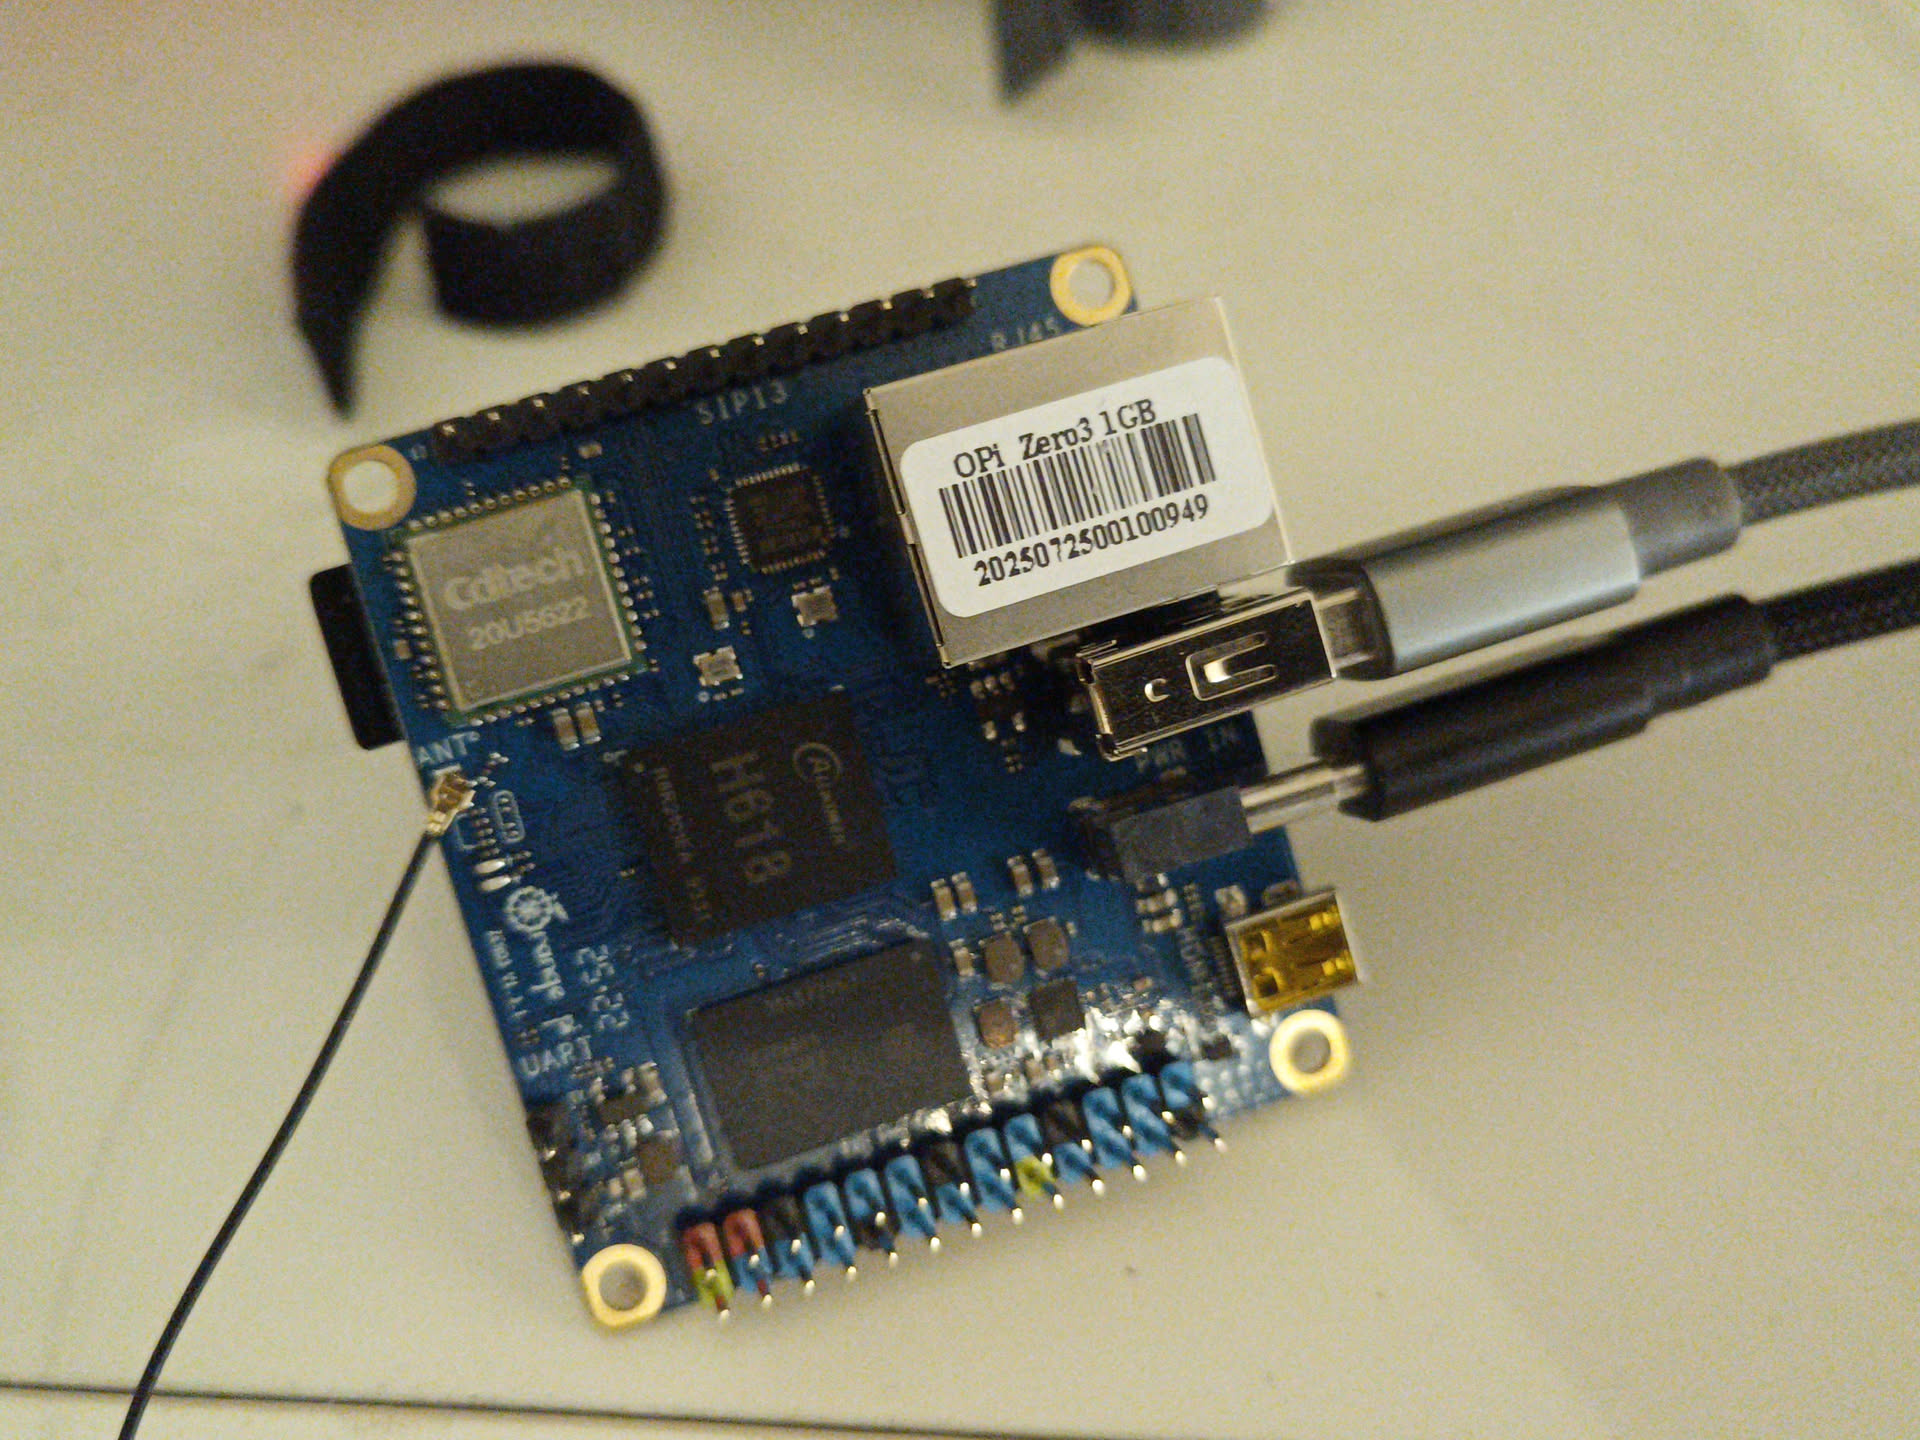
Because I did want my printer back, I decided to ditch the tablet and use a OrangePi ZERO 3 as the controller. I chose this instead of a new tablet because I didn't want to have issues again with the battery. If it ends up being too slow or not working, I'll look into getting a new tablet to replace this one.
After fucking around with the wifi driver for a bit, I managed to get it connected to wifi permanently. I made a systemd service that disables the power saving upon boot and another one that automatically connects to my wifi. The powersave service looks like this:
[Unit]
Description=Disable WiFi power saving
After=network.target

[Service]
Type=oneshot
ExecStart=/sbin/iw dev wlan0 set power_save off

[Install]
WantedBy=multi-user.target
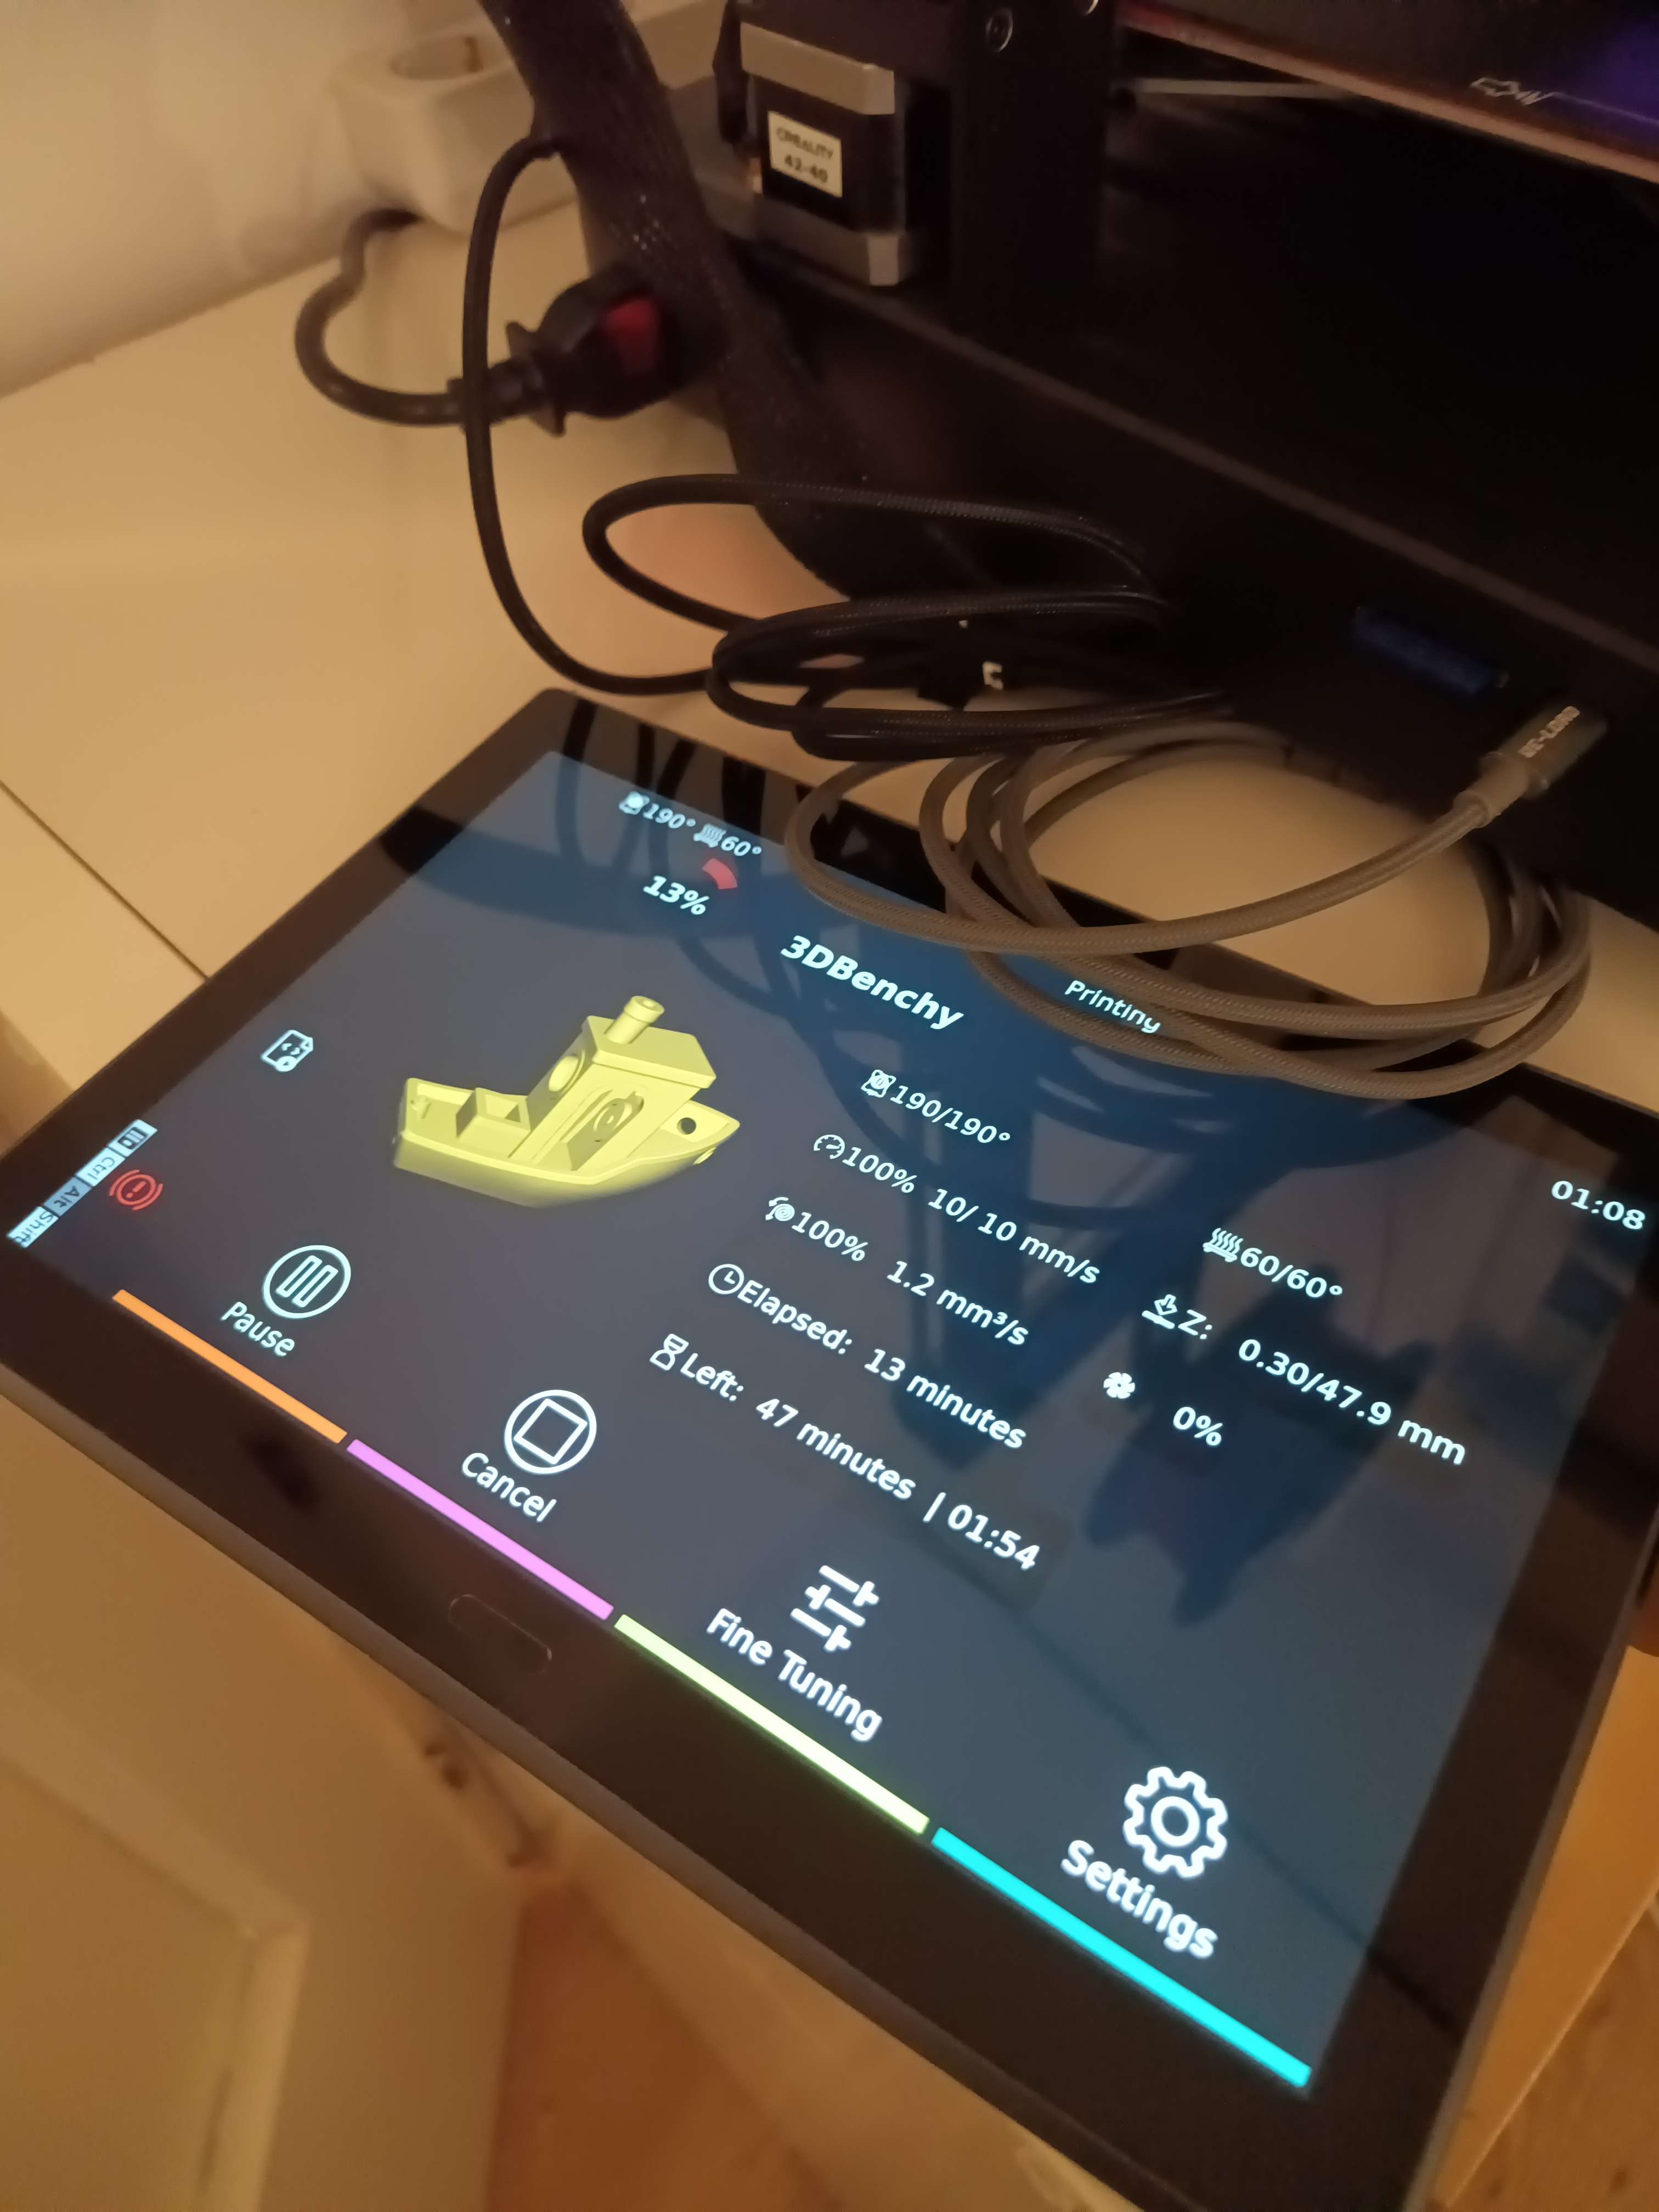
After setting it up and configuring, I printed this pretty clean benchy
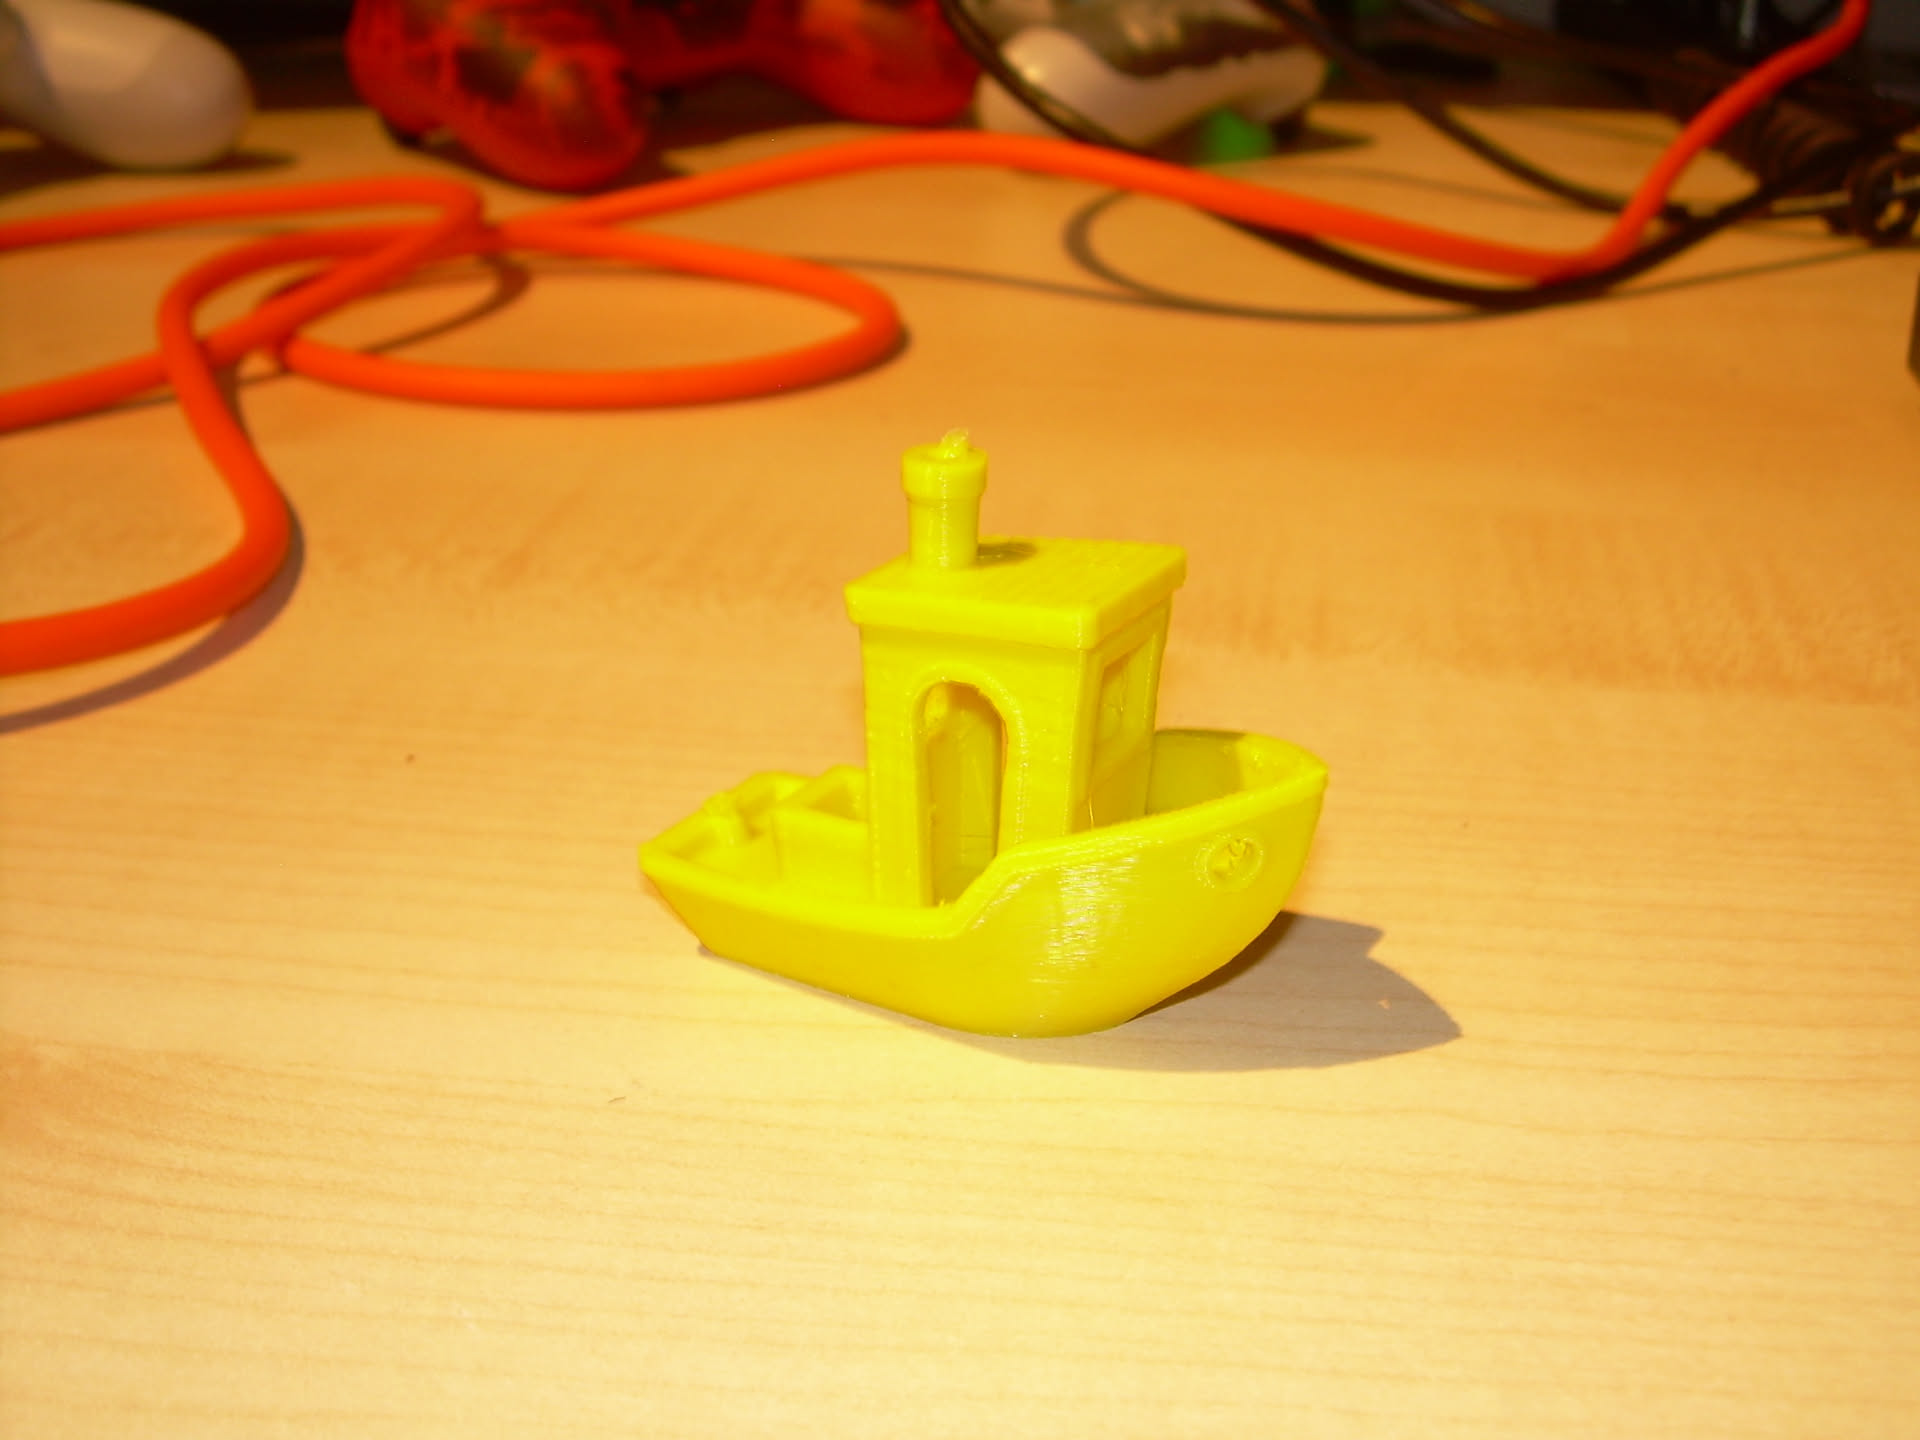