


Introduction
I've had this Samsung Galaxy Tab 3 10.1 laying in my drawer for quite some time. The battery was dead and it didn't charge anymore. I always thought "I'll probably find a use for it someday". And after doing basically the same with a Nexus 5, I decided to give it a new life as a digital photo frame.
I've been running Immich on my homelab for about a year now, and I've been absolutely loving it. It ticks all my boxes for a photo app, and is basically the better open-source version of the app which shall not be named. I heard about Immich Kiosk some time ago and setting it up has been somewhere on my todo list (or, well, kanban board) ever since.
Getting the tablet working
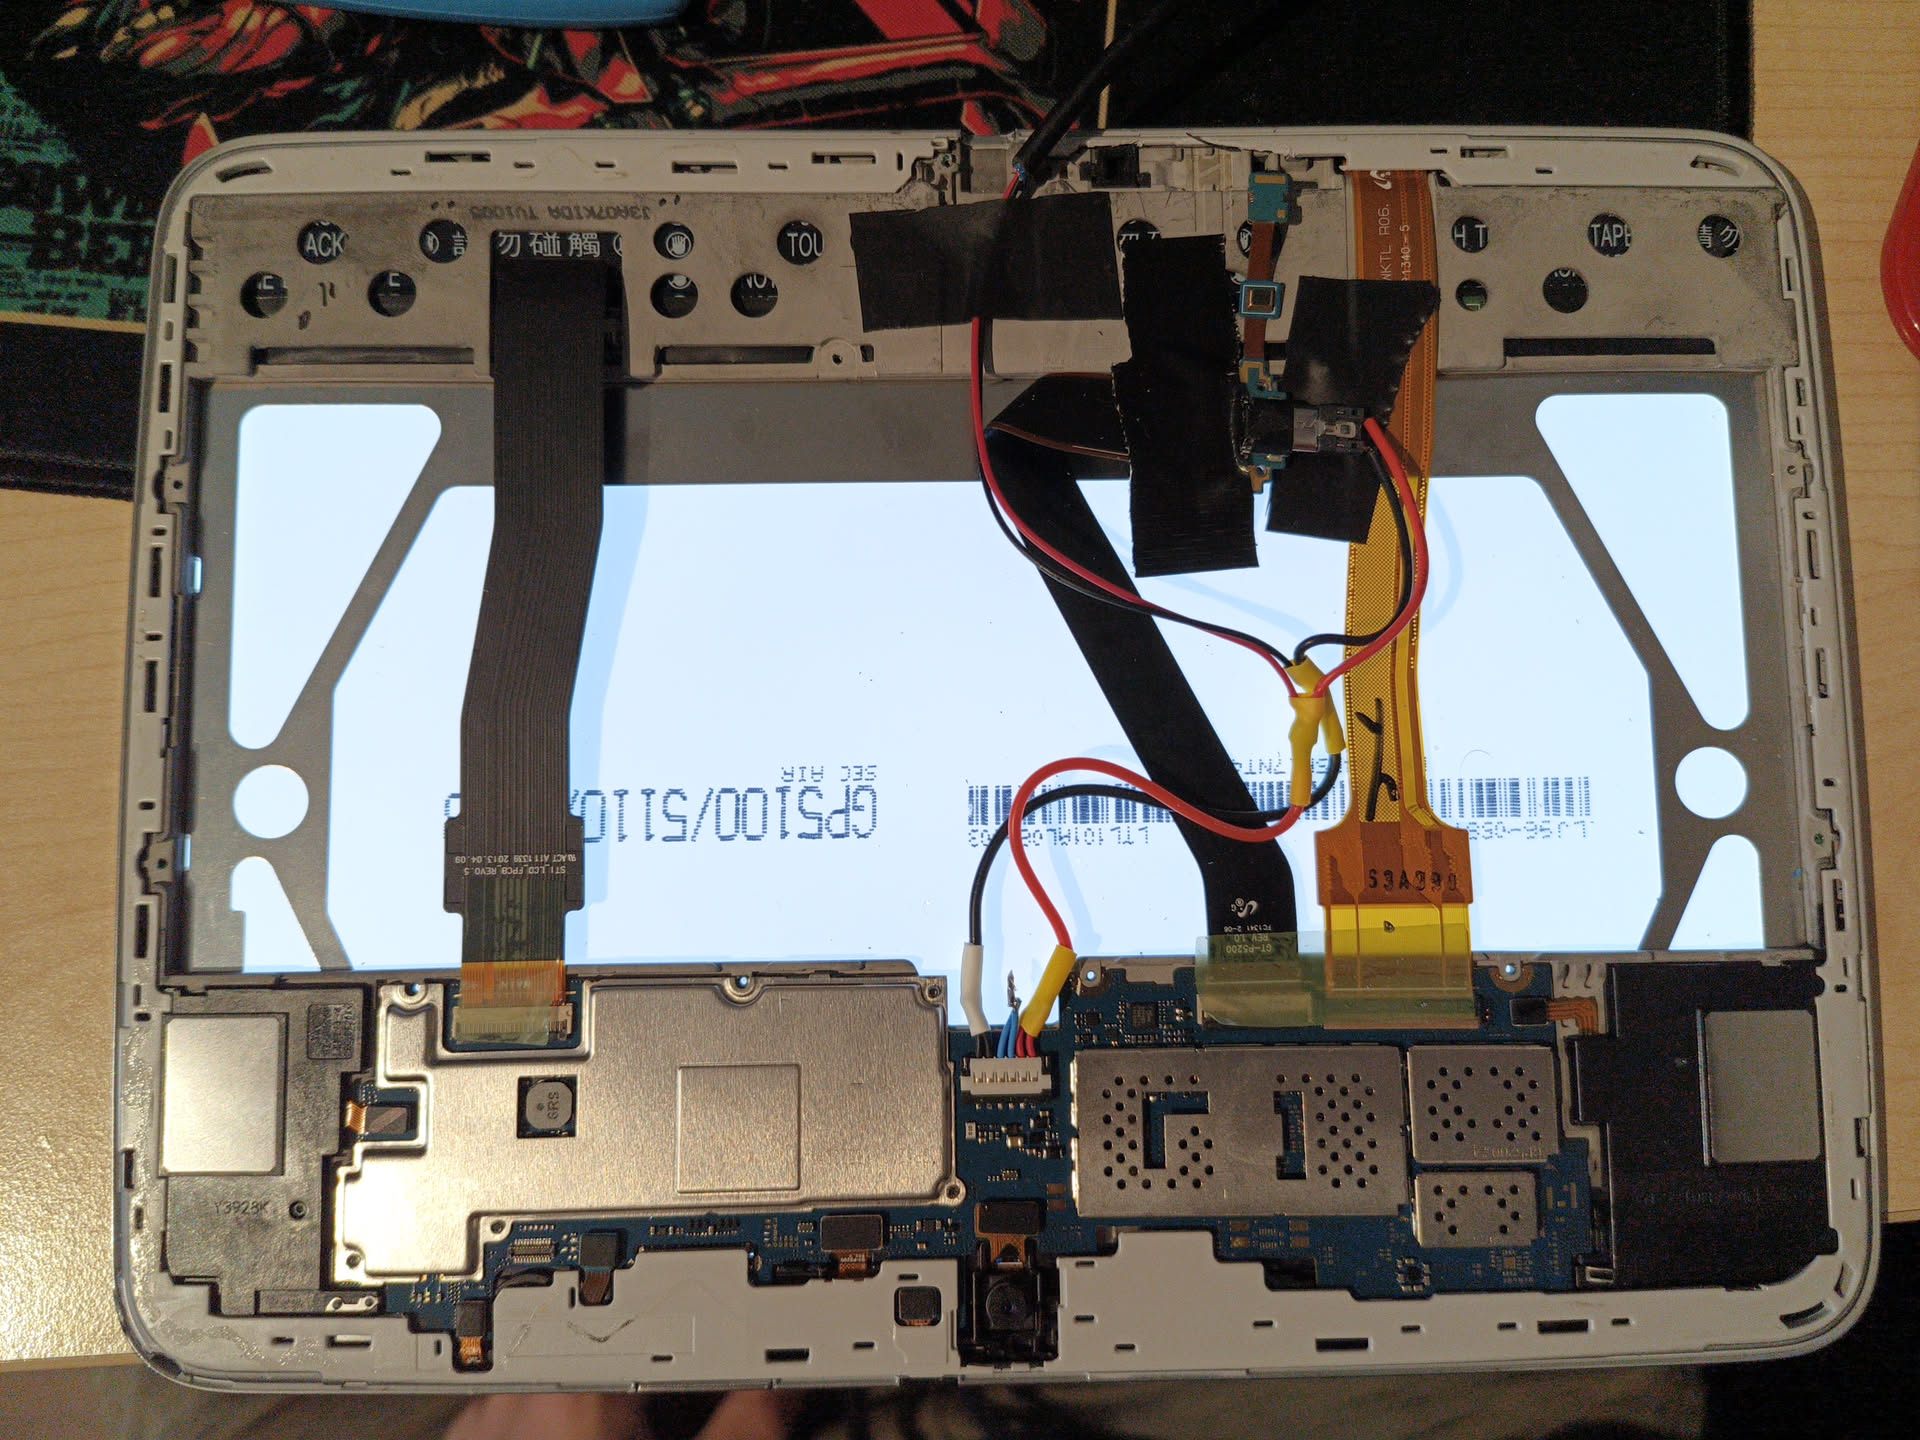
First things first, the tablet doesn't charge and won't power on. To mitigate this, I want to do the same as with the Nexus 5: take out the battery and just power the device directly from a power source. As inspiration, I used this video. Apparently, I don't have to insert a step-down module between the 5V power supply and the tablet, and I can just run it from the power source directly.
Mine had the same problem as the Nexus 5 though: it only wanted to power on if I also applied power through the USB port. Luckily, I could just splice the power cables to go to the battery connector and the port at the same time. I soldered the wires to the connector of the original battery cable instead of the connector on the tablet's motherboard, because the battery is toast anyways and I don't like soldering directly to tablets. I also removed the USB connector from its housing so I could bend it towards the center, because the USB power connector I had stuck out on the bottom otherwise. After adding some tape to make sure no metal touches metal, I could power it with just 1 USB cable:
Updating the tablet
In its current state, the tablet was running Android 4.4.2, the latest Android version for that model. However, the lowest Android SDK I could use in Android studio is 5.0.0, so I would have to update it. It was already rooted, so I figured I put LineageOS on it. I've had good results with it on my other Lenovo tablet, so this was an easy choice.
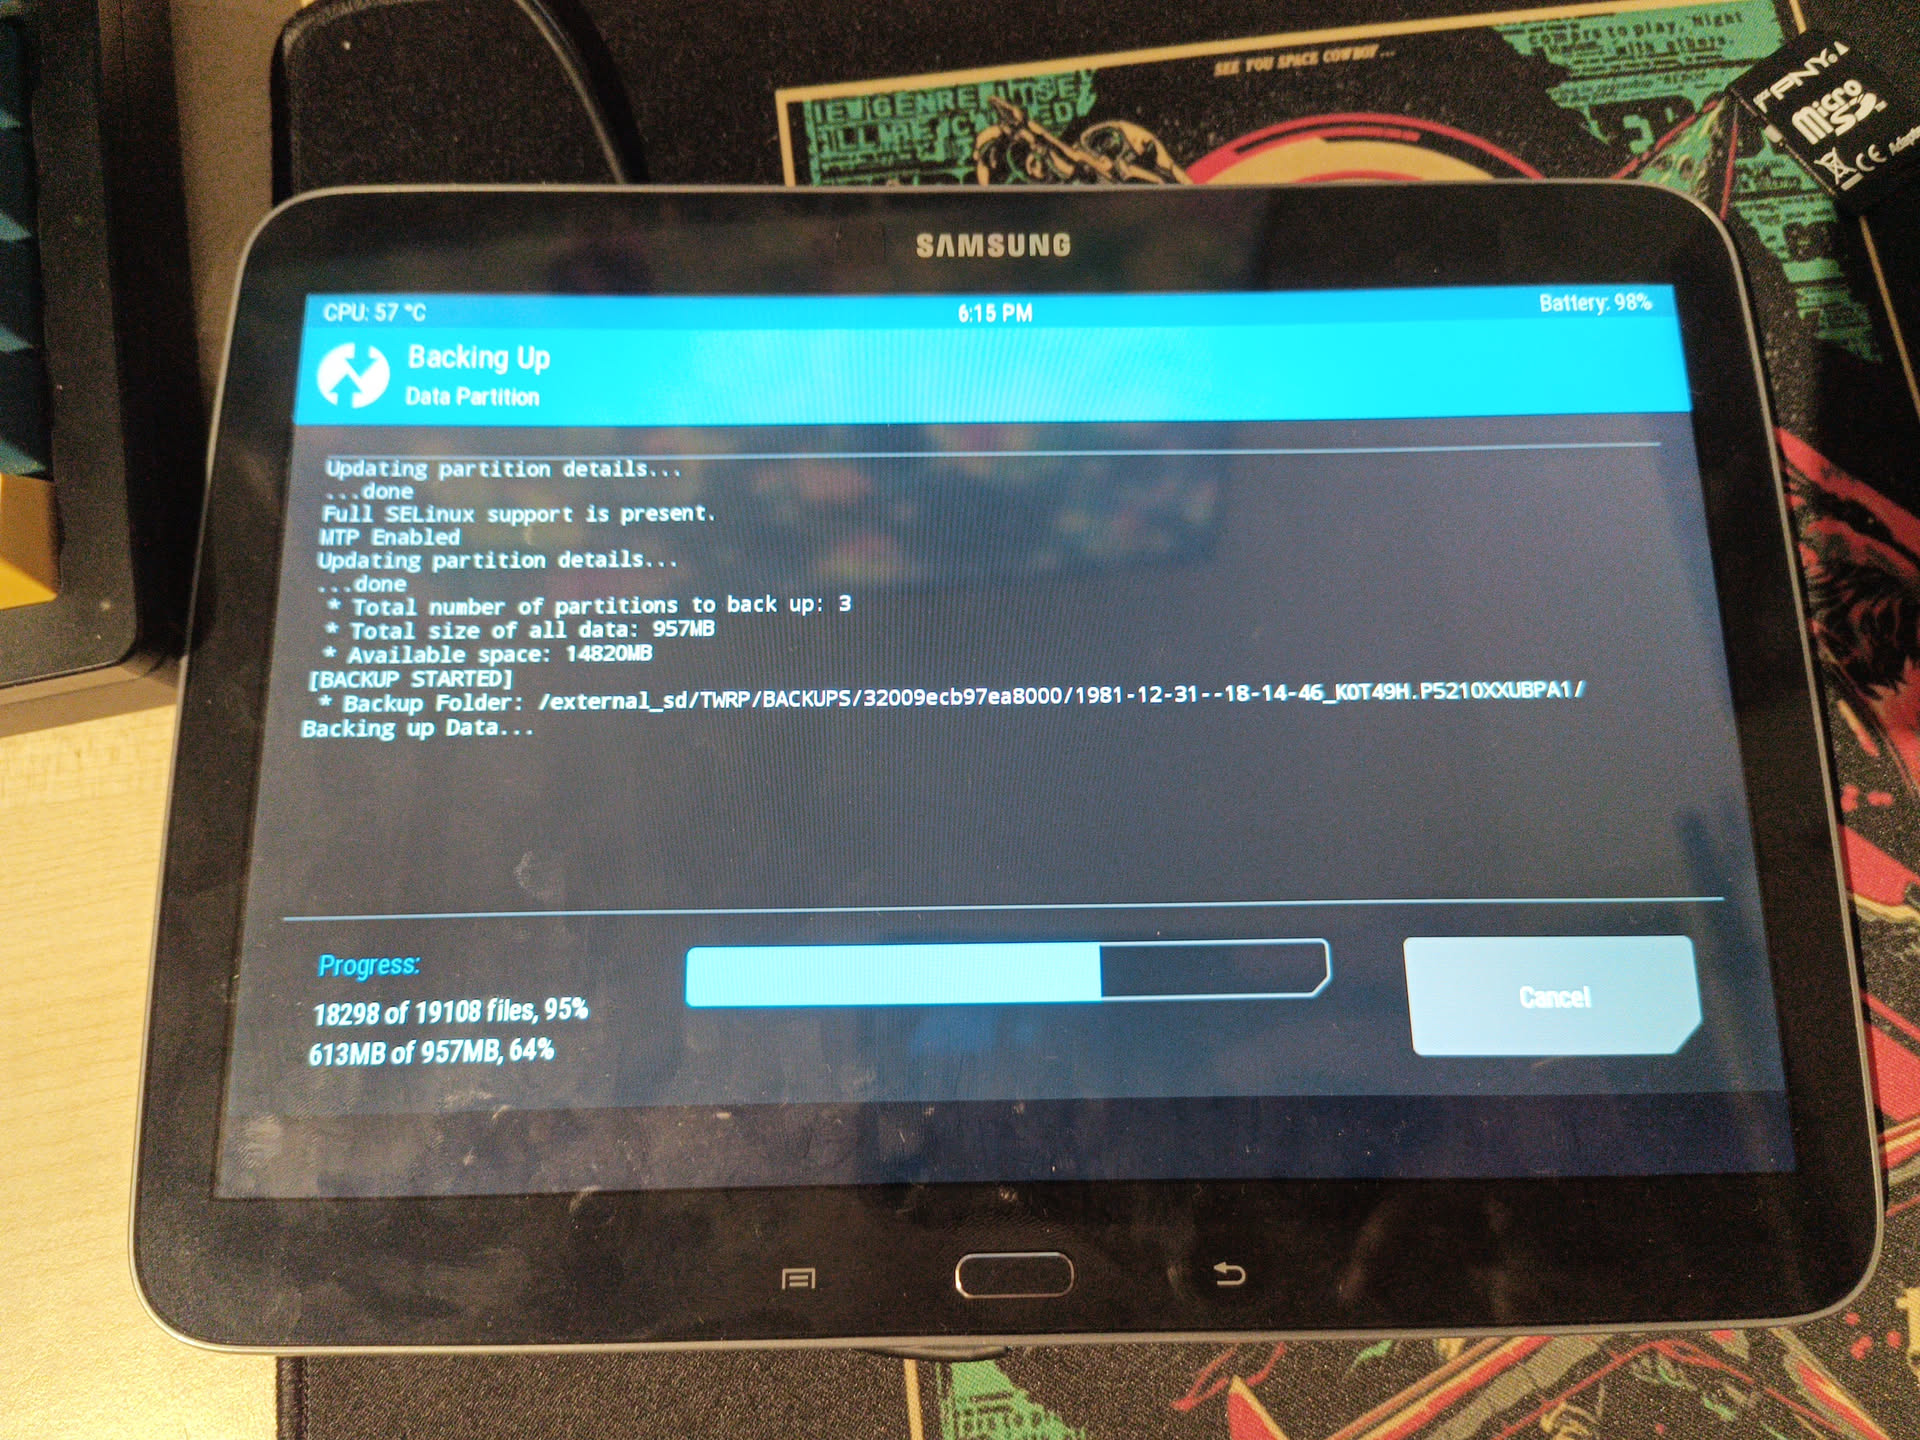
I downloaded the ROM and GApps files from the XDA thread and booted into TWRP (which you do by holding down the power, volume up and home button at the same time). To be sure, I backed up the system, data and EFS partitions. Then I first flashed the ROM, and then the GApps. The GApps gave an error though, about there not being enough storage. I figured I don't really need them because I'll be writing the app for it myself anyways, so I went without them.
_preview.jpeg)
_preview.jpeg)
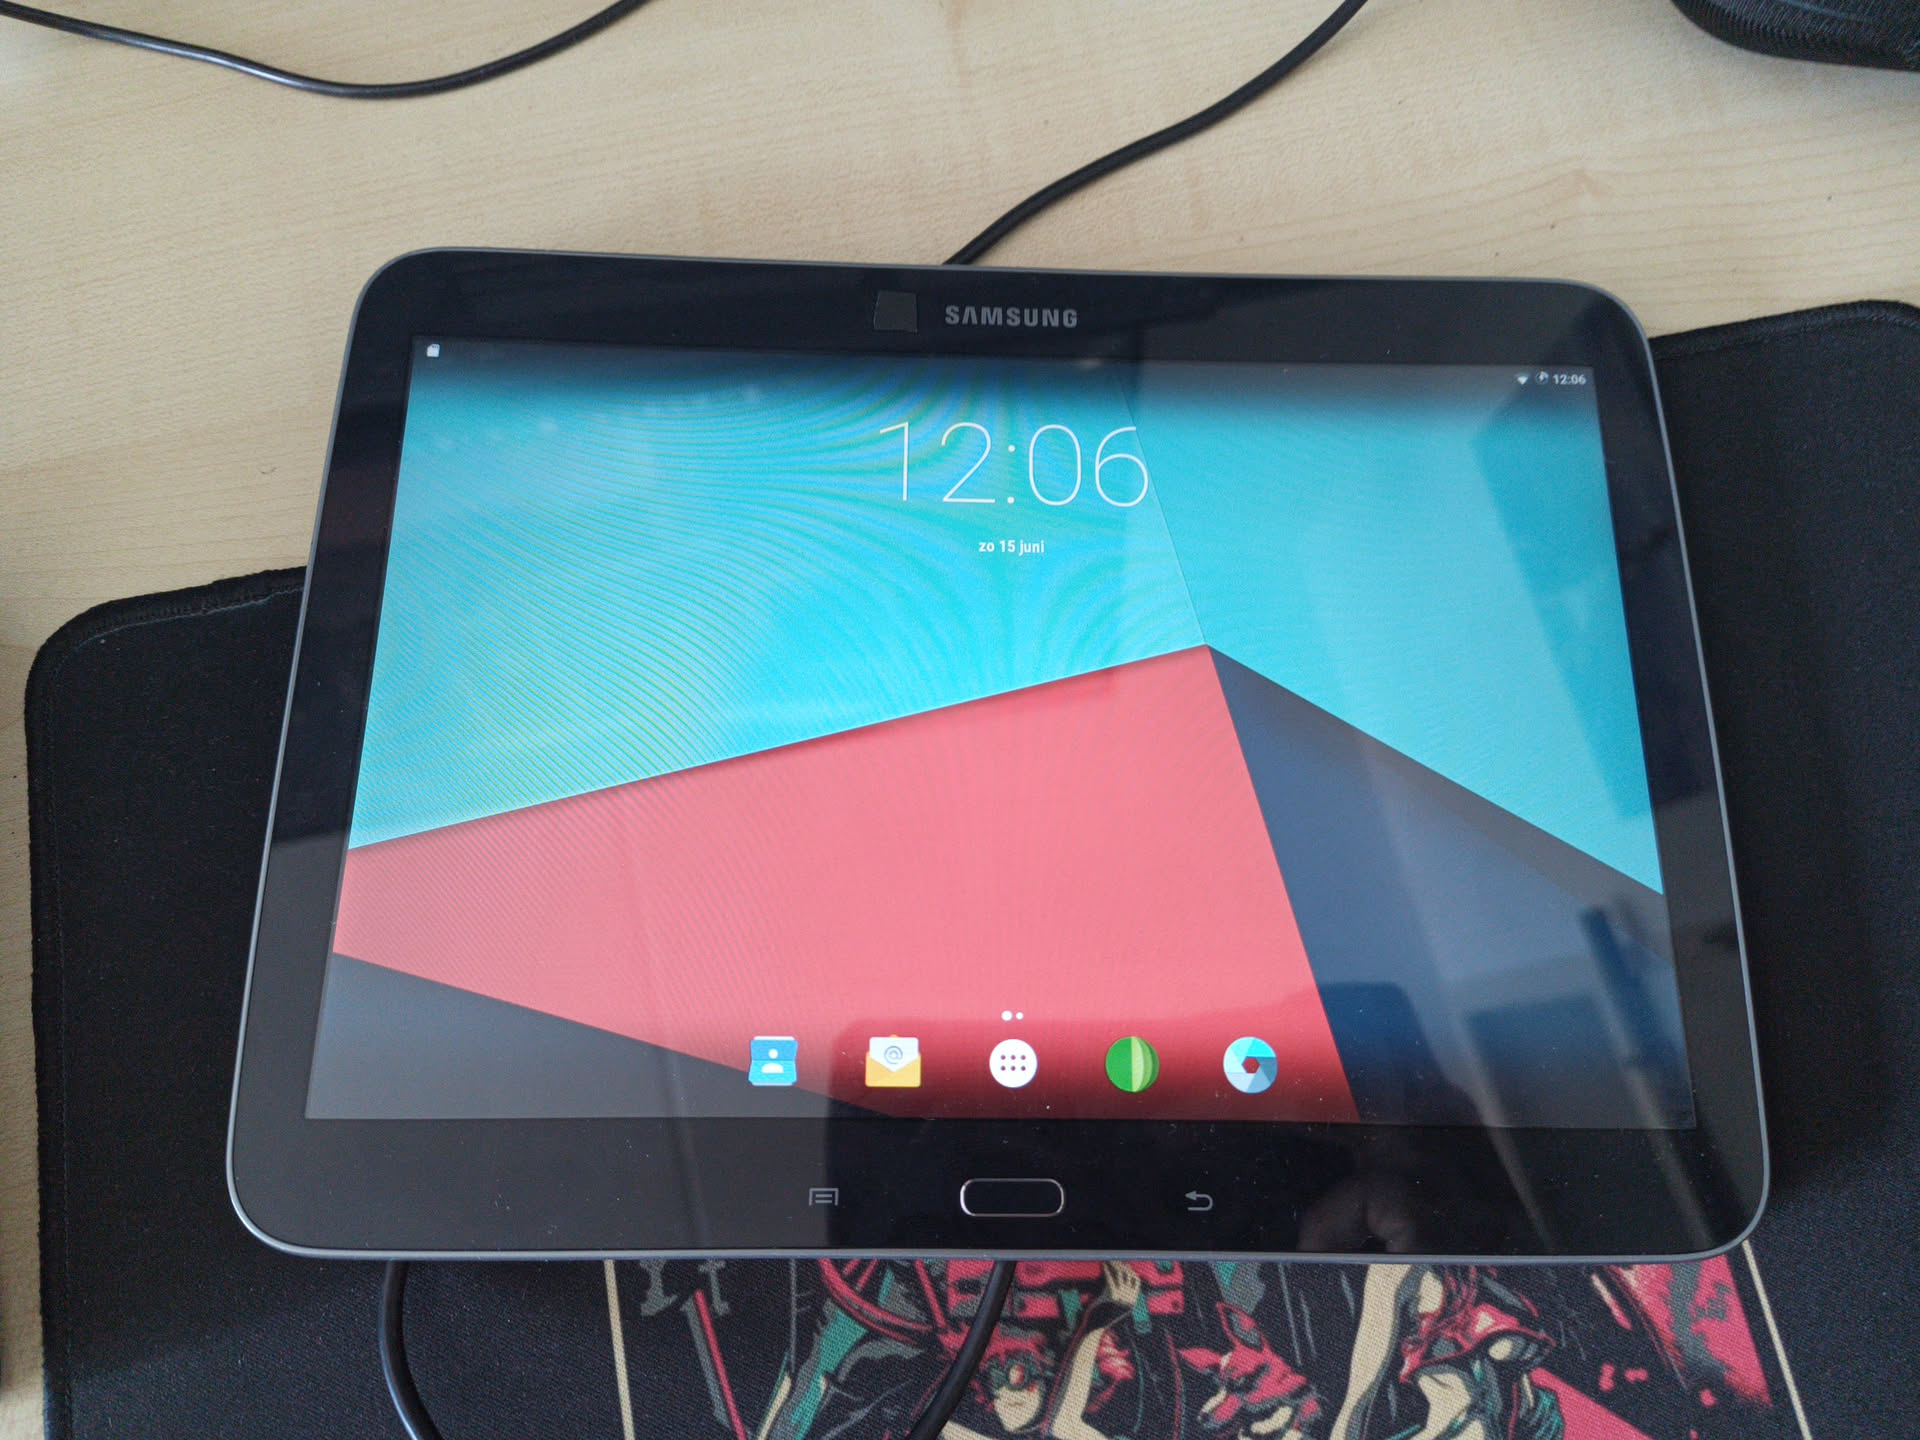
And just like that, LineageOS was installed!
After having it installed, I wanted to install something like an FTP server. I downloaded the APK but found out
I needed the GApps to be able to install APK files... Luckily, I found this video explaining how to fix the error about not
enough space on the partition. I used the open_gapps_log.txt file to get the device name, which was
apparently santos10wifi. I had already wondered why the filename for the ROM had that in the
name... I eventually entered this as my gapps-config-santos10wifi.txt file
TalkBack
Photos
Hangouts
VRService
Slides
Sheets
Newsstand
Music
Movies
PlayGames
Books
GoogleNow
TagGoogle
NewsWidget
Fitness
Duo
Drive
Docs
GooglePlus
Gmail
However, I remembered you can also just get a different version of the OpenGApps, which is way smaller than the stock version. So I tried that first. I downloaded the pico version, hoping that that contained the installer. After flashing the zip file using TWRP I only had the Google Play Store app. Clicking on the APK did indeed launch the normal Android installer. When I clicked "Install" though, it would take a very long time and sometimes just give an error about the Google Play Services stopping, and it would hang on the "installing..." view. I eventually figured out that this was because the Google Play Protect services wanted to scan the APK, but I wasn't logged in so that gave some problems. After opening the Google Play Store to log in to my Google account it was fixed and I could install the APKs normally.
Configuring the tablet
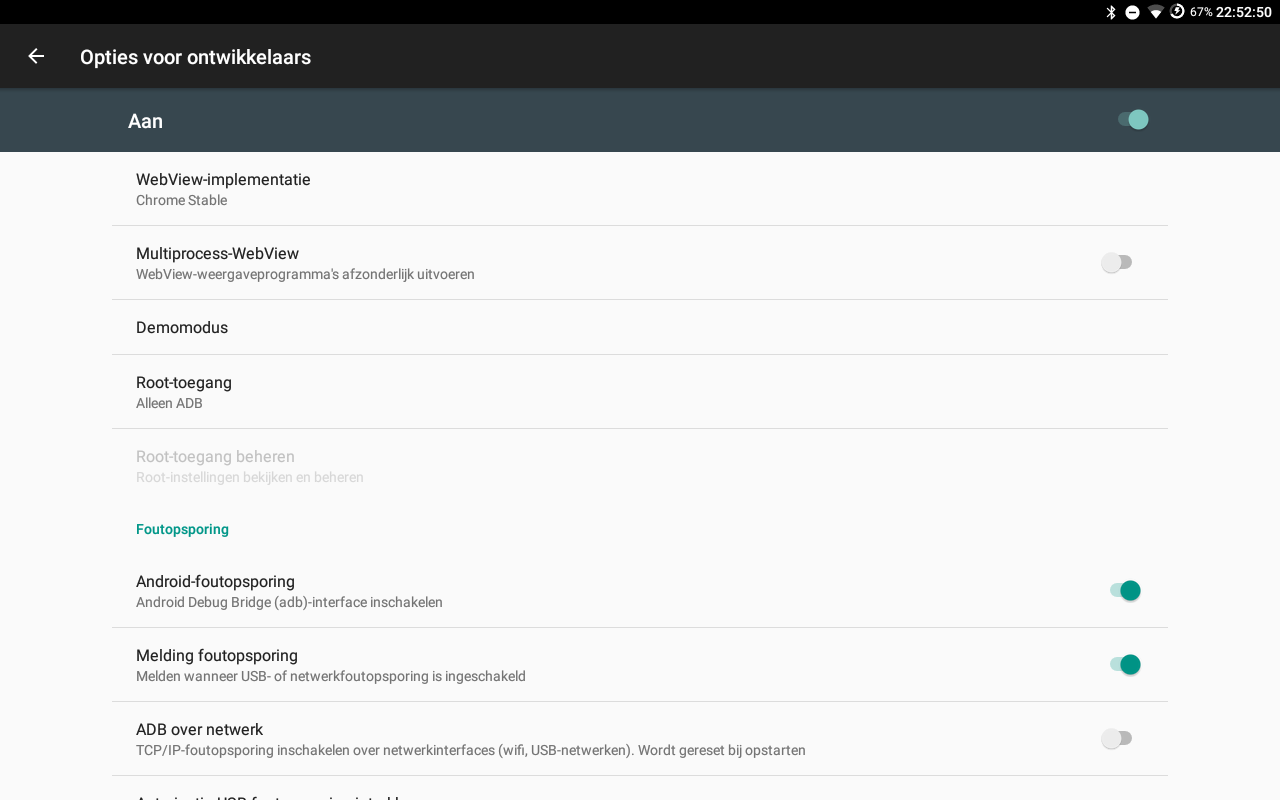
I already enabled stand-by mode through the developer options, making sure it does not turn off when it thinks it's charging, but the screen still goes dimmer after 30 minutes. I wanted to completely disable screen dimming. For this, I needed to root it. Luckily, rooting LineageOS is pretty simple using Magisk. However, I kept getting an "Error 2" when trying to flash the Magisk zip file. Before debugging this further, I decided to finish the app to see if setting the flag to keep the screen awake would fix the issue.
The app™️
For the app I used a lot of the same things from the app for the Nexus
5. I also have a BootCompletedReceiver to receive the BOOT_COMPLETED event, and
I have the SystemData enum singleton to handle the URL and checking if the page is already opened.
However, the BootCompletedReceiver does not launch the app, but just launches the main activity, which holds a
WebView that displays Immich Kiosk. I chose this approach as opposed to using the FullScreenBrowser app like
last time, because the fullscreen browser app is quite old and this removes some potential points of failure.
Plus now I can just change the URL of this app for anything else and make any Android device display a webpage
on boot. The new BootCompletedReceiver looks like this:
public class BootCompletedReceiver extends BroadcastReceiver {
  public static String TAG = BootCompletedReceiver.class.getName();
  @Override
  public void onReceive(Context context, Intent intent) {
      if (intent == null) {
          Log.e(TAG, "Received null intent!");
          return;
      }

      if (intent.getAction() == null) {
          Log.e(TAG, "Action of received intent is null!");
          return;
      }

      if(intent.getAction().equals(Intent.ACTION_BOOT_COMPLETED)) {
          Log.i(TAG, "DAAAMN BOY THAT BITCH BOOTED");
          Toast.makeText(context, "We ballin ong fr fr", Toast.LENGTH_SHORT).show();
          SystemData data = SystemData.INSTANCE;
          if (!data.hasOpenedBrowser())
          {
              data.setOpenedBrowser(true);

              // Open main activity
              try {
                  startMainActivity(context);
              } catch (PackageManager.NameNotFoundException e)
              {
                  Log.e(TAG, "Error opening main activity: " + e.getLocalizedMessage());
              }
          }
      }
  }

  /**
    * Starts the main activity by starting the app for this package.
    * @param context the context to use to get the package name
    * @throws PackageManager.NameNotFoundException if the name of the package is not found
    */
  private void startMainActivity(Context context) throws PackageManager.NameNotFoundException {
      PackageManager pm = context.getPackageManager();
      Intent intent = pm.getLaunchIntentForPackage(context.getPackageName());
      context.startActivity(intent);
  }
}
The MainActivity now Creates a WebView and visits the specified URL from the
SystemData enum. It also enables fullscreen and sets the flag to keep the screen on. Note that you
have to explicitly enable JavaScript (which is needed for Immich Kiosk) for the WebView using
setJavaScriptEnabled(true)
public class MainActivity extends AppCompatActivity {
  @Override
  protected void onCreate(Bundle savedInstanceState) {
      super.onCreate(savedInstanceState);
      EdgeToEdge.enable(this);
      setContentView(R.layout.activity_main);

      // make fullscreen
      getWindow().setFlags(WindowManager.LayoutParams.FLAG_FULLSCREEN, WindowManager.LayoutParams.FLAG_FULLSCREEN);
      // keep screen on
      getWindow().addFlags(WindowManager.LayoutParams.FLAG_KEEP_SCREEN_ON);

      ViewCompat.setOnApplyWindowInsetsListener(findViewById(R.id.main), (v, insets) -> {
          Insets systemBars = insets.getInsets(WindowInsetsCompat.Type.systemBars());
          v.setPadding(systemBars.left, systemBars.top, systemBars.right, systemBars.bottom);
          return insets;
      });

      Toast.makeText(this, "hello from main activity", Toast.LENGTH_SHORT).show();

      WebView webView = new WebView(this);
      WebSettings webSettings = webView.getSettings();
      webSettings.setJavaScriptEnabled(true);
      webSettings.setDomStorageEnabled(true);
      webSettings.setBuiltInZoomControls(false); // disallow zoom
      webSettings.setOffscreenPreRaster(true);
      setContentView(webView);
      webView.loadUrl(SystemData.URL);
  }
}
Note that for the WebView to work properly, you have to add the INTERNET permission to your
AndroidManifest.xml file:
<uses-permission android:name="android.permission.INTERNET"/>
If you can't use the WebView or the import doesn't get found, you need to add the dependency to your
build.gradle file:
dependencies {
    // other dependencies...
    implementation (libs.webkit)
}
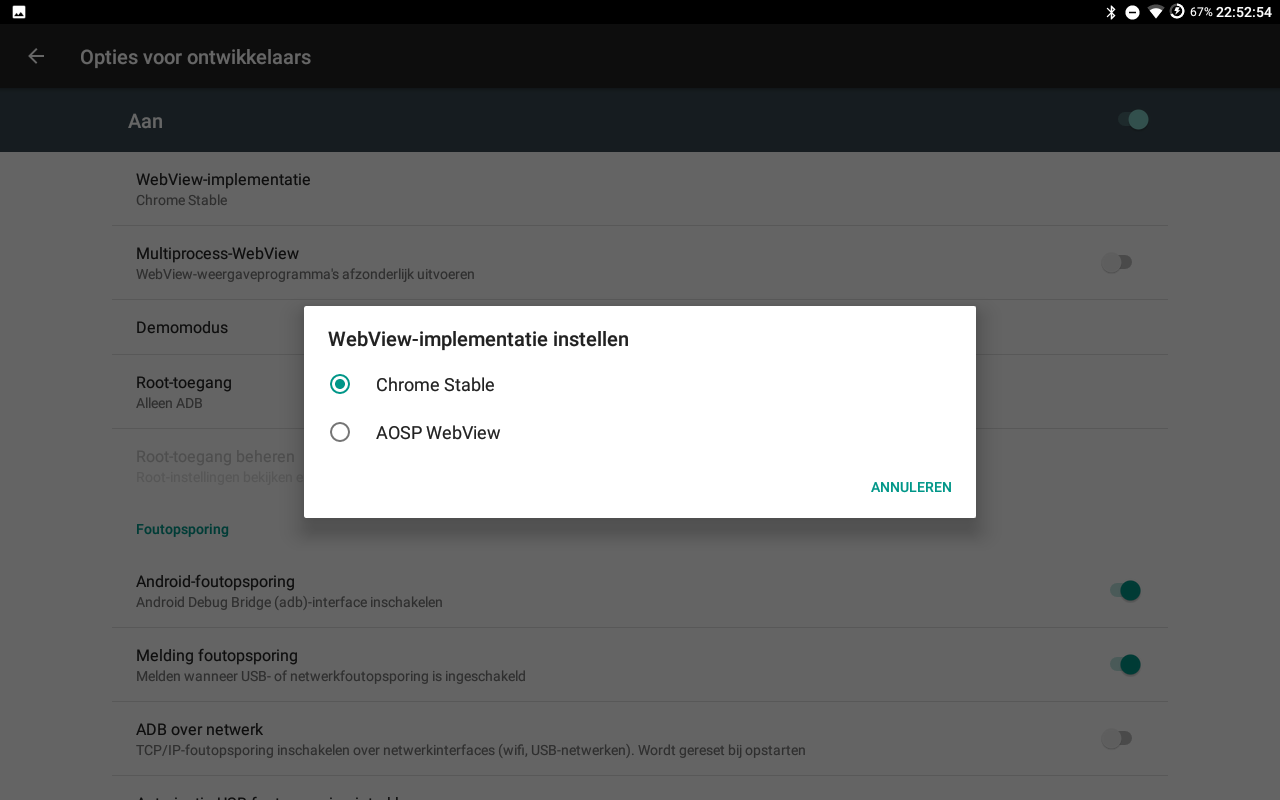
After implementing that, building the APK and installing it on the tablet it worked pretty well! The only problem was that I got an error about text relocations when I first launched the app. I dug around a bit and thought that maybe the default WebView was the problem. I installed Chrome and set it as my default WebView implementation through the developer options.

However, unfortunately that did not fix the issue. For now I decided to leave it, as I'm planning to never deliberately shut off the tablet or close the app.
Designing and printing the bracket
With the software done, all I had to do now was to create a bracket to hold it onto my monitor. I opted for a design that you see in most webcams, with a flat top and a movable back bracket to make sure it doesn't fall off.
After some designing, I ended up with this:

The files are available to download: