

Introduction
I have this Sony VAIO SVF152C29M laptop laying around that I tried to turn into a Proxmox server to run Windows XP on it and use it as a retro gaming server, but I found out the CPU doesn't support virtualization, so that idea was pretty much useless. I also had an official physical copy of Kubuntu 10.04 that I installed on it, but there was no way of actually using it as all the PPAs taken down and it was unable to connect to webpages with SSL encryption. So, I started looking for other things to do with it.
What now?
After some googling and researching, I came across Calculate Linux, It's a Gentoo-based destribution focussed on stability and usable for client/server solutions. It has some server variants, including Calculate Scratch Server, which is a minimal server-based install. Because it's based off Gentoo, and I have never used anything Gentoo related, I decided it would be fun to install this on the laptop. I did decide to go with the Desktop version, because I wanted a GUI, as my main server is already headless. I also want to rice it a little.
Creating the bootable USB and installing from it
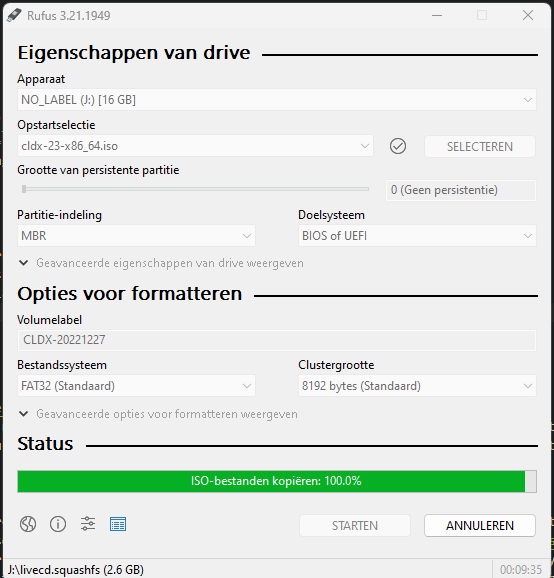
I downloaded the install ISO cldx-23-x86_64.iso and wrote it to a USB stick using Rufus:
After booting from the USB, I got the splash screen:
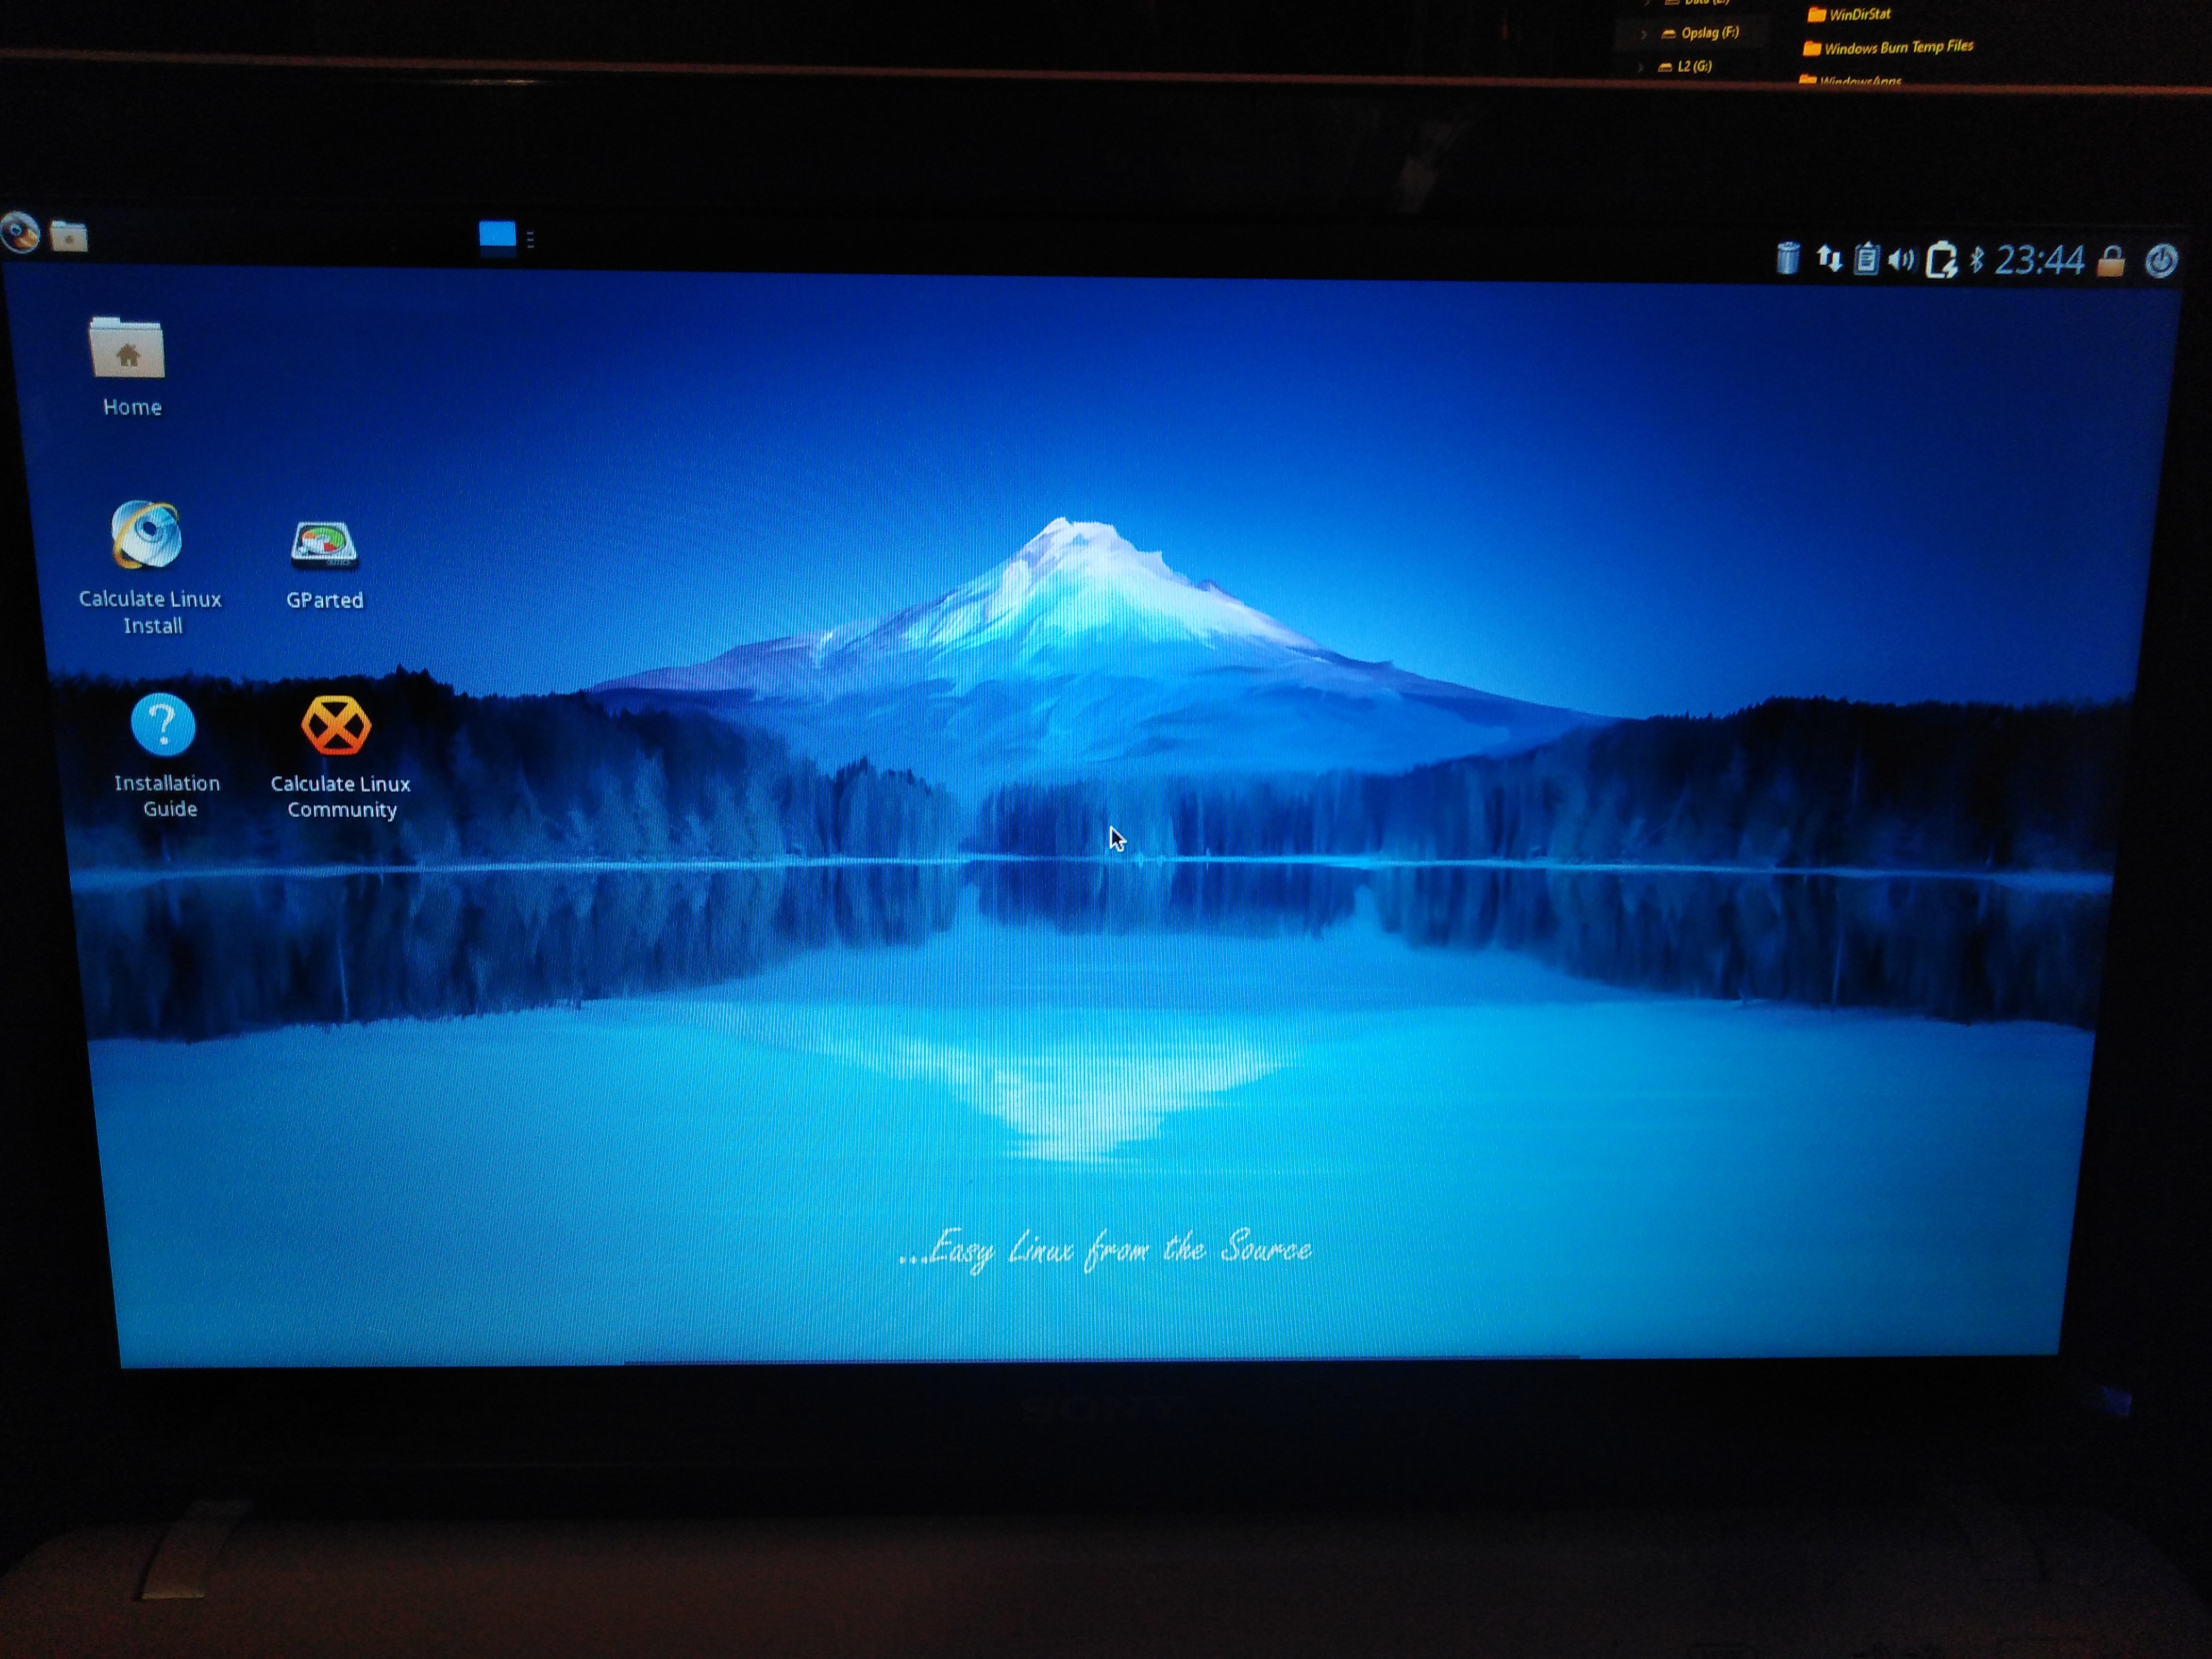
Then, I was greeted with the desktop. I went with XFCE because it's a light but customizable DE:
After fucking around with the DE a little, I then started the installer:
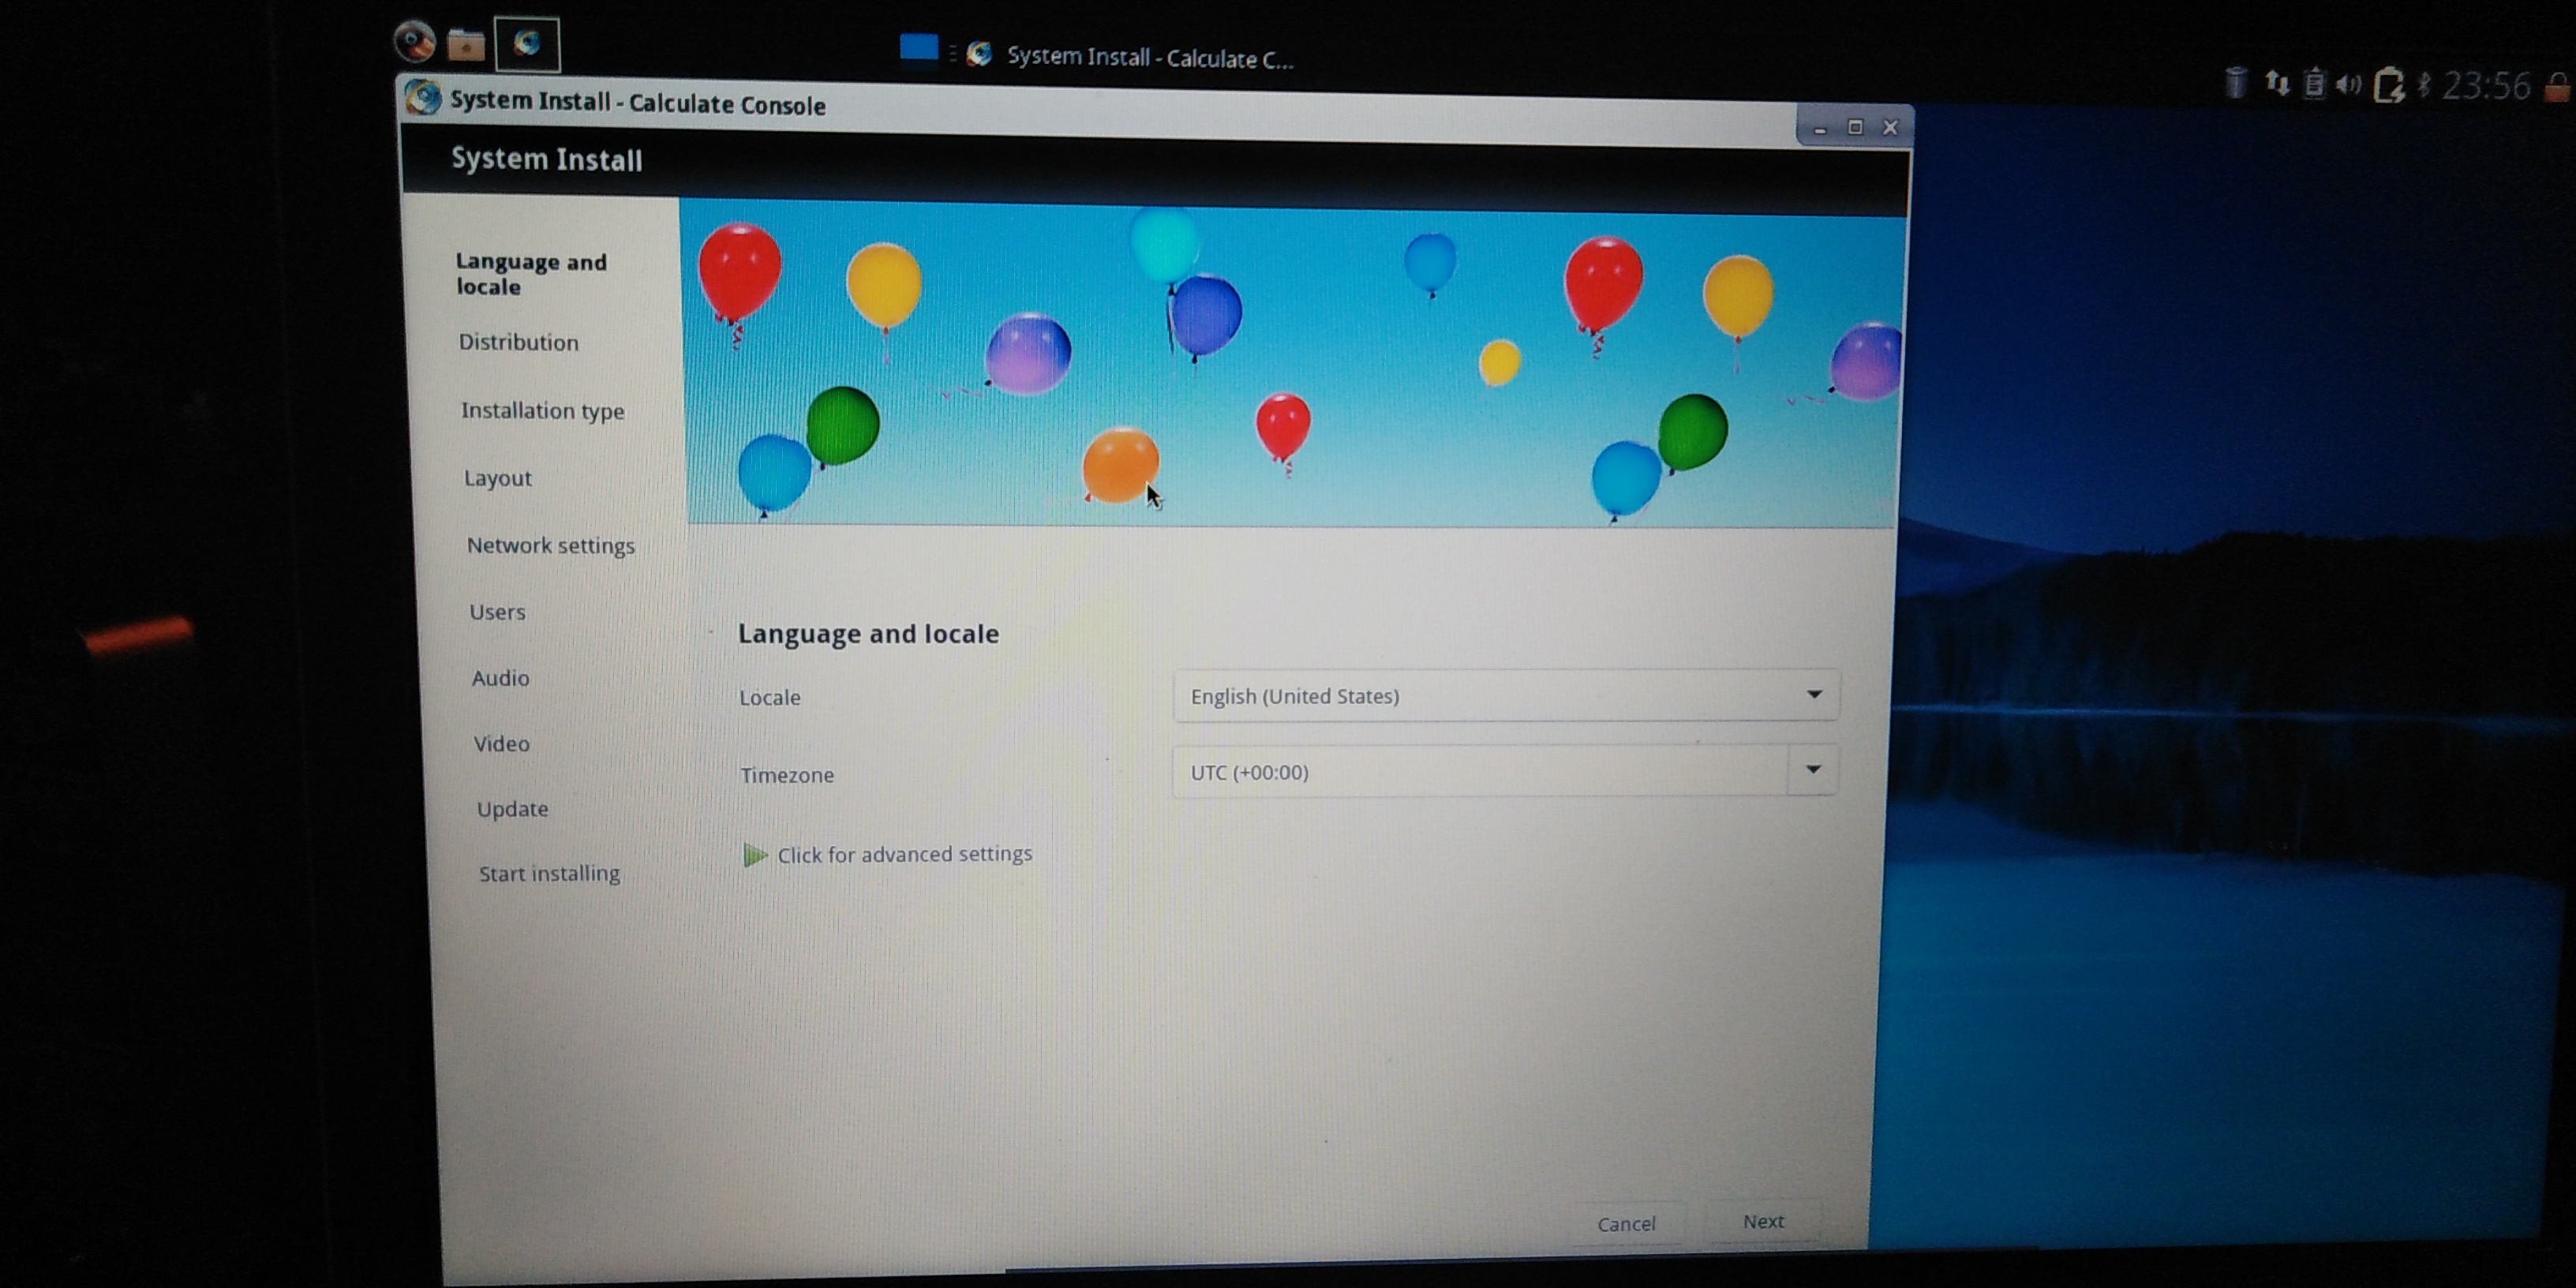
After I was done setting all the options, I could start the installation:
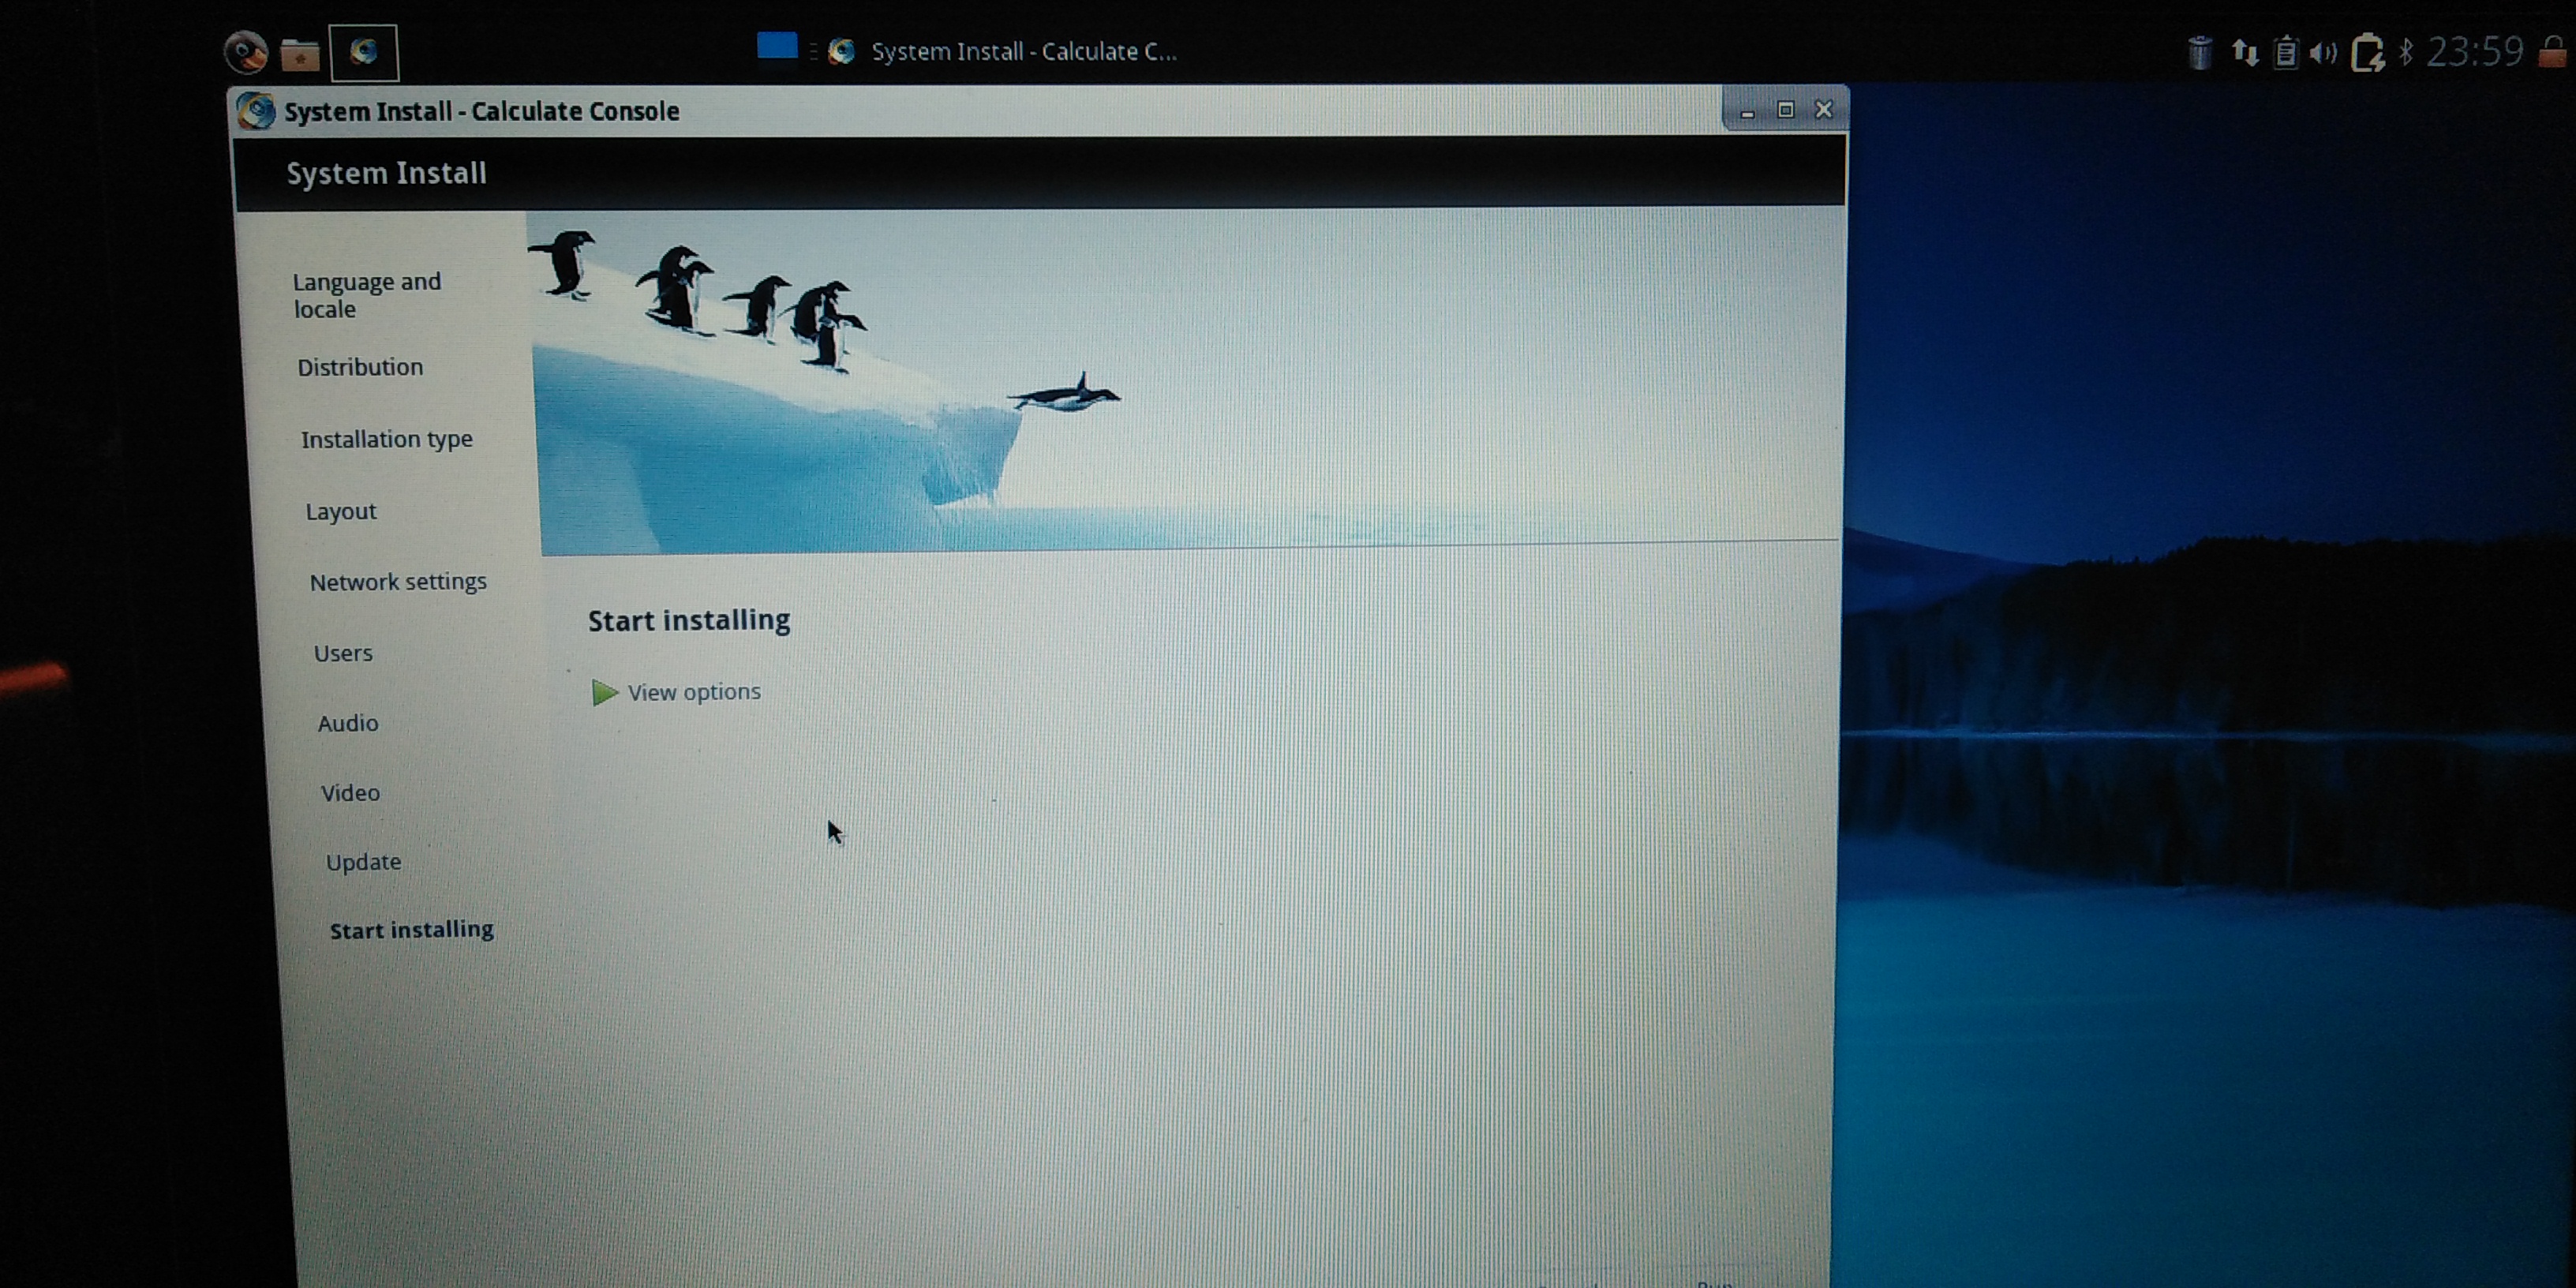
It checked some settings and after that I could begin installing everything to disk:
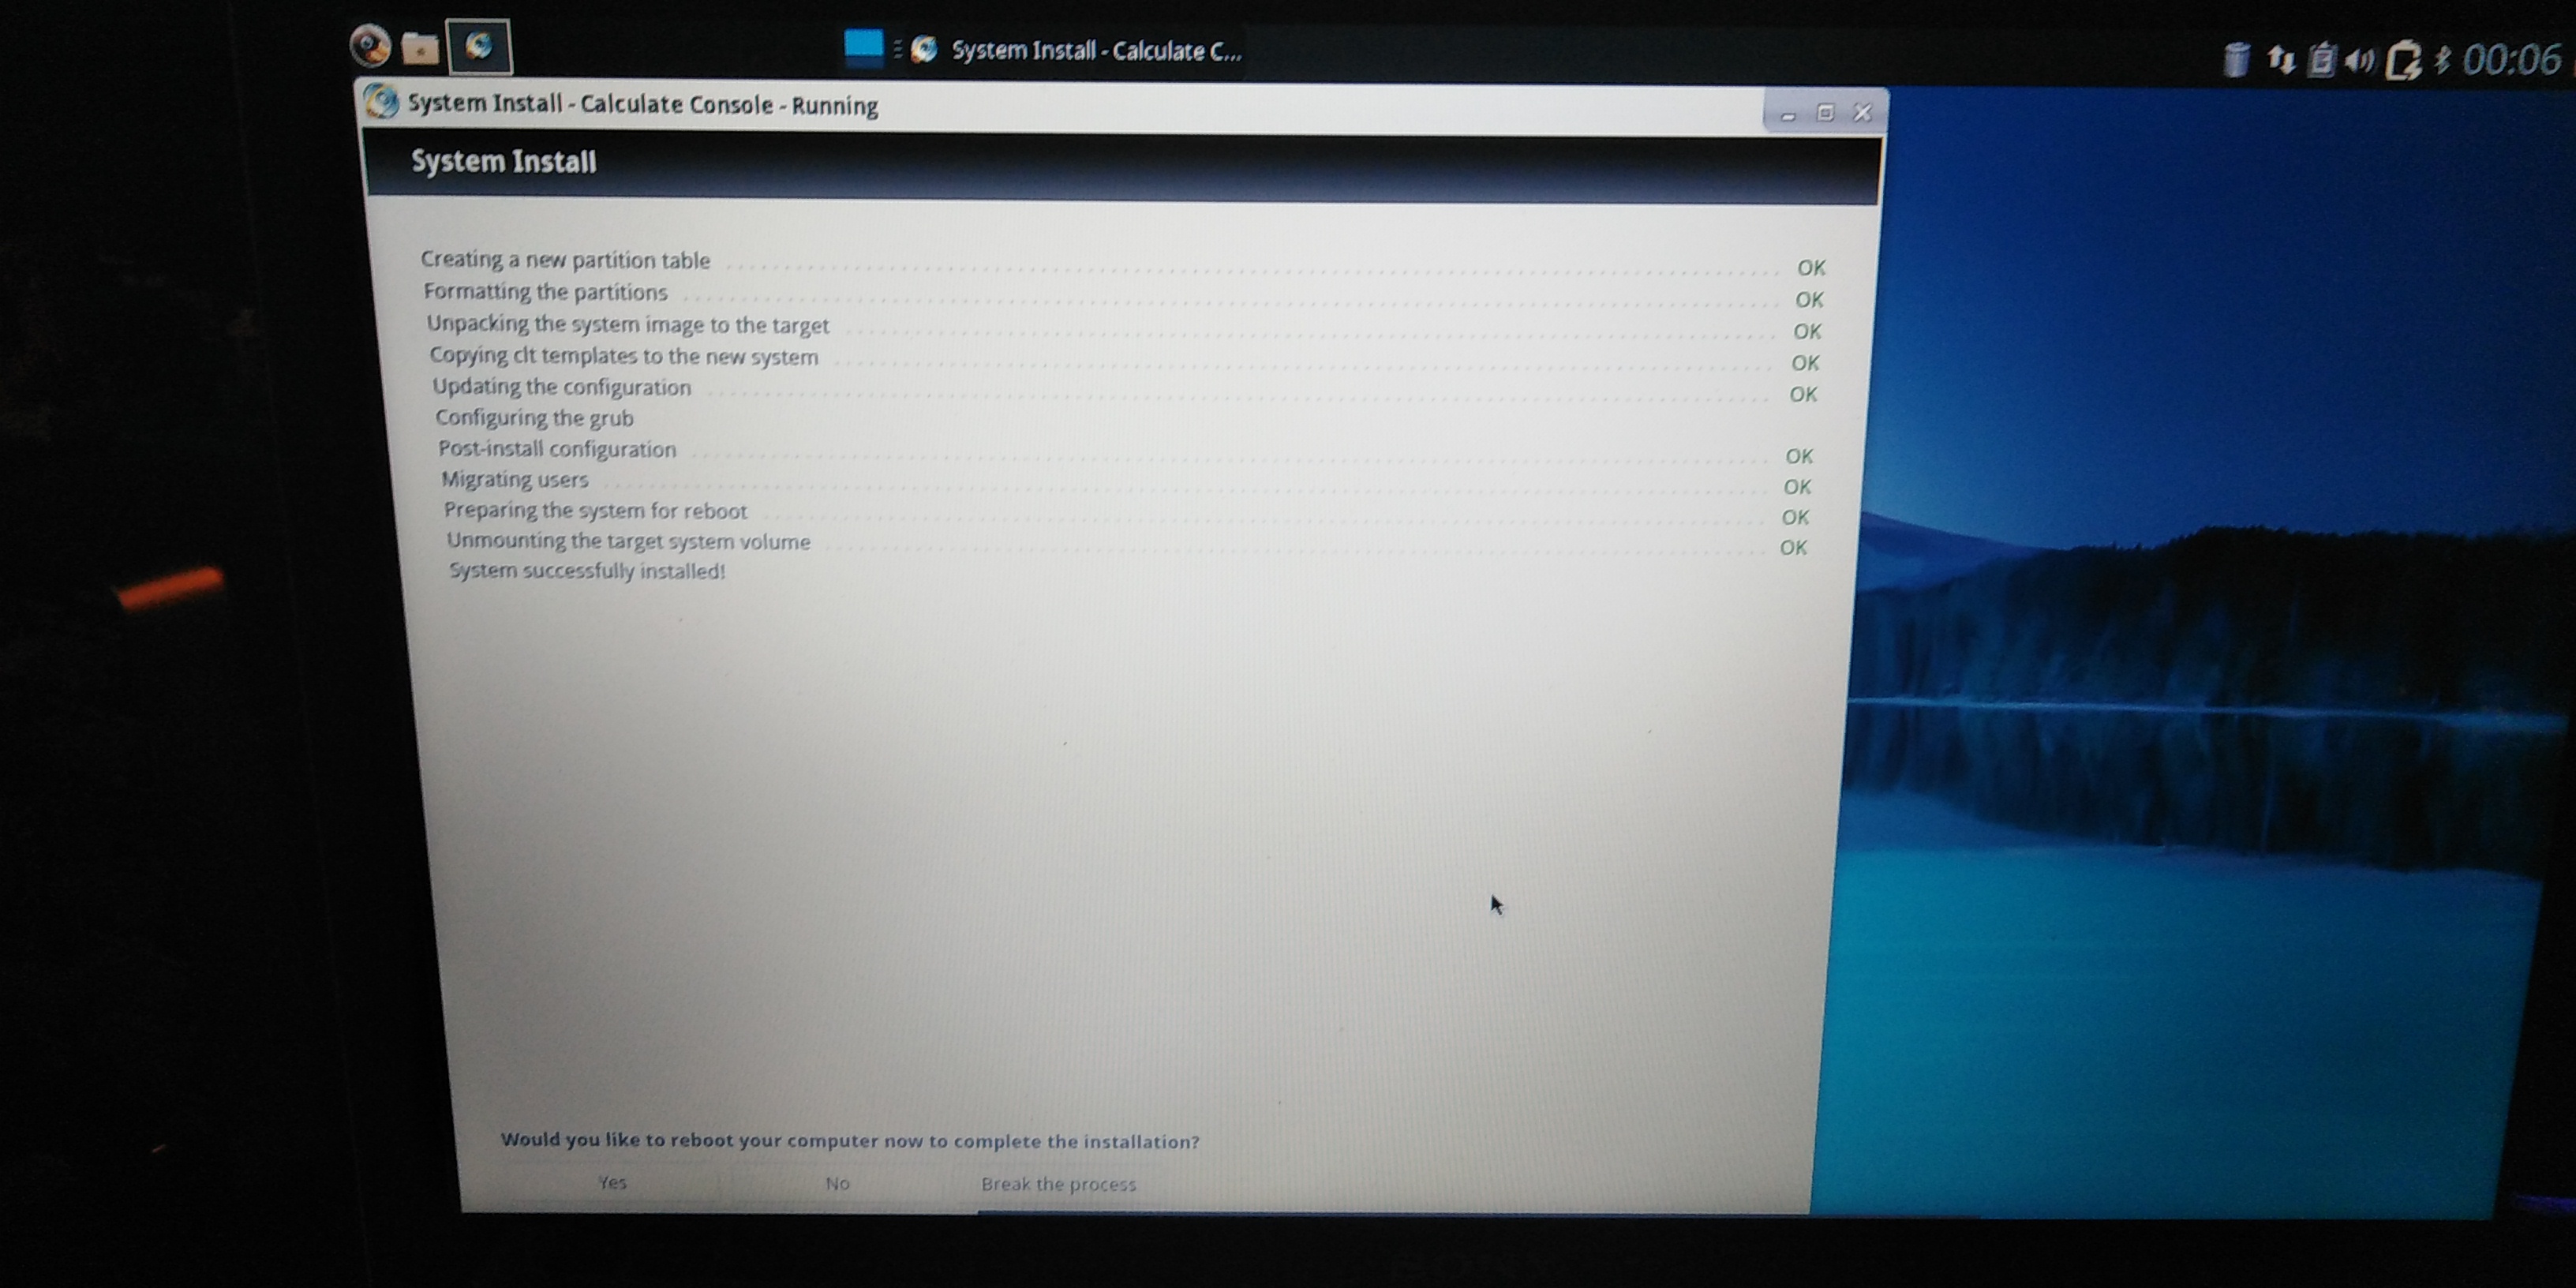
And after some waiting, I was in Calculate Linux:
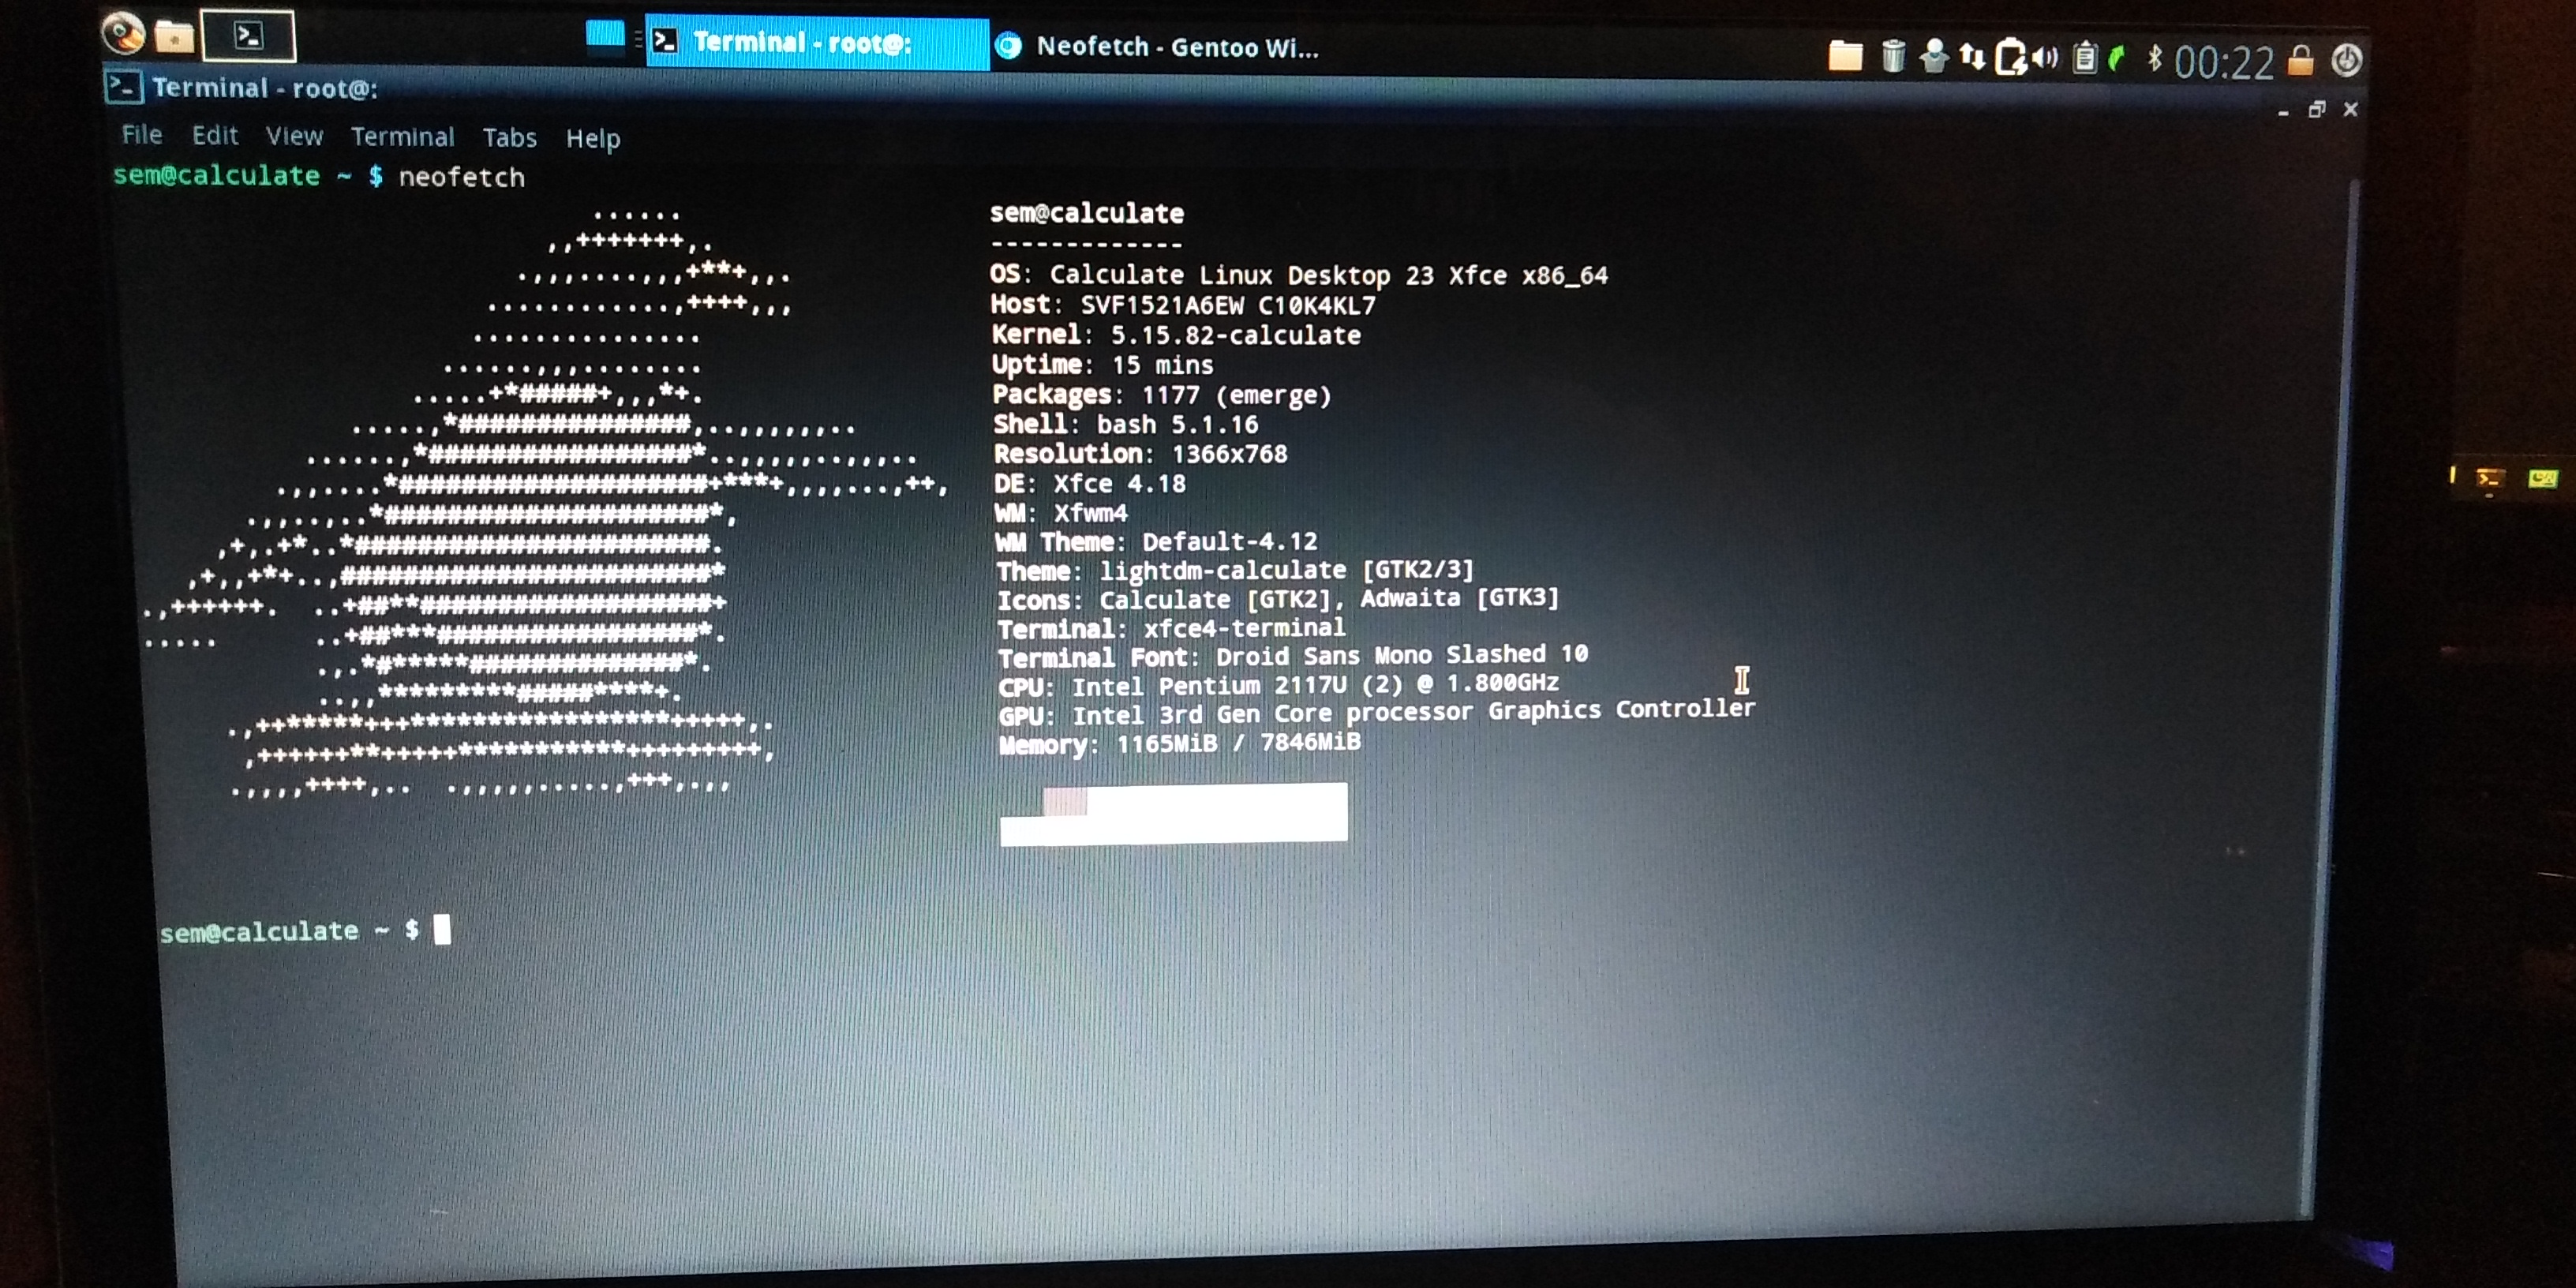
I also had a 2GB SD card lying around that I will use for log files

After some customisation of XFCE and the bashrc file, I had a result I liked:
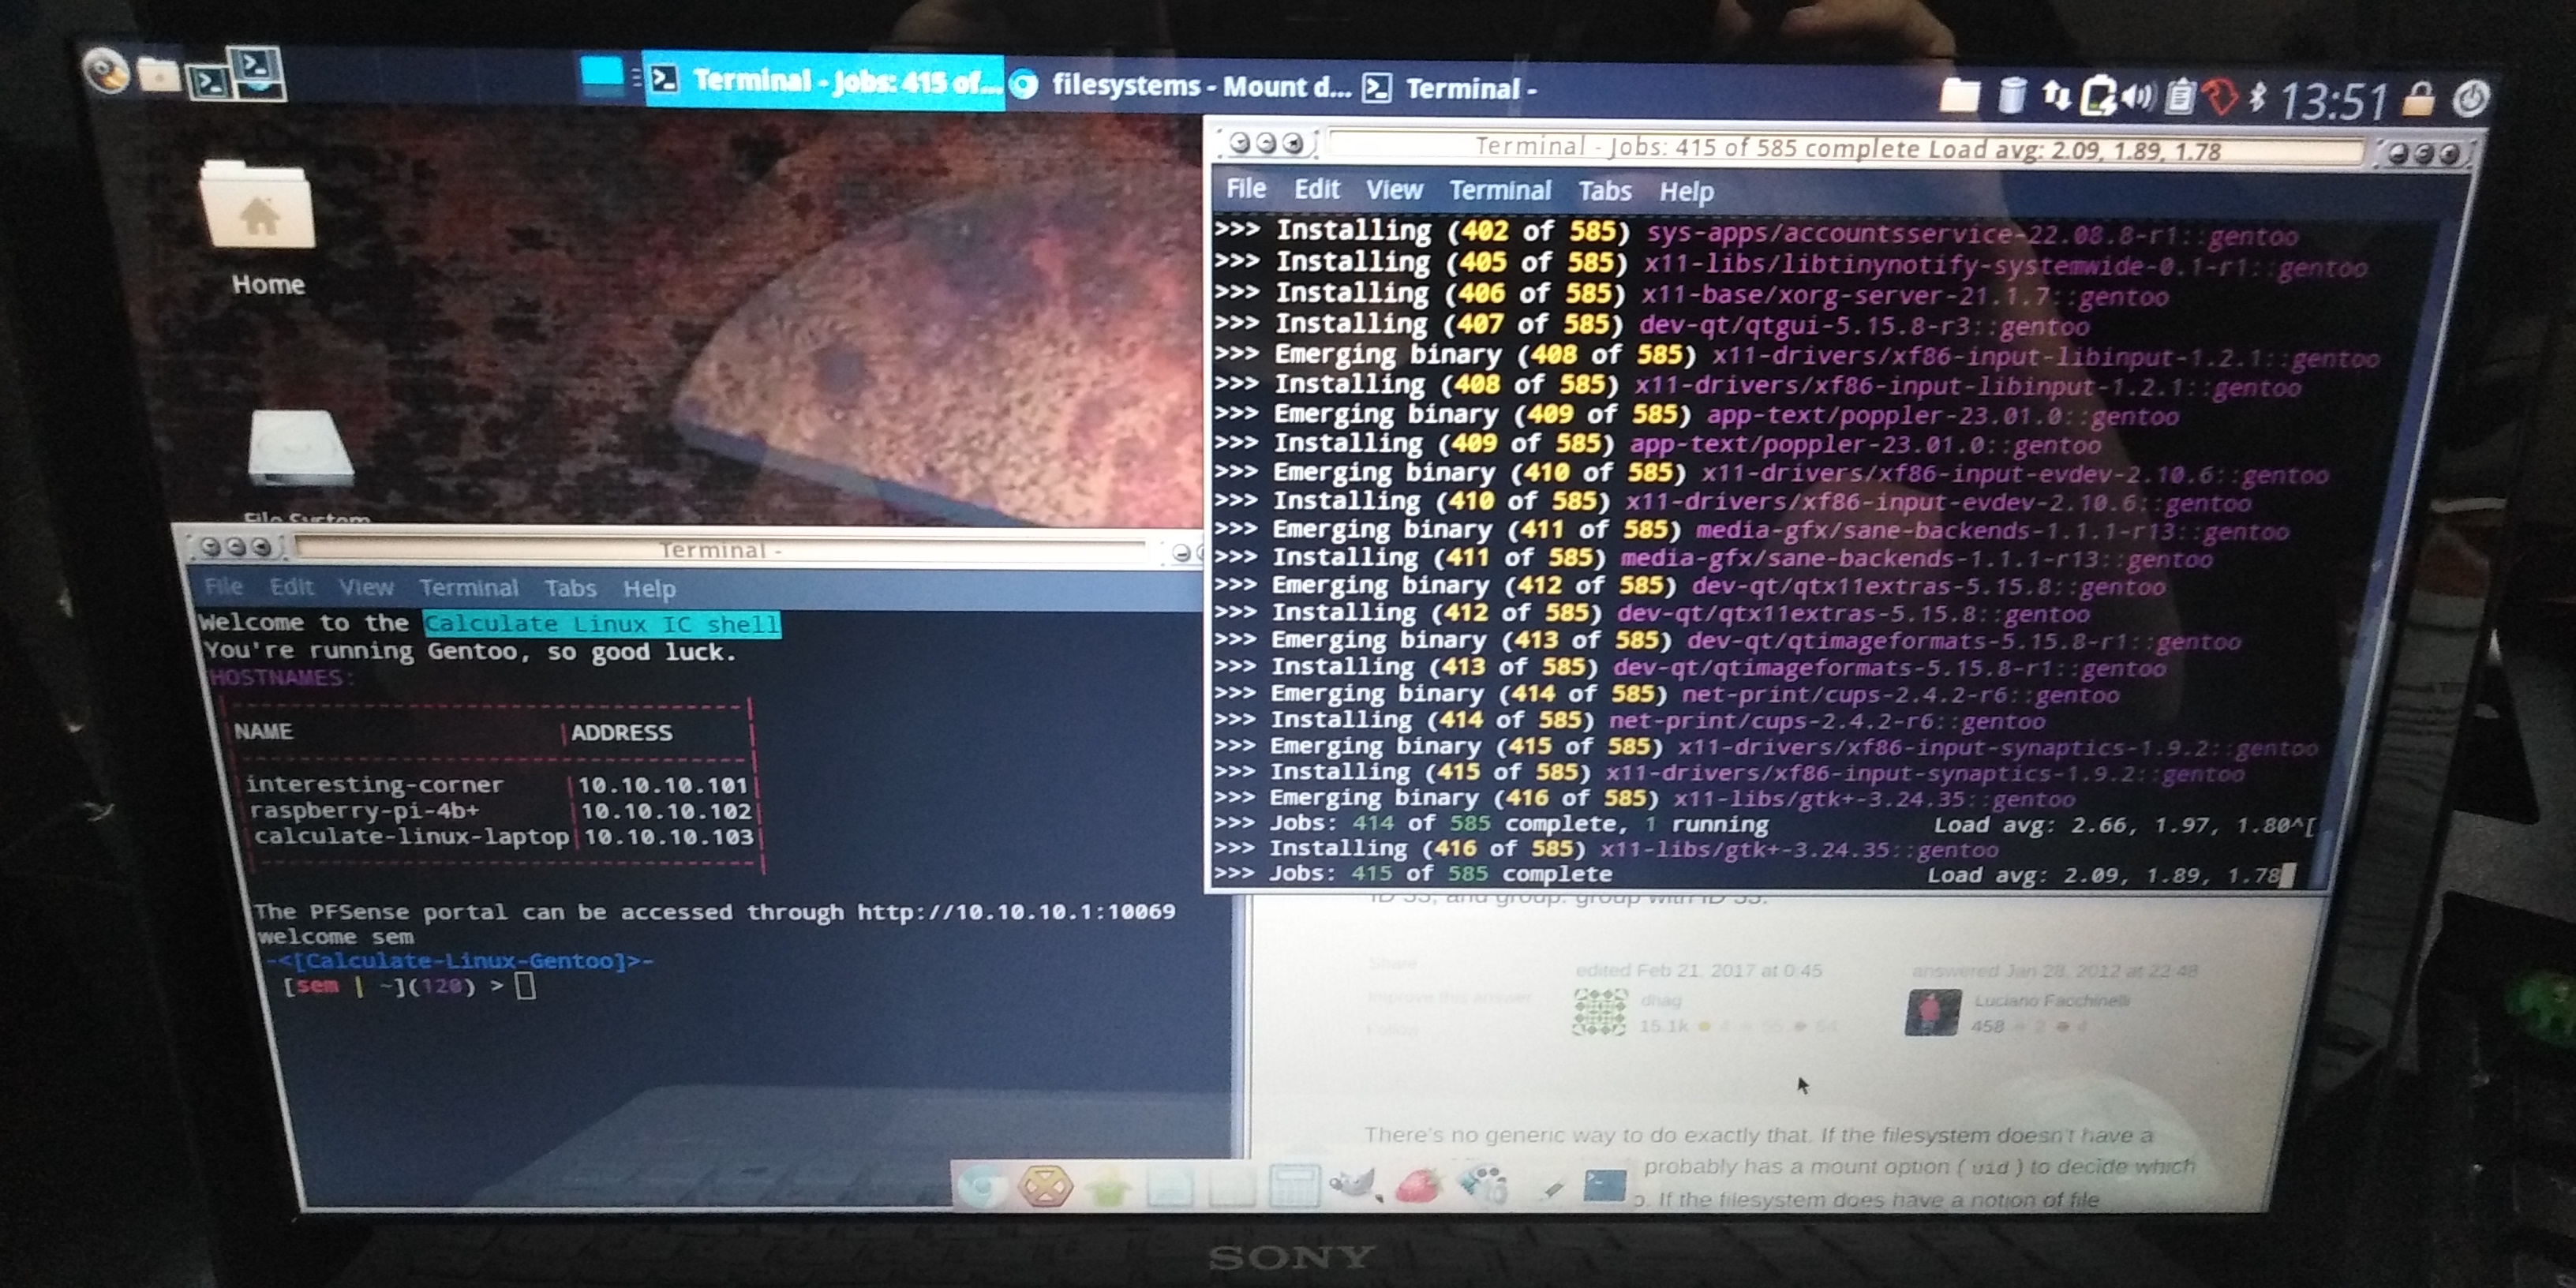
Now it was time for all the updates to complete (which took a couple of hours) and I could begin installing stuff to run for the homelab.
Automated network backups
I want to use this as a backup server, and to do that, I decided to use Bacula. It's a network based backup solution that has multiple parts and is enterprise ready.
Gentoo sucks
Well, I have been fucking around with this laptop for a little bit, and I have to say, Gentoo fucking sucks. Emerge is slow as hell (there must be some good use cases for downloading all sources and compiling everything, but it's not for me), installing packages is extremely unintuitive, and some simple things (like setting the display resolution) just don't work. I'm gonna scrap Calculate Linux and find something debian-based.
I've found Q4OS, which is a debian-based lightweight distro, and it looks pretty promising. There's also a review of it.
Installing Q4OS
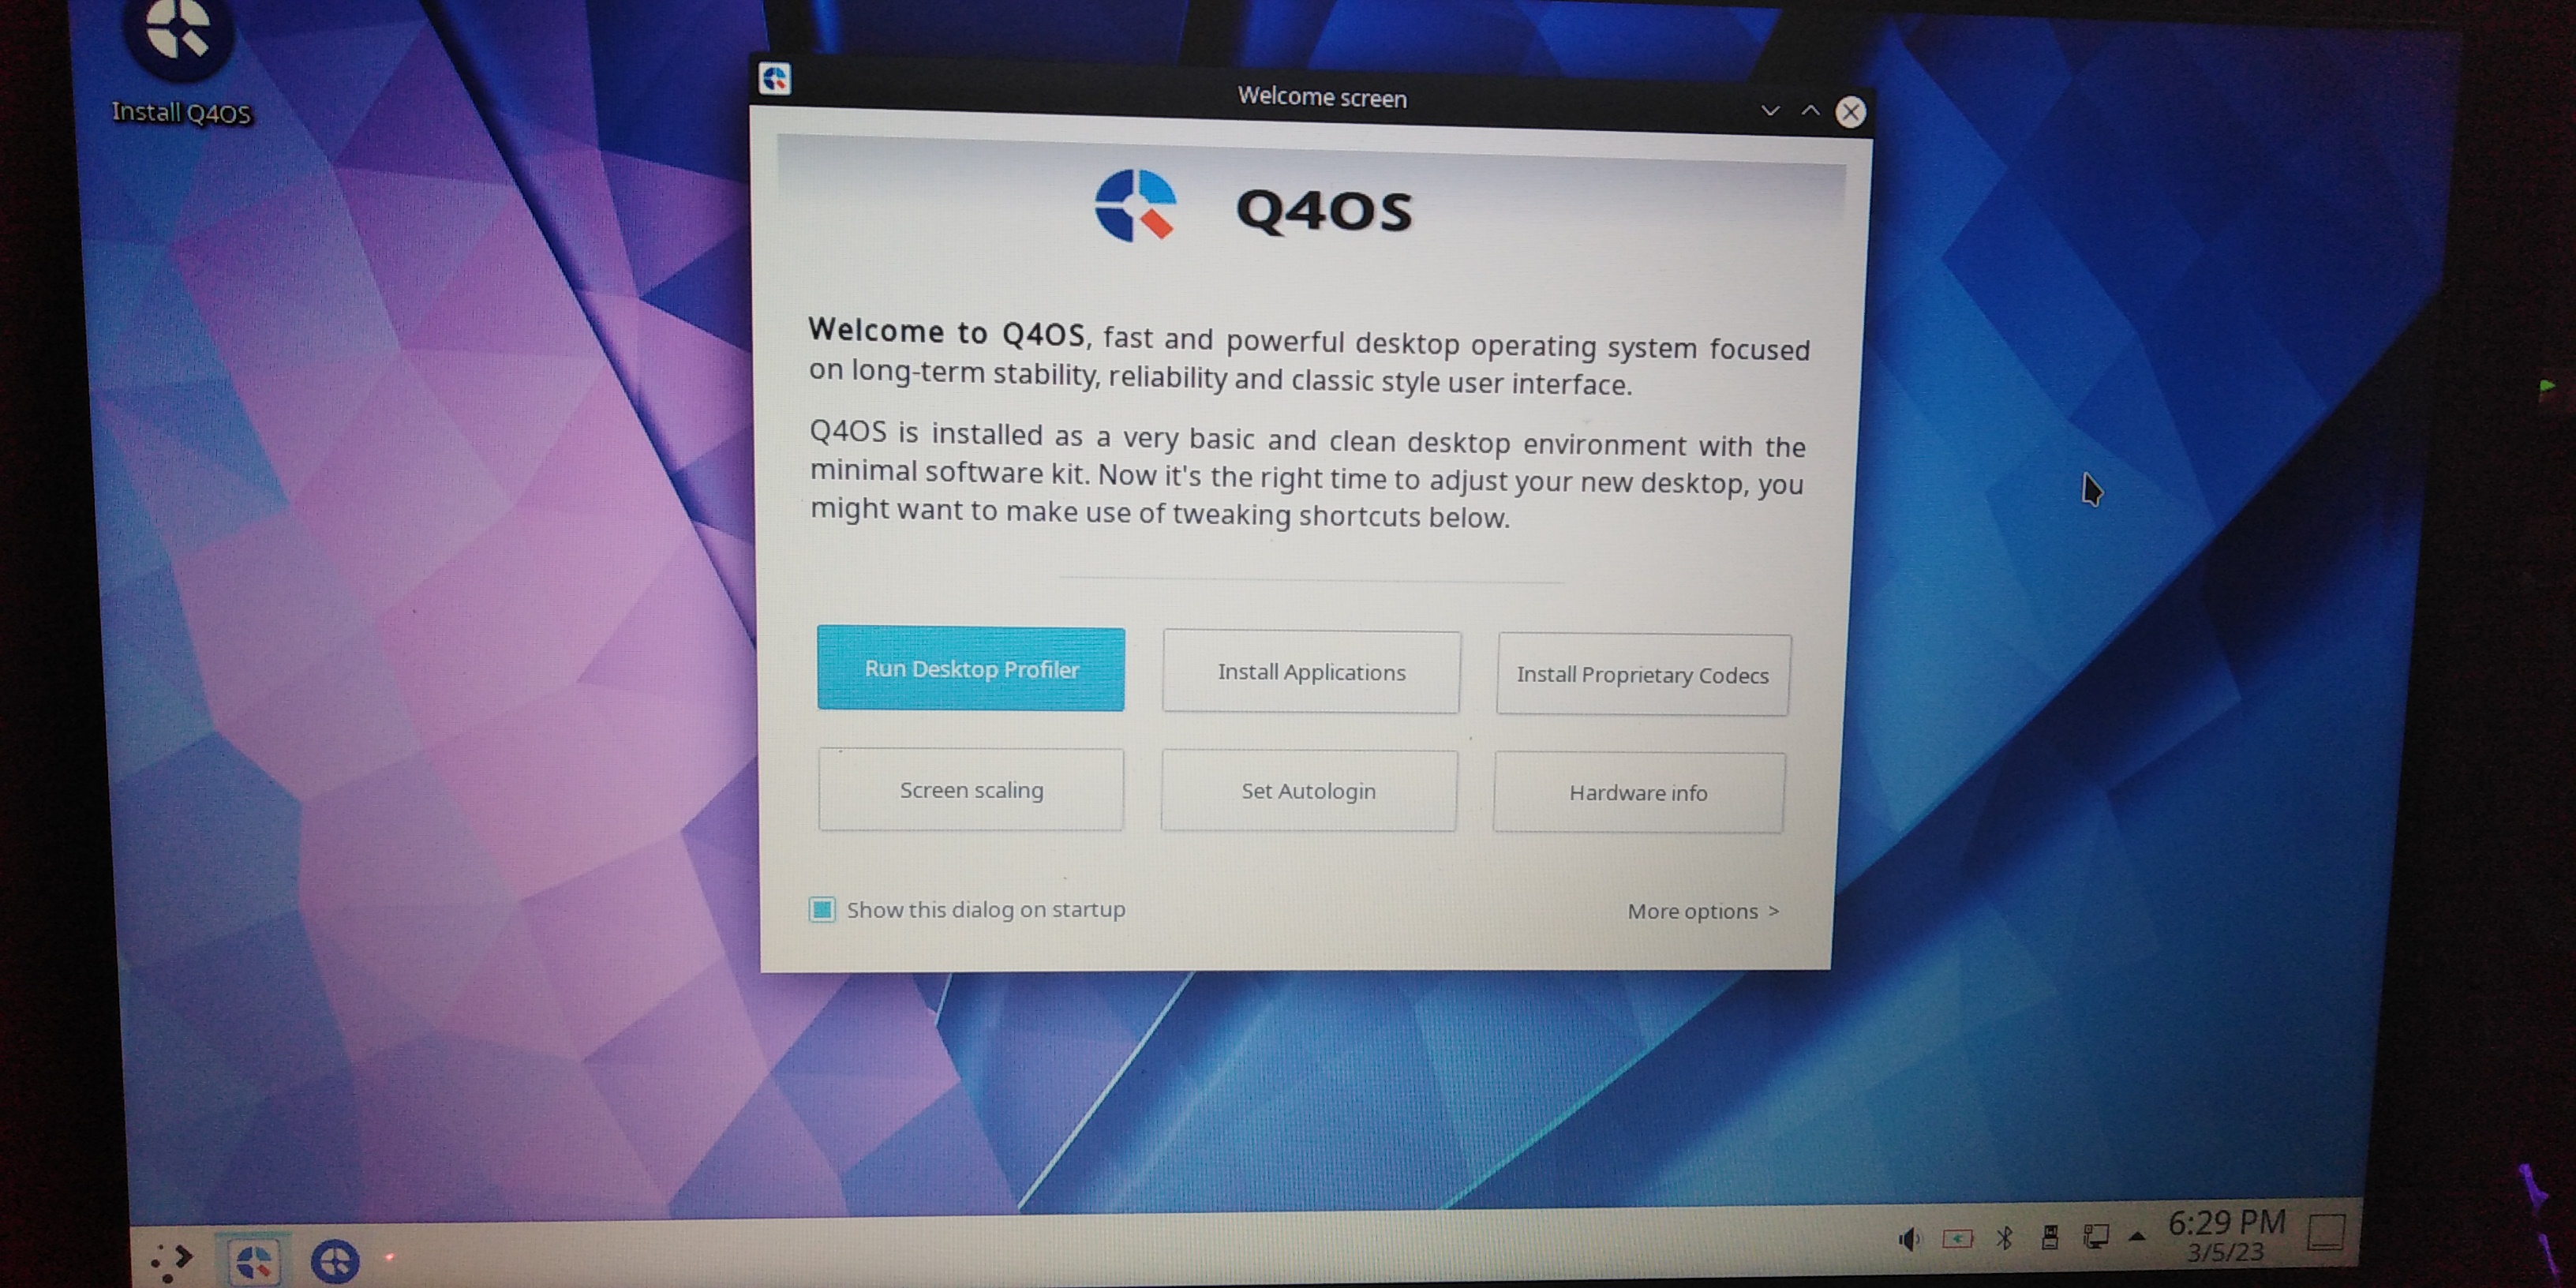
After creating the bootable USB, I got to the Live USB:
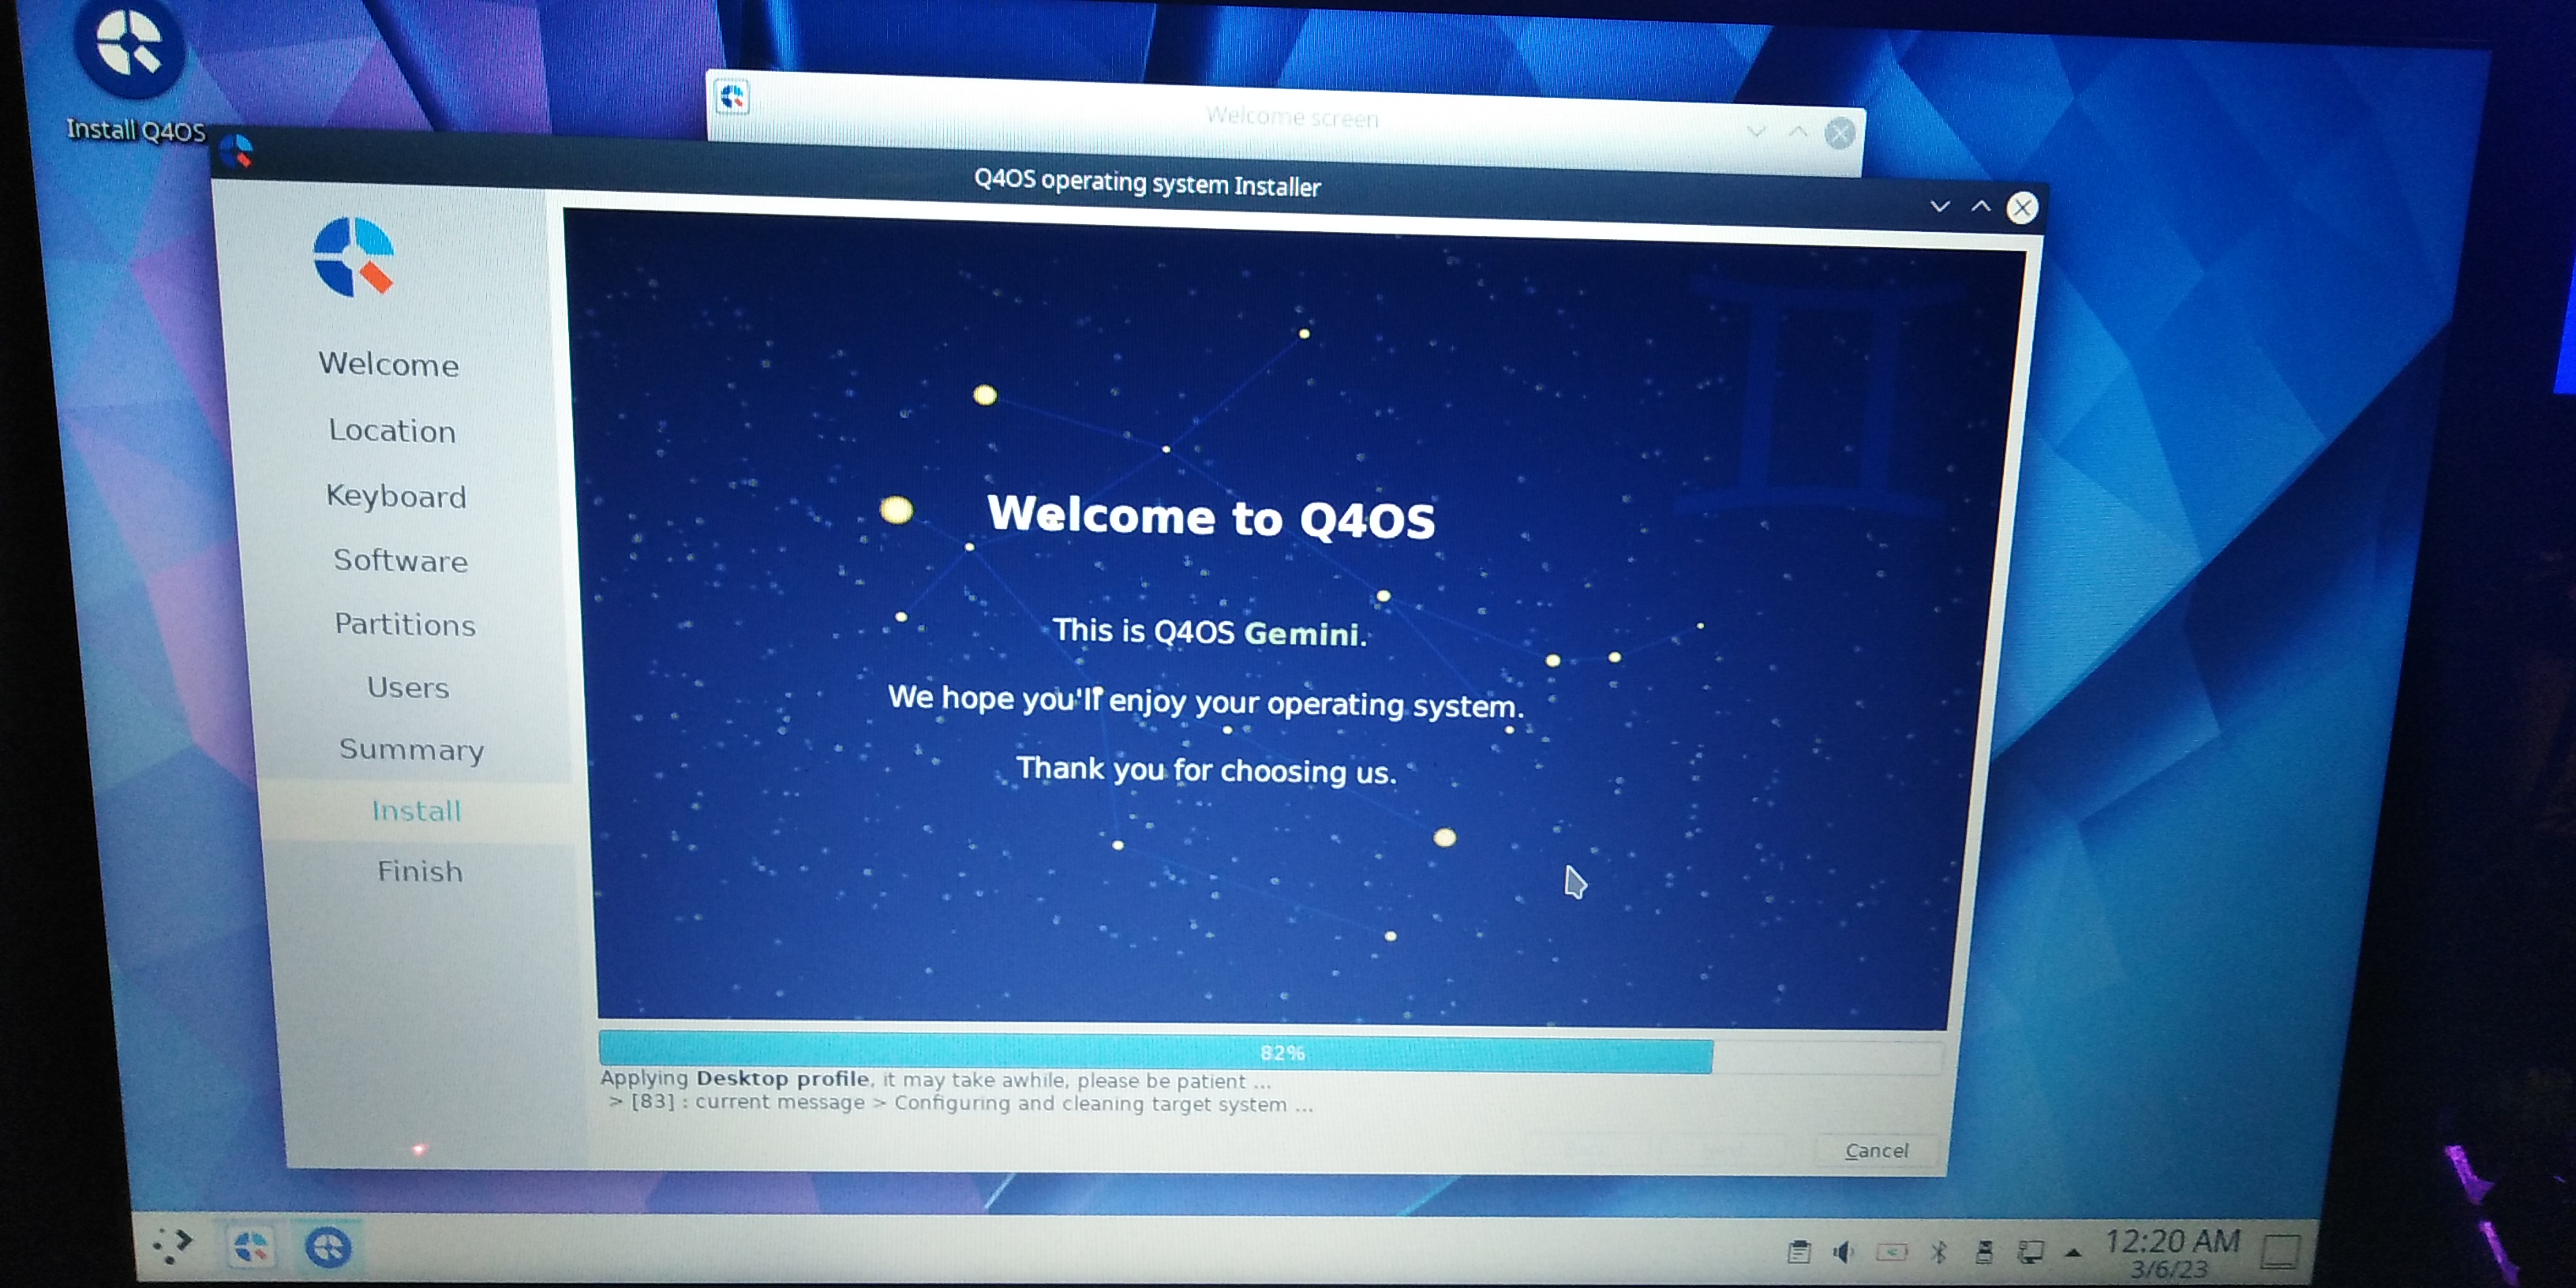
I started the installer:
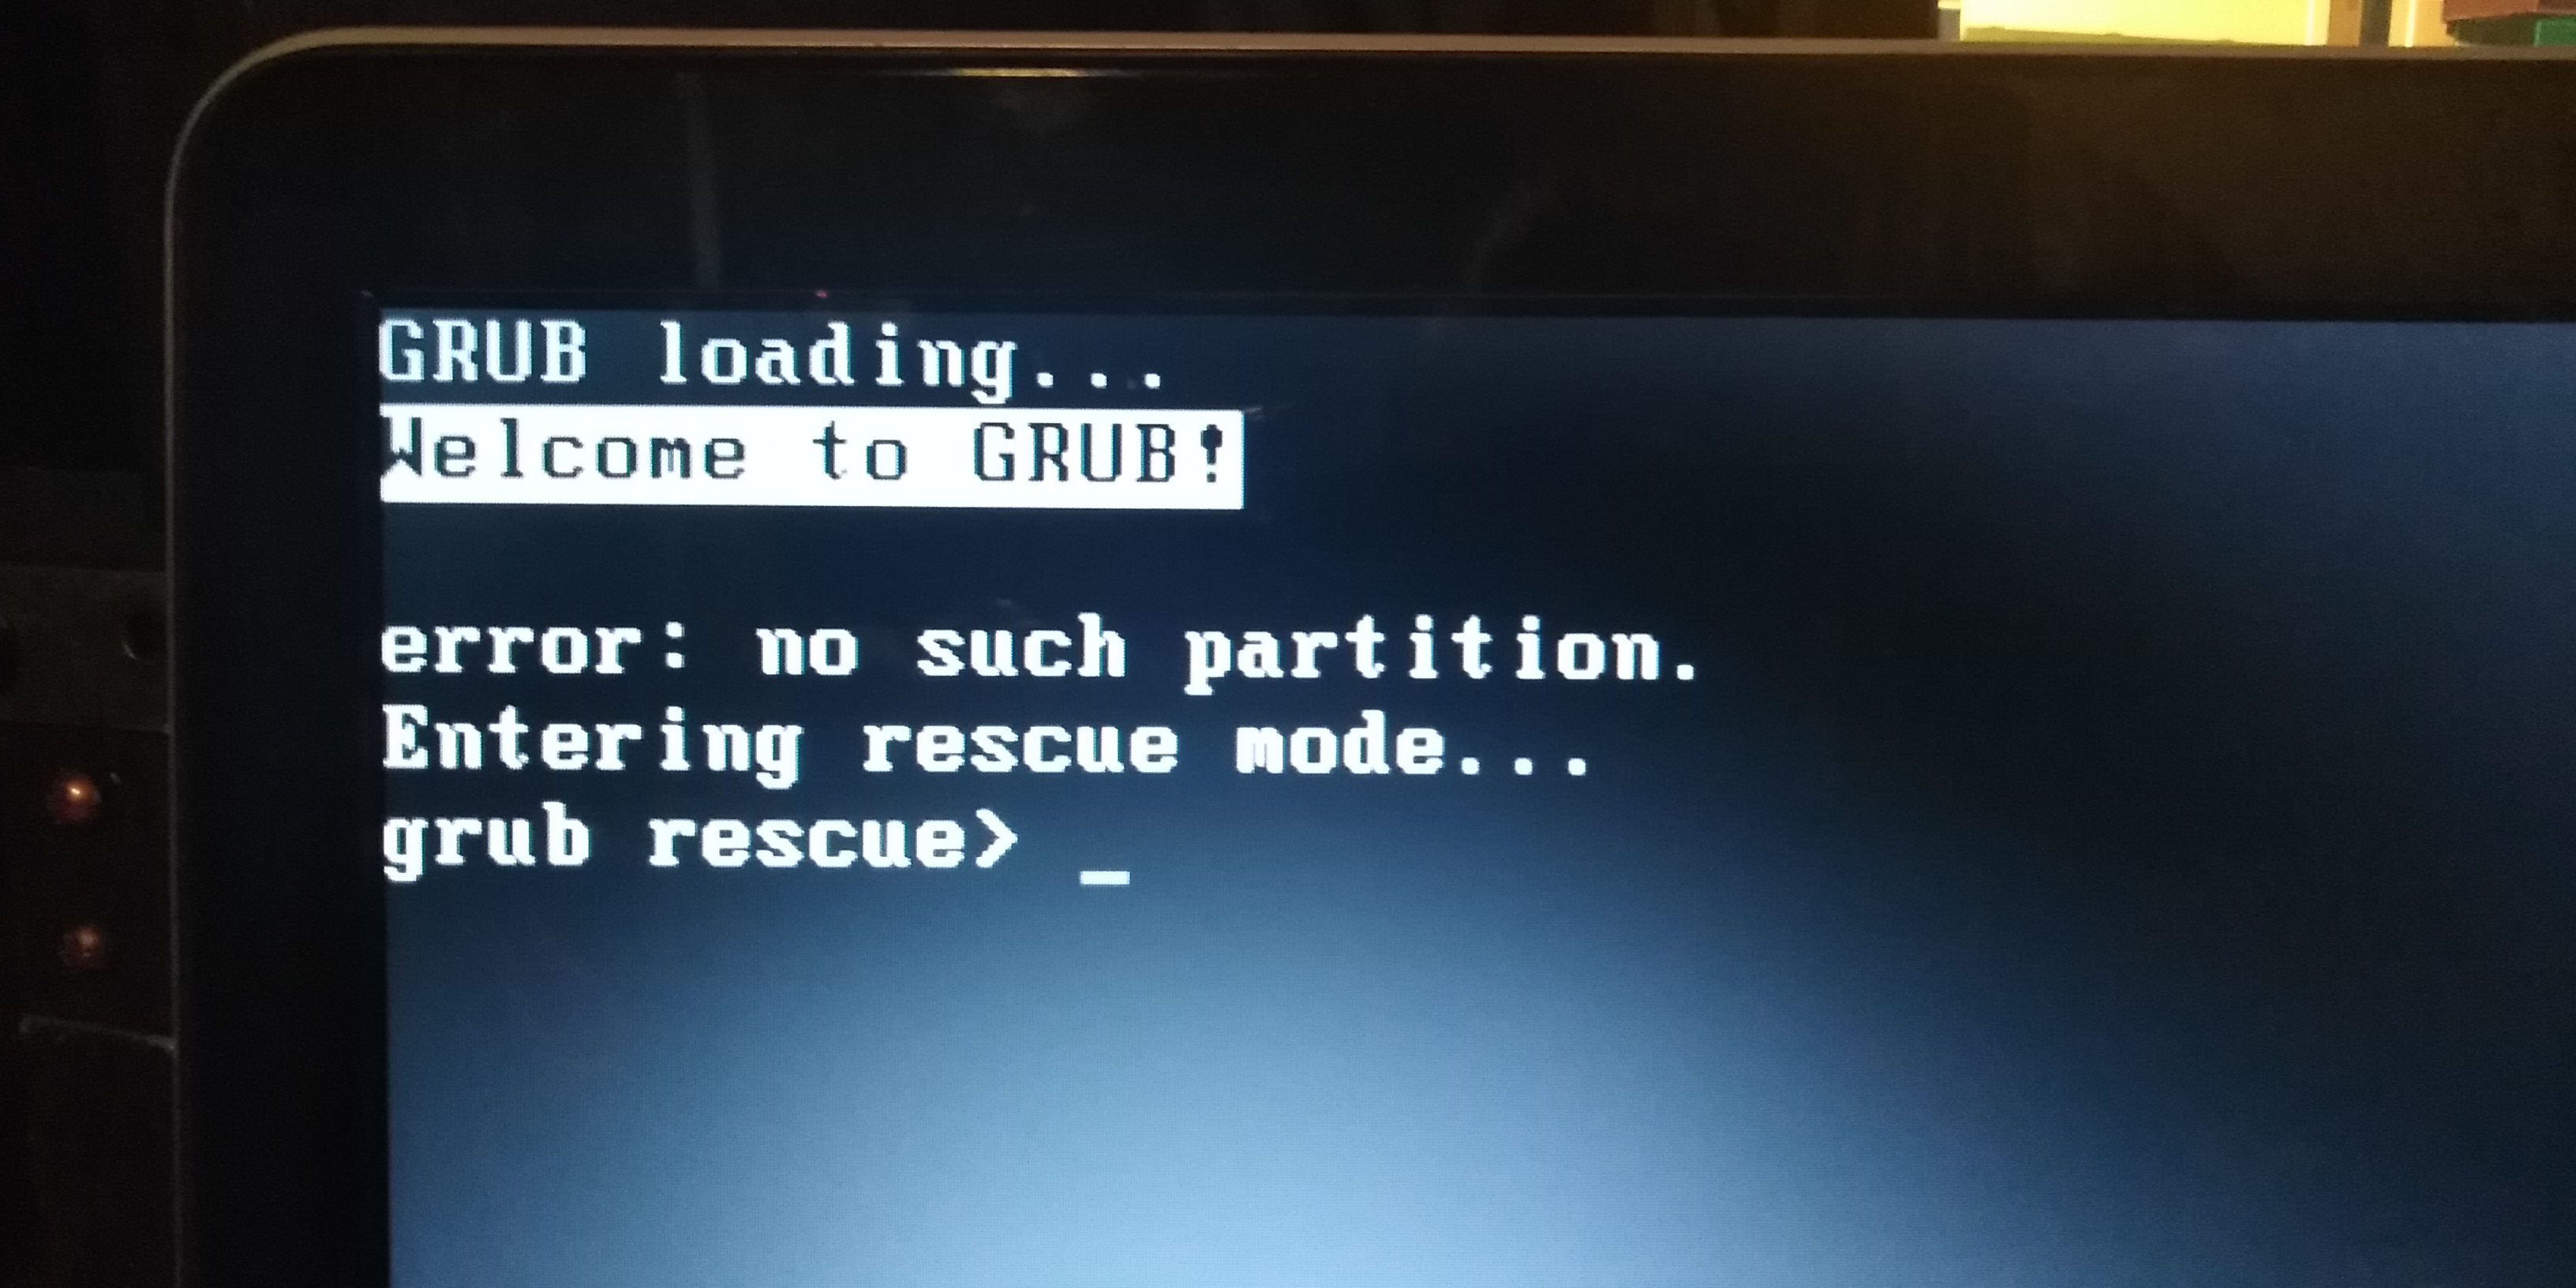
And when I booted into the distro I got... A grub rescue prompt -_-
I did not feel like trying to fix this installation, so I went looking for a different distro... Back to Google! After a bit more searching, I found BunsenLabs Beryllium. It's another lightweight Debian based distro that looks very minimal.
Installing Bunsenlabs Linux
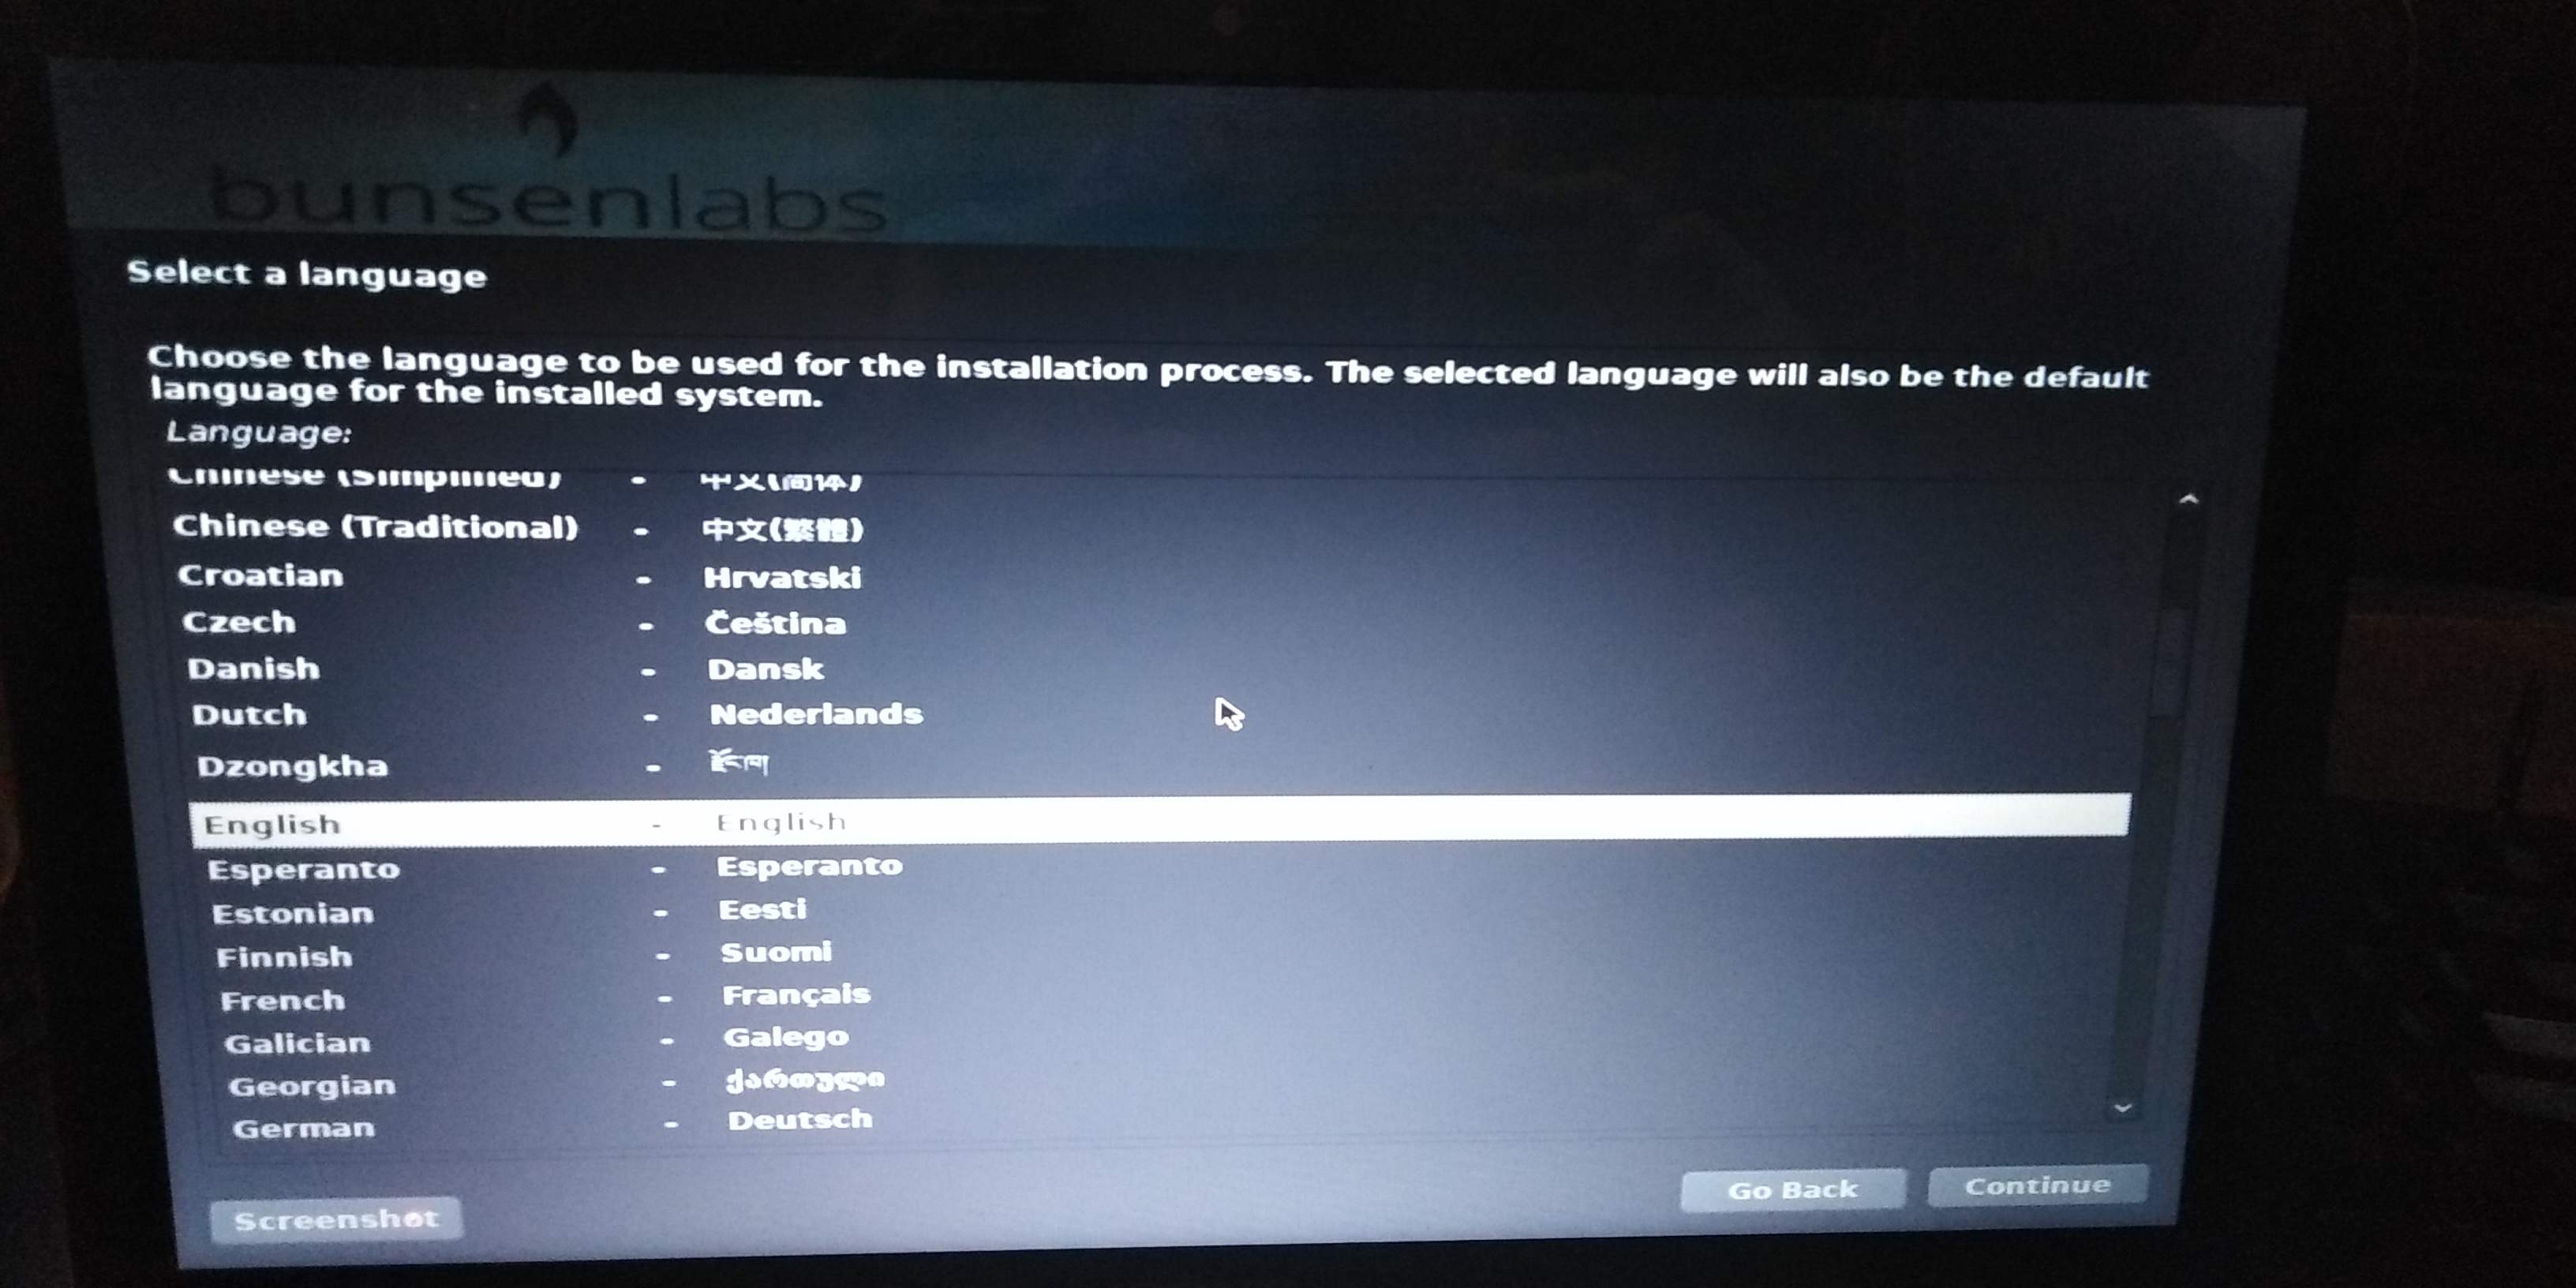
I created a bootable USB again and got to the installation process
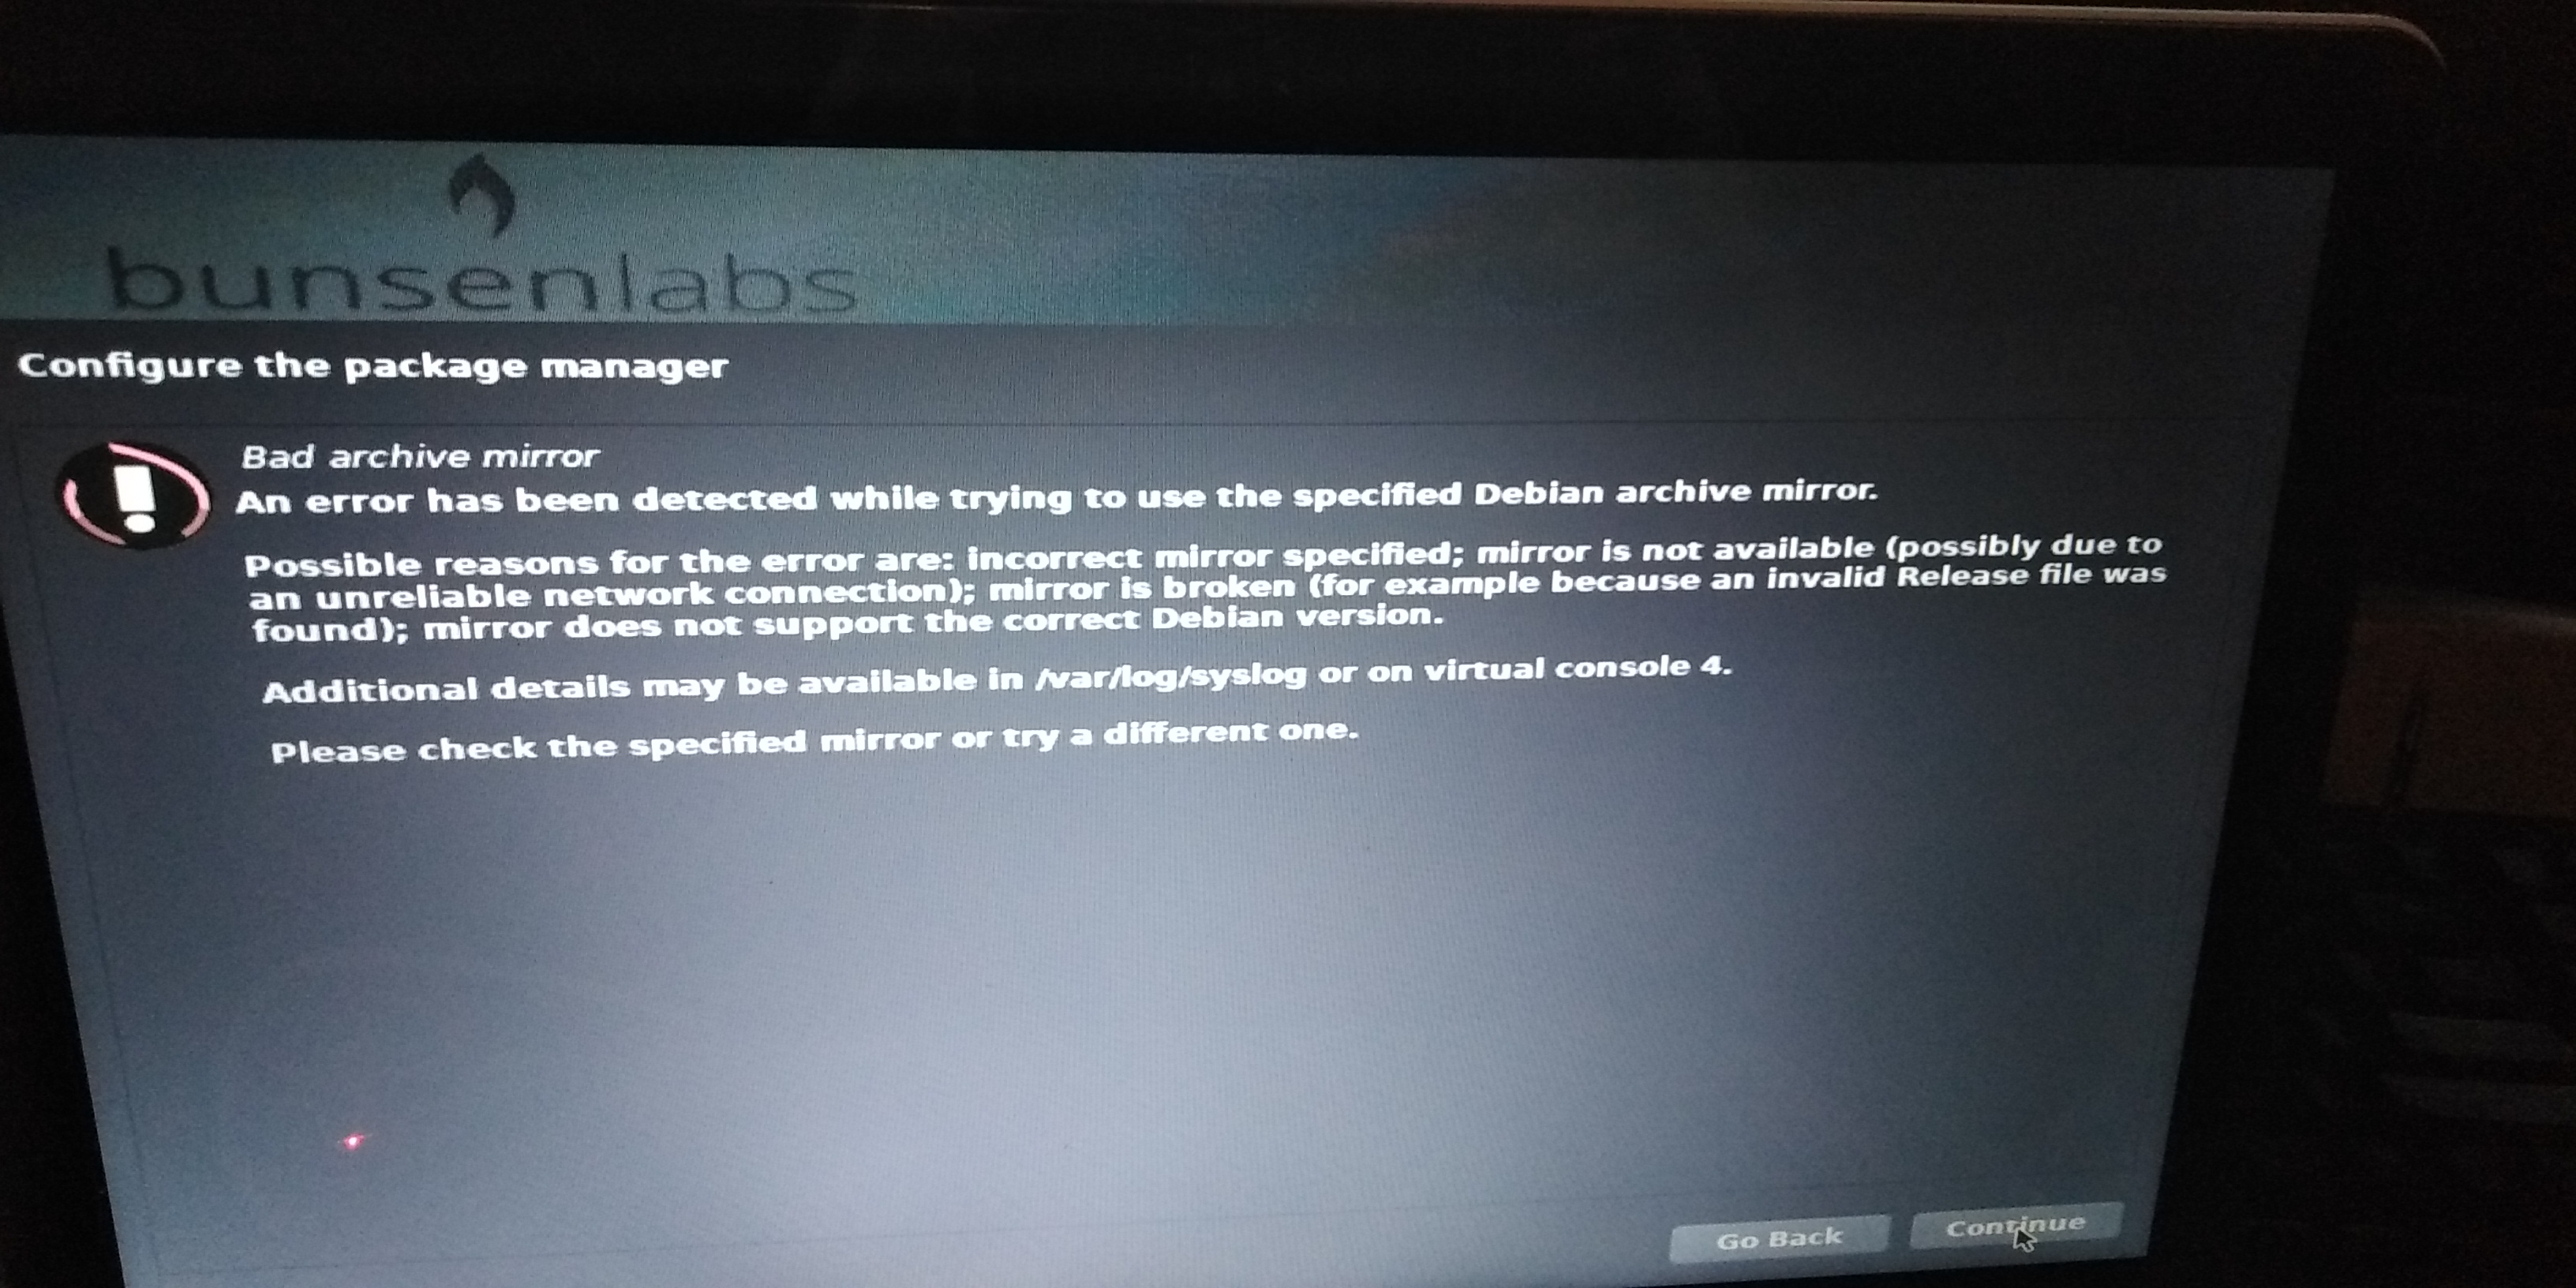
During installing I got an error saying that an error was detected while trying to use the Debian mirror, but I just skipped this step. After installing I think it was because it had no internet connection (the ethernet cable wasn't plugged in -_-)
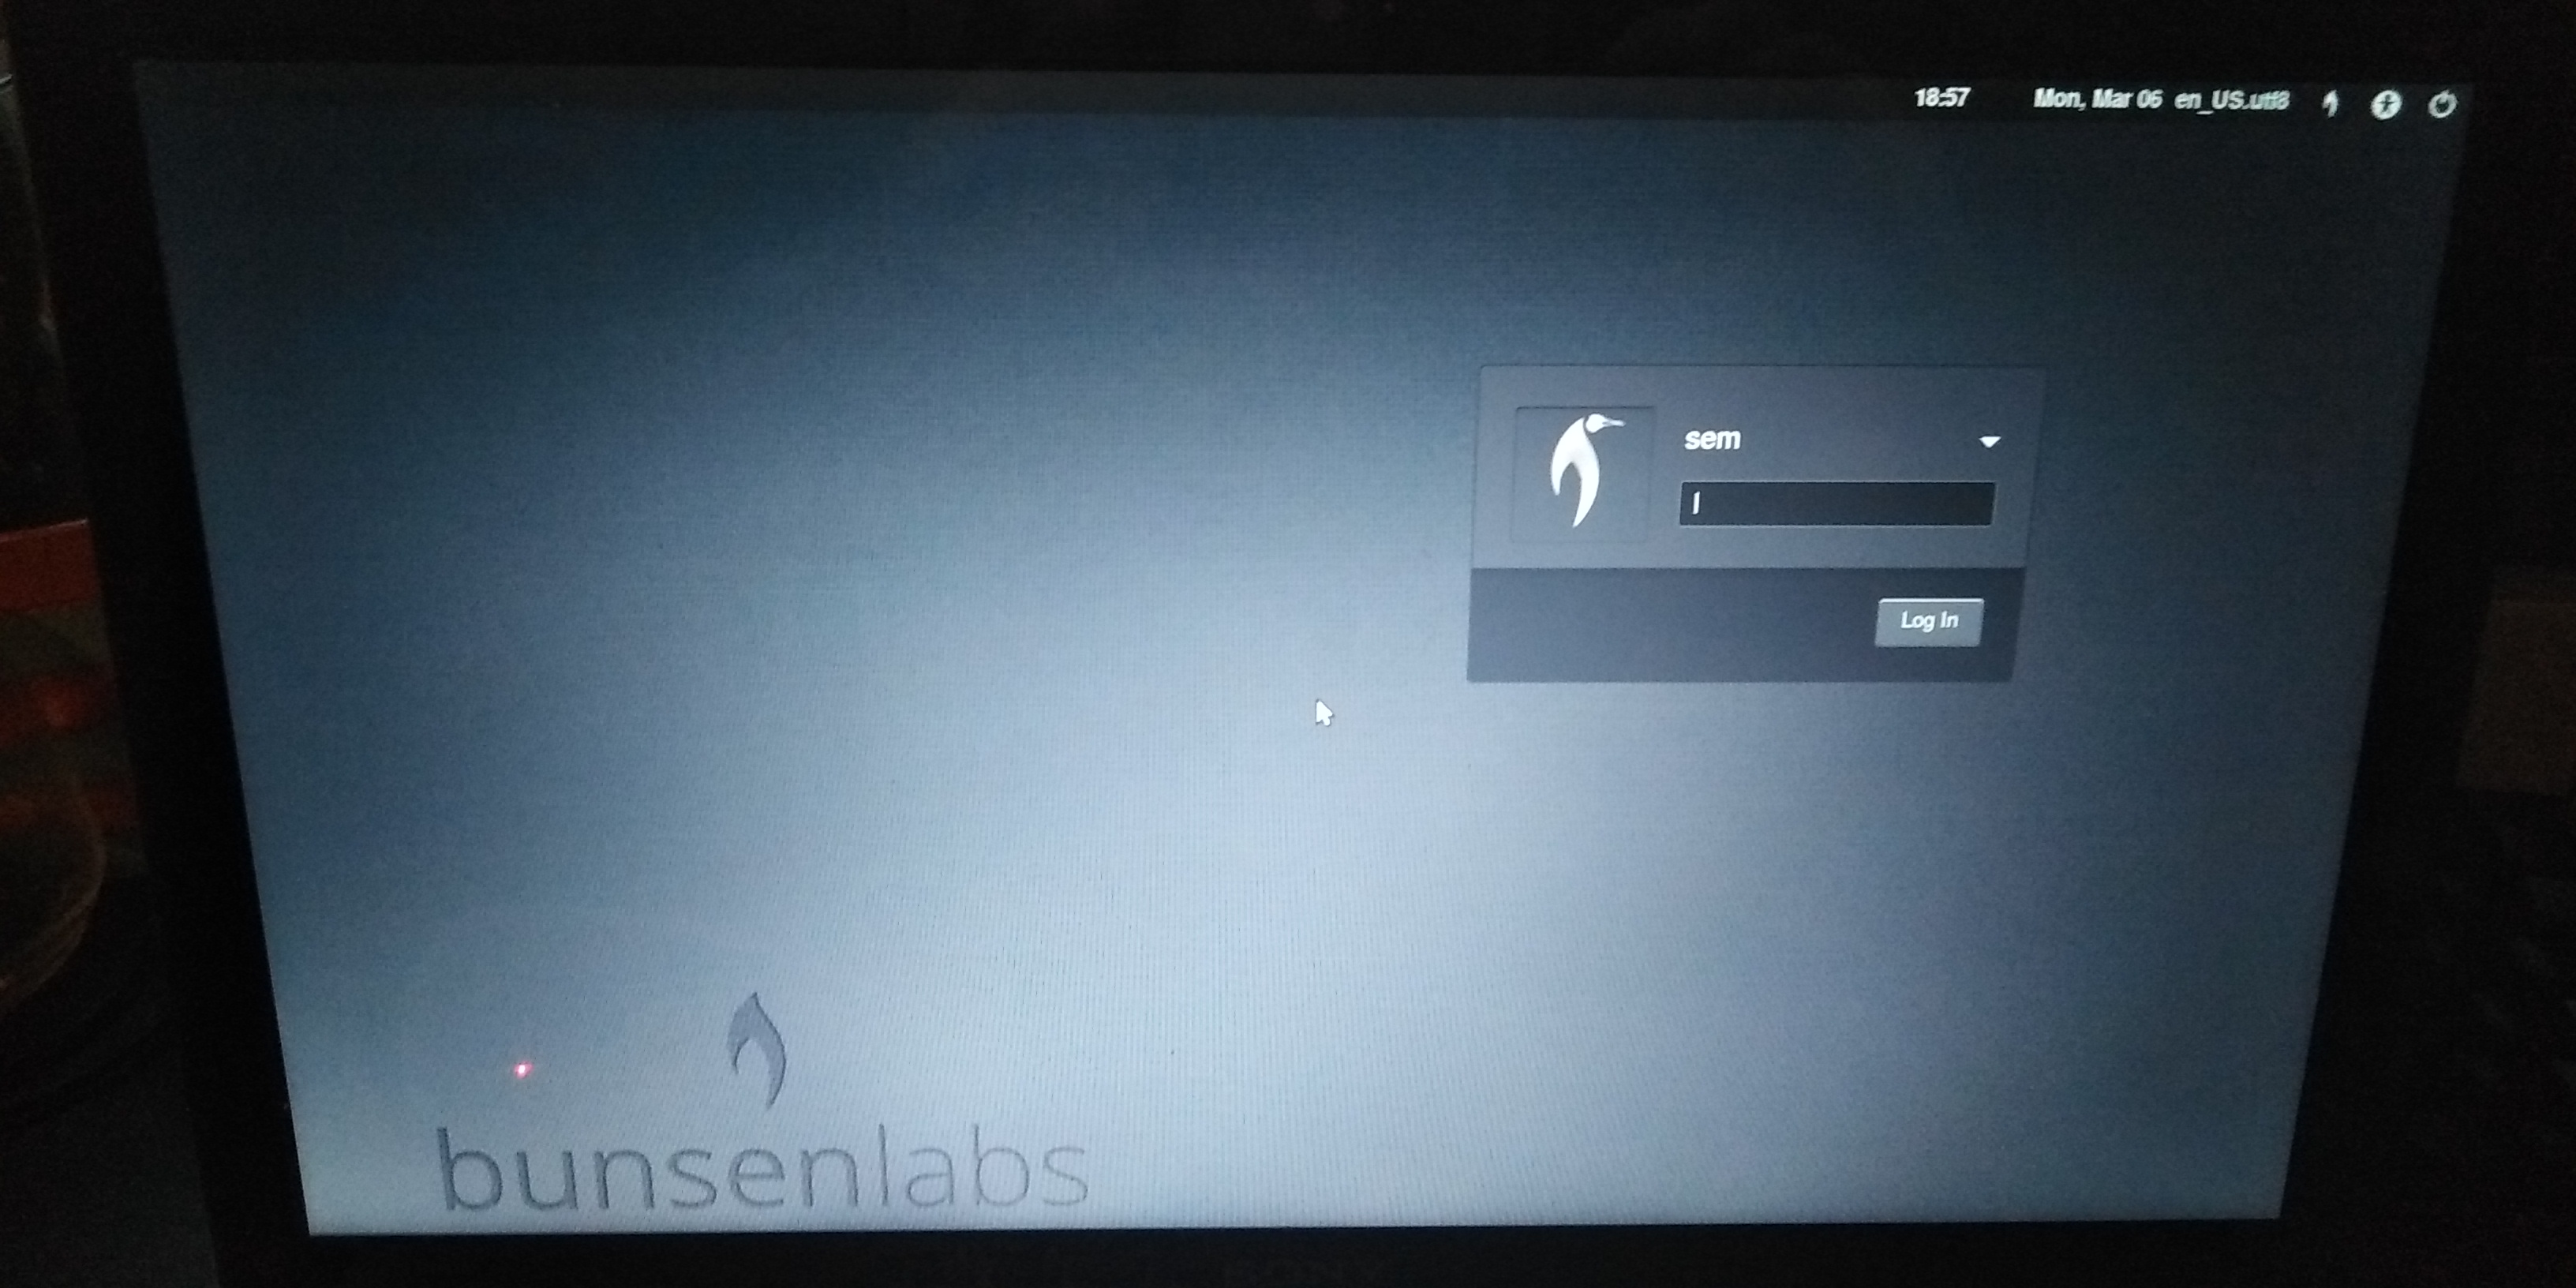
After the installation was complete, I got to the login prompt:
After logging in, I was presented with a first-time setup script that I liked very much. It takes you through some things that you can install and configure and it gives you plenty of options to install stuff later and which commands to use.
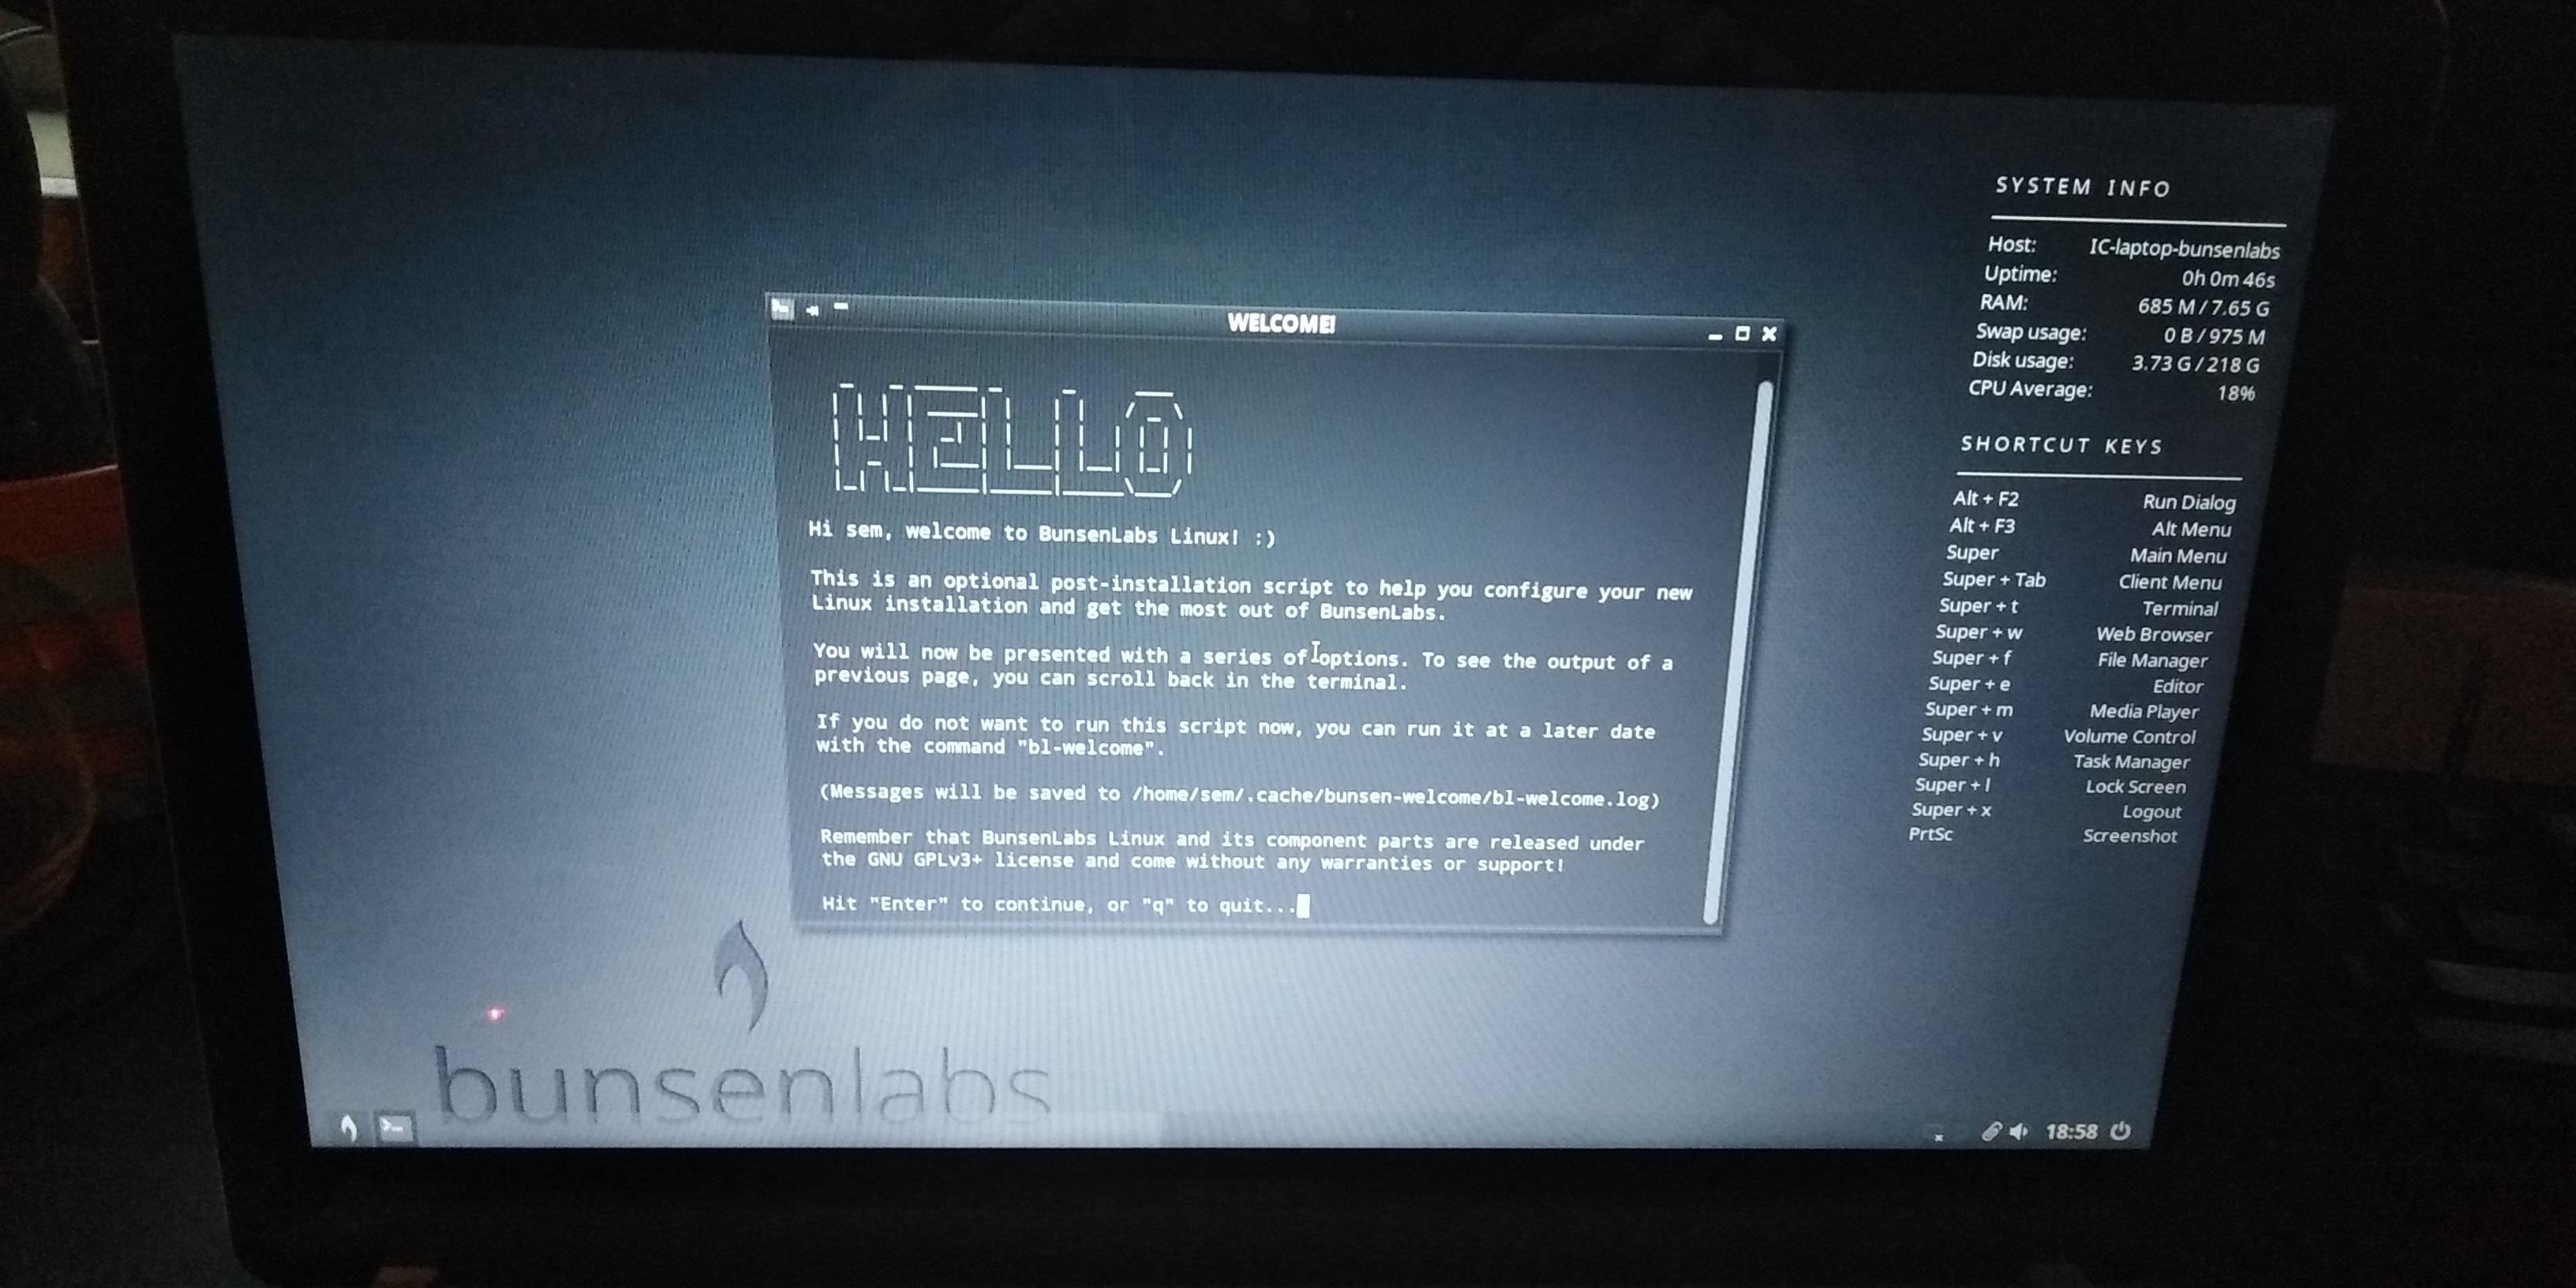
After completing the setup, I was ready to configure the installation:
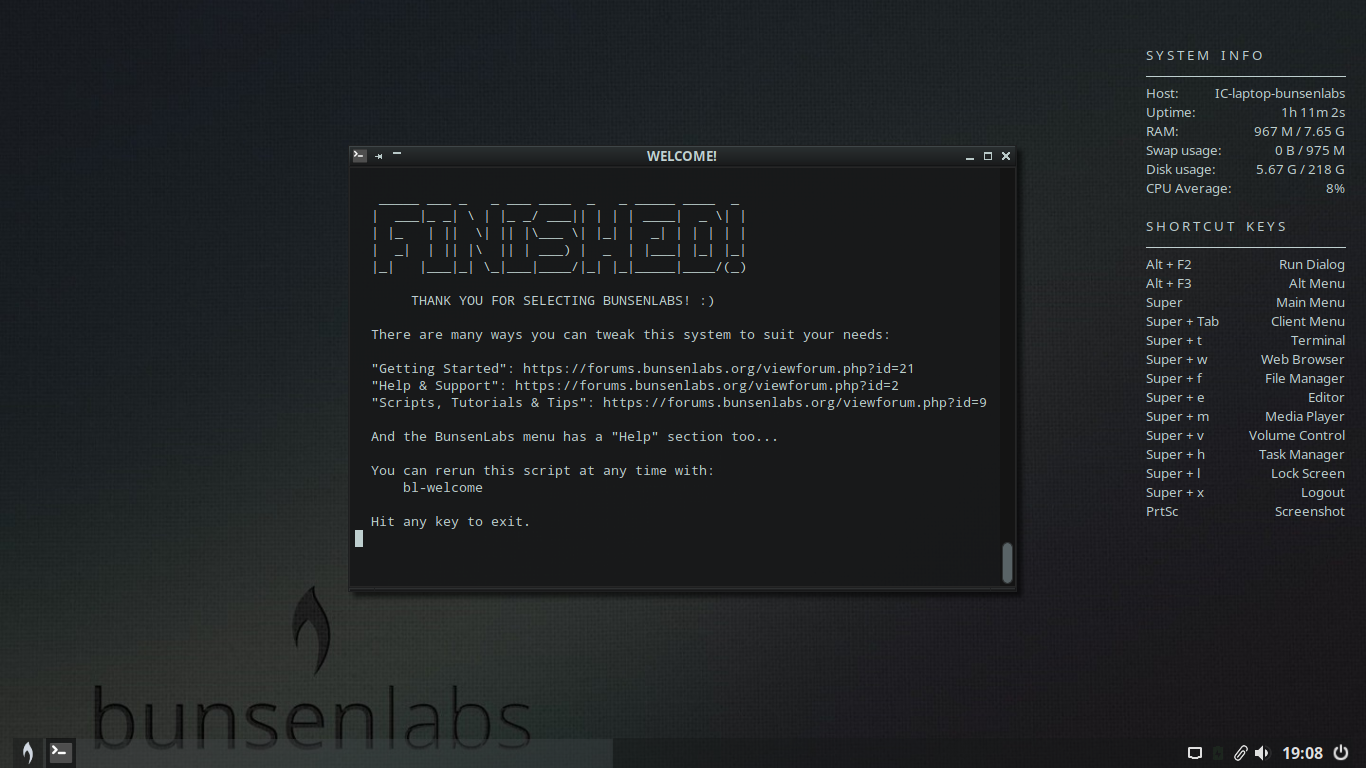
I changed the theme and tweaked some things, and I think the default themes look pretty good, they make this old laptop look pretty sleek. The distro is also very lightweight and the laptop can run it with ease.
Setting up the installation
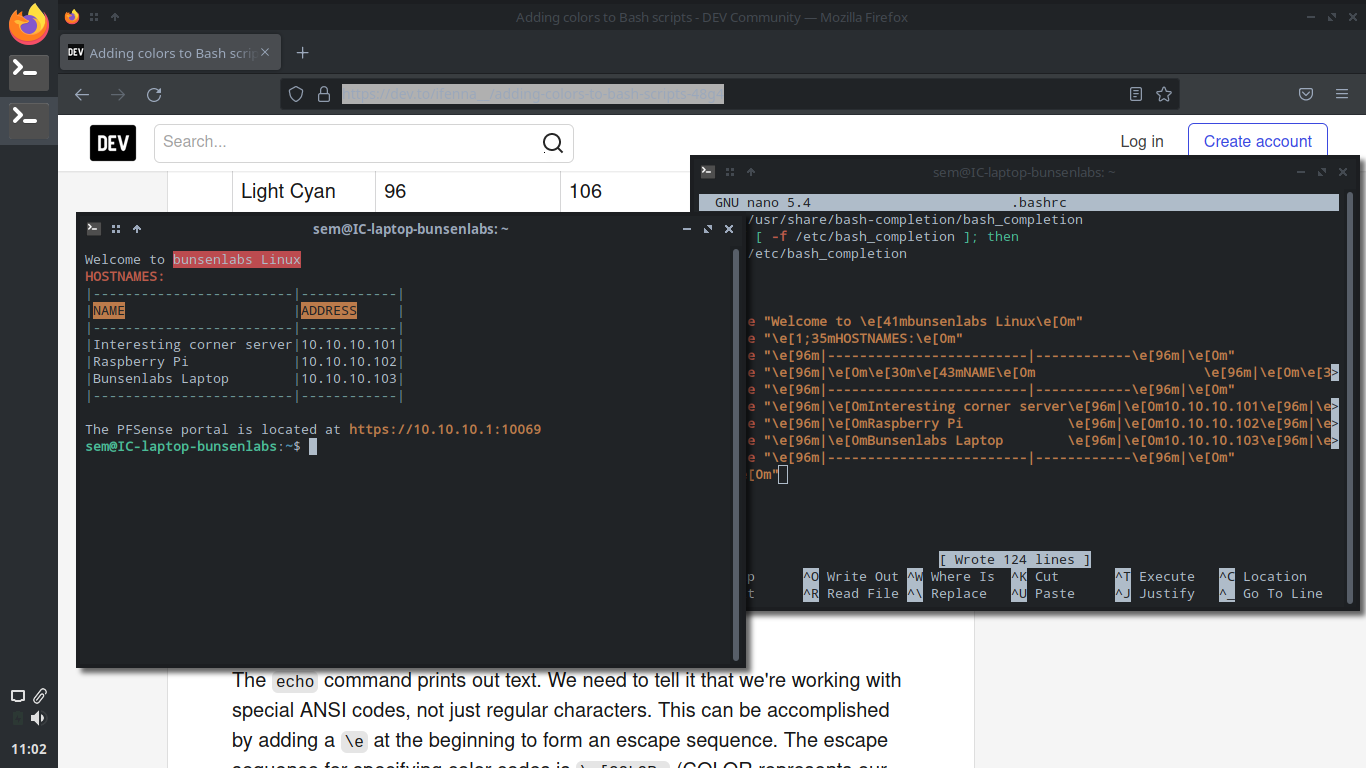
I added the bashrc and a script for setting up the second display to the library. I added an entry on the Status page for the laptop through MQTT. It also publishes information about itself on the MQTT network, the script for which can be found in the library: .gif)
Distro hopping
I came across Zorin OS, which is an Ubuntu based distribution that looks pretty clean, and it claims to support older hardware. I thought about trying it out. Bunsenlabs is also very nice, don't get me wrong, but I also kind of want to try out this distro and this laptop is perfect for distro hopping. However, I also want to use this laptop kind of as a server, running Gitea among other things, and I heard some good things about running standalone Debian. I might do that, and add a DE myself.
Standalone Debian
I decided to install standalone Debian and add a DE myself. I first made a bootable DVD and installed the OS to it using the command growisofs -dvd-compat -Z /dev/sr0=debian-11.6.0-amd64-DVD-1.iso:
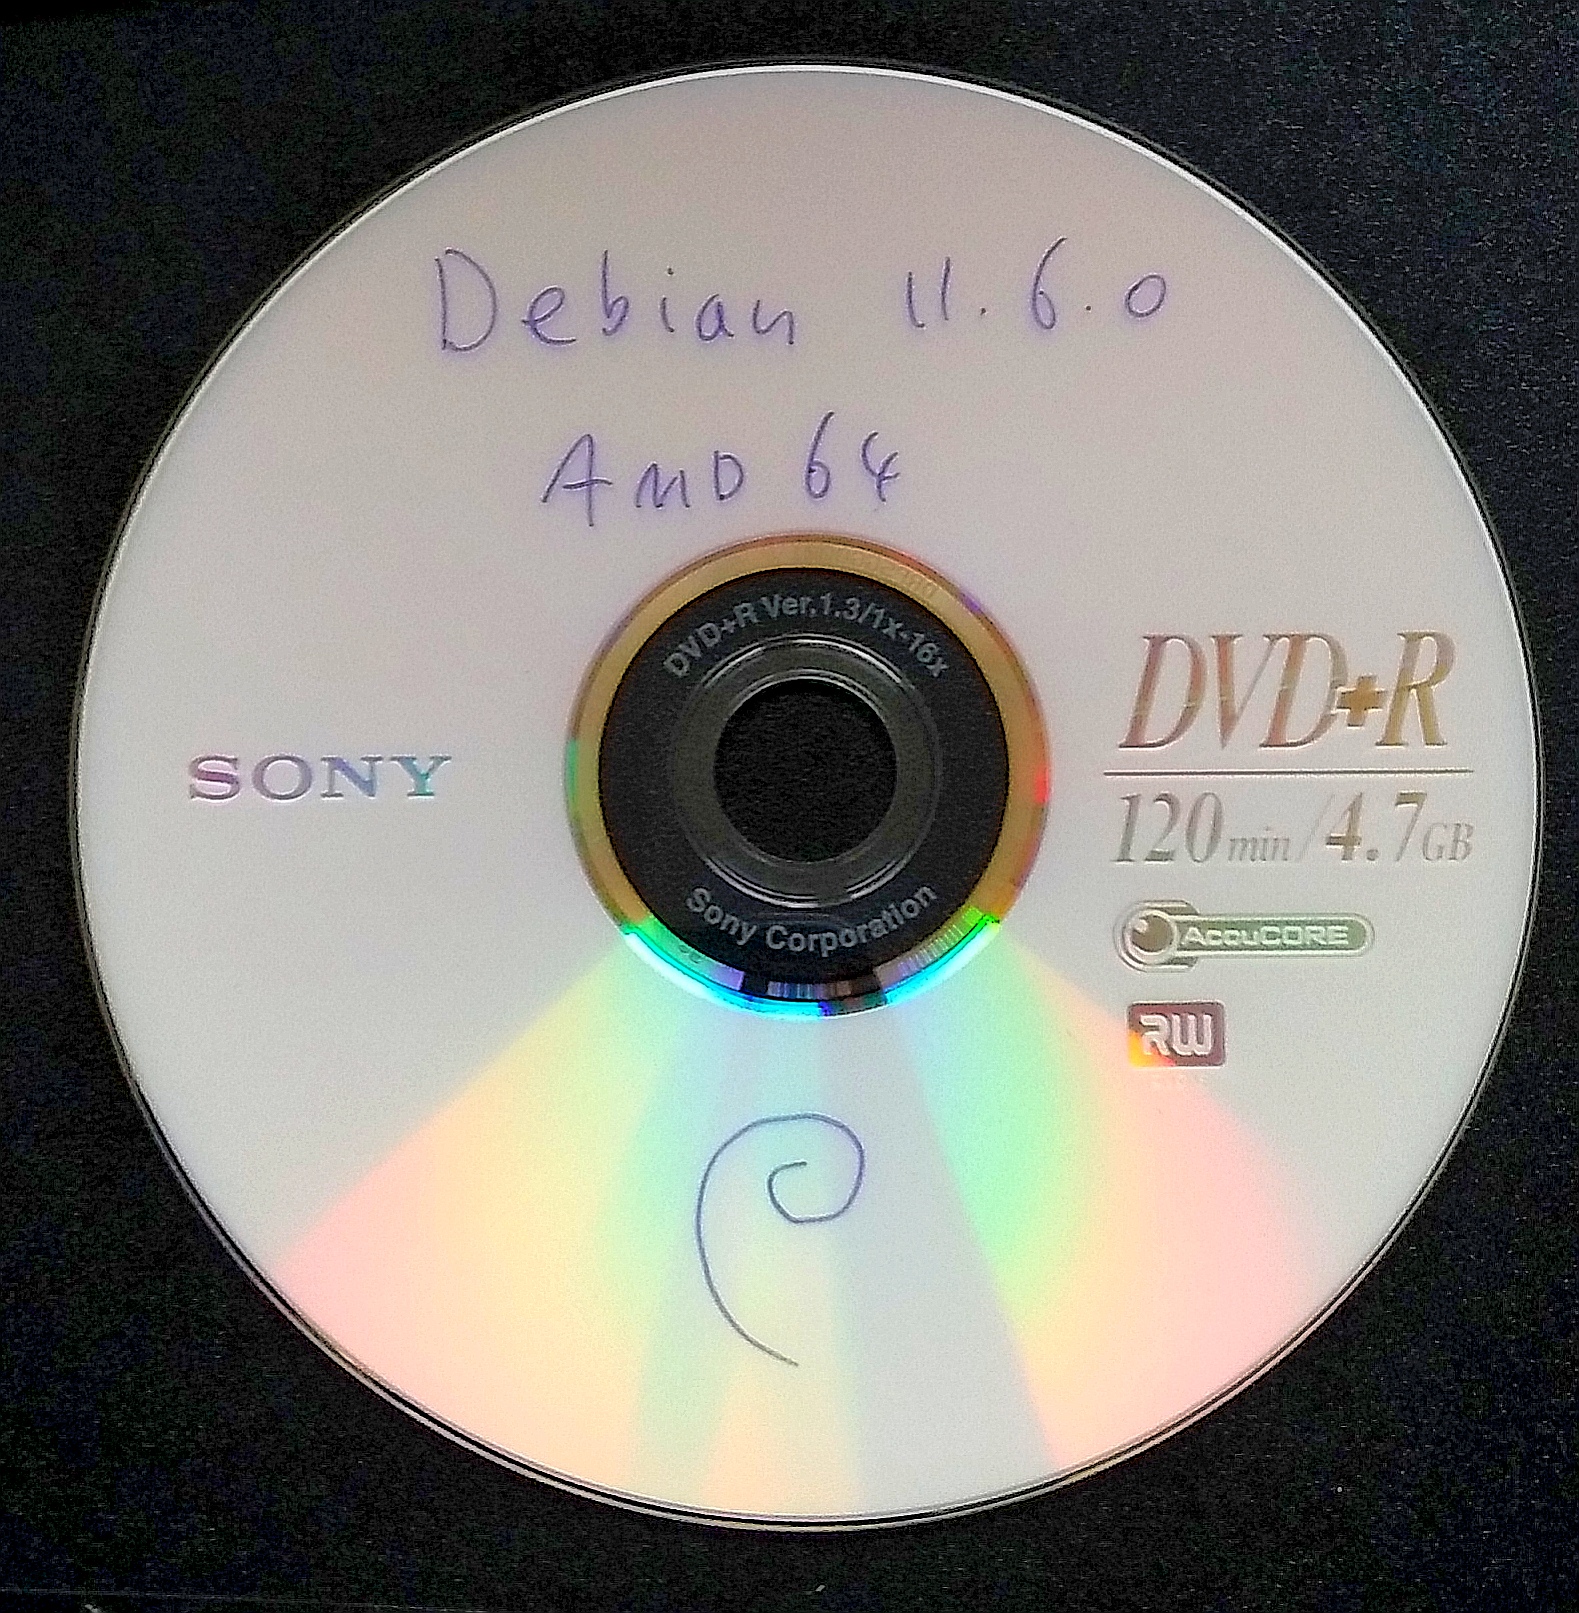
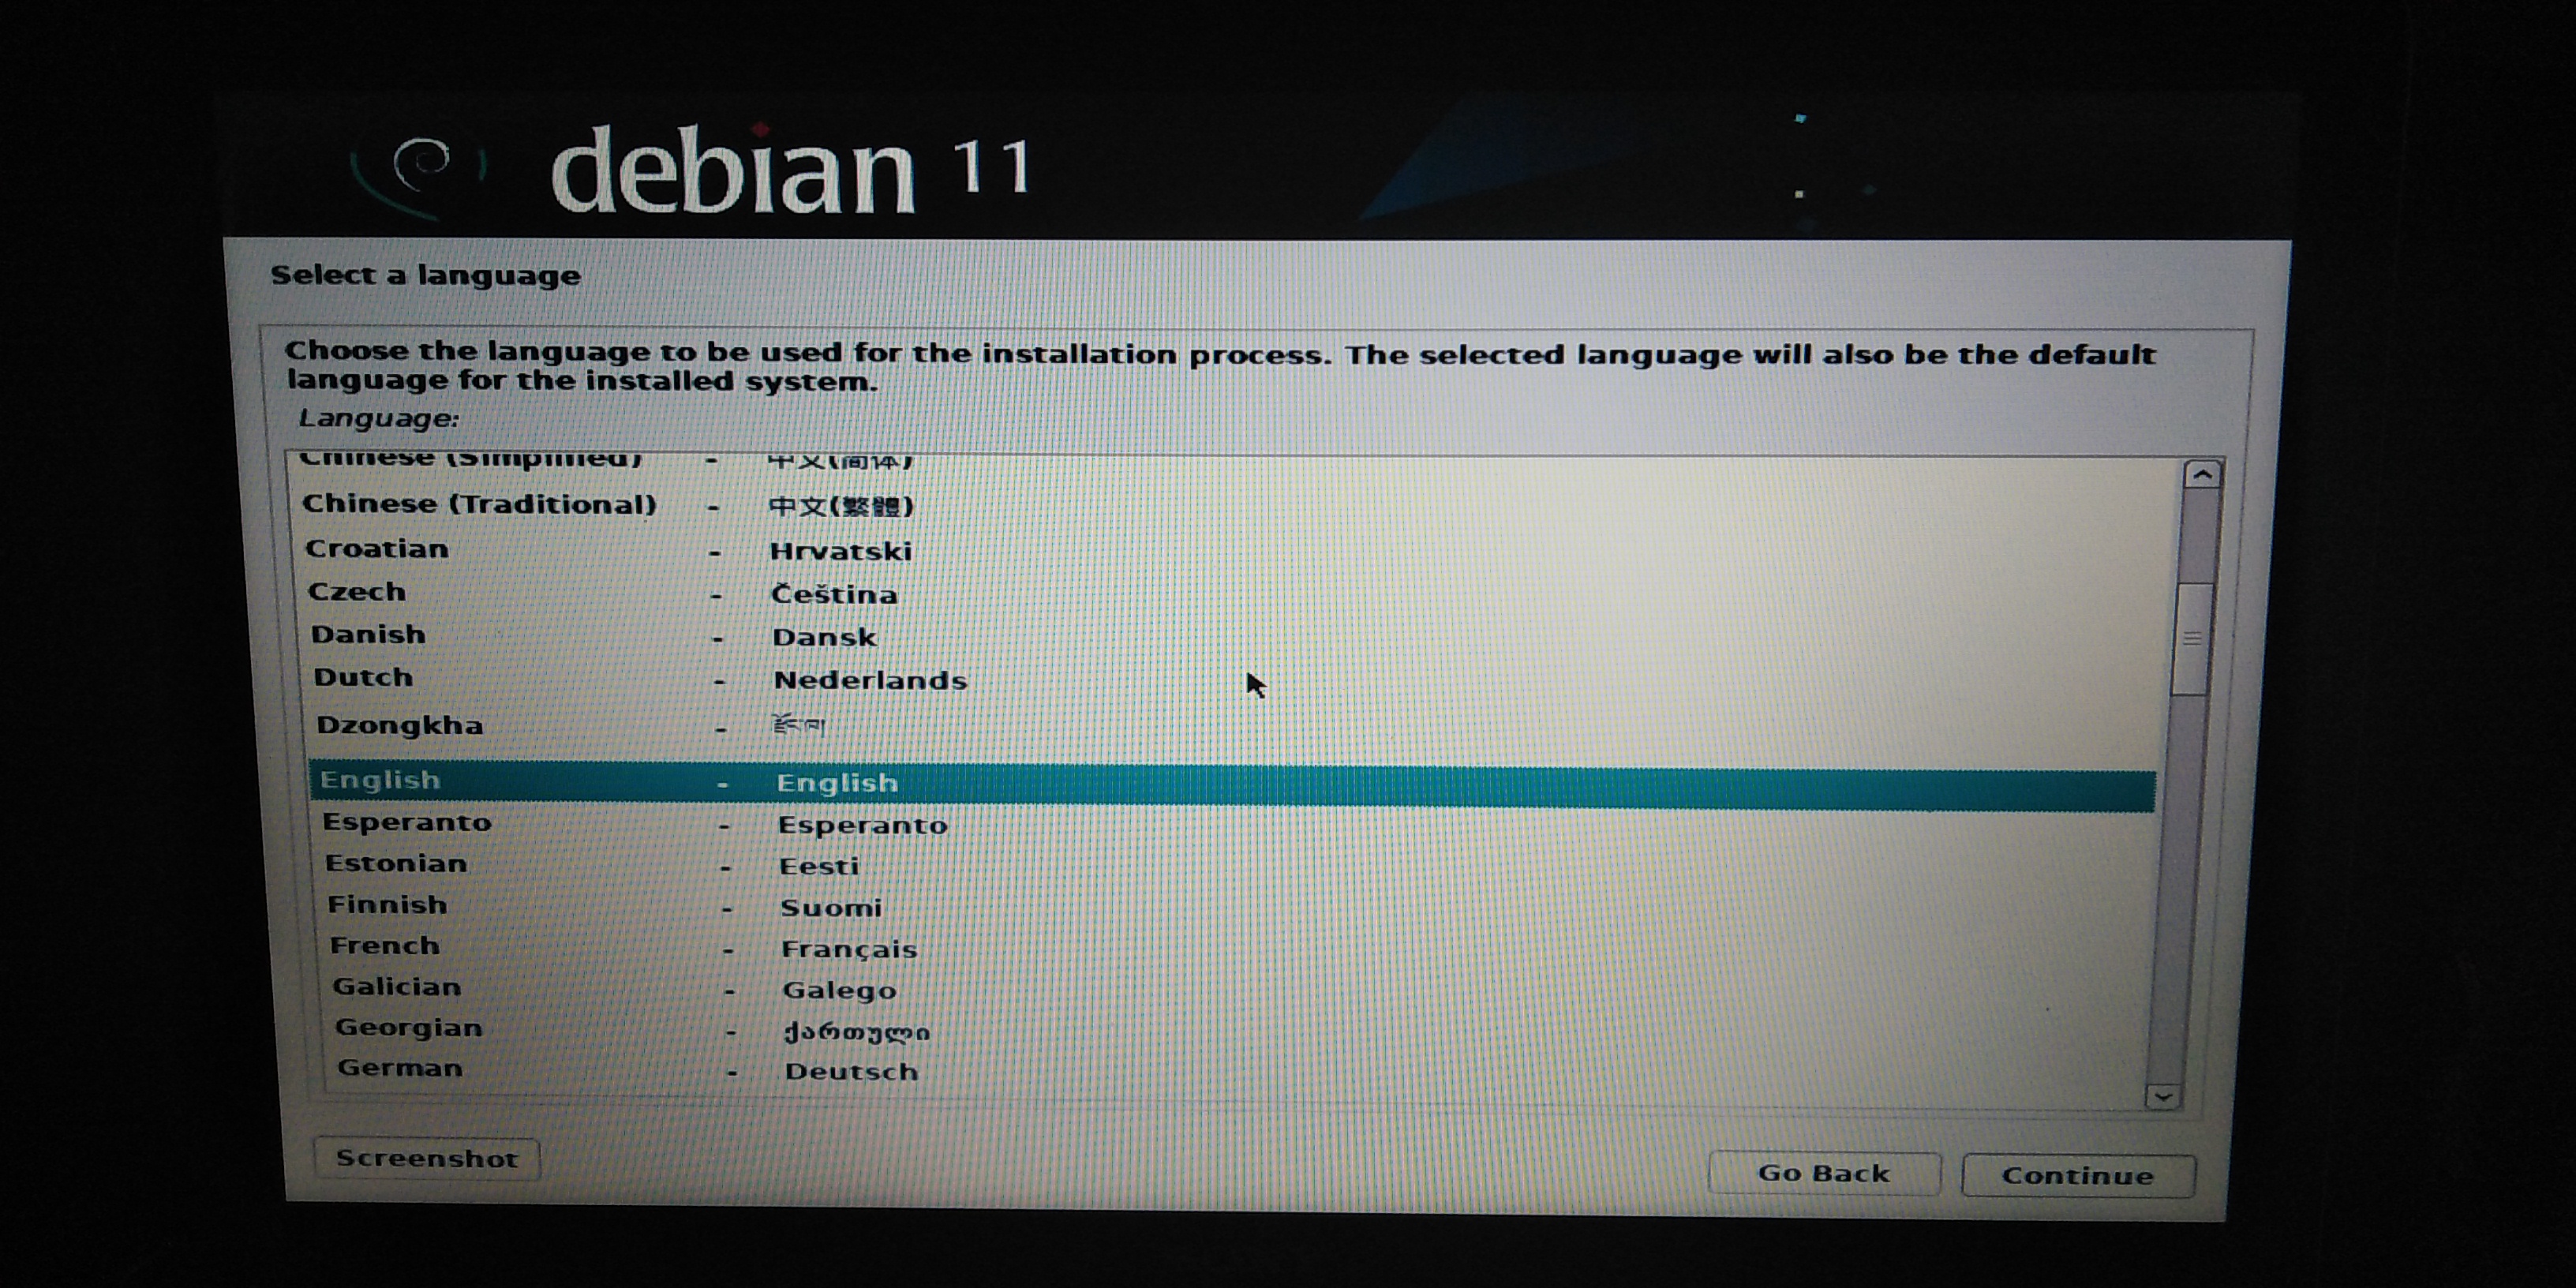
I started the installation, which was pretty straight forward, and installed Debian 11:
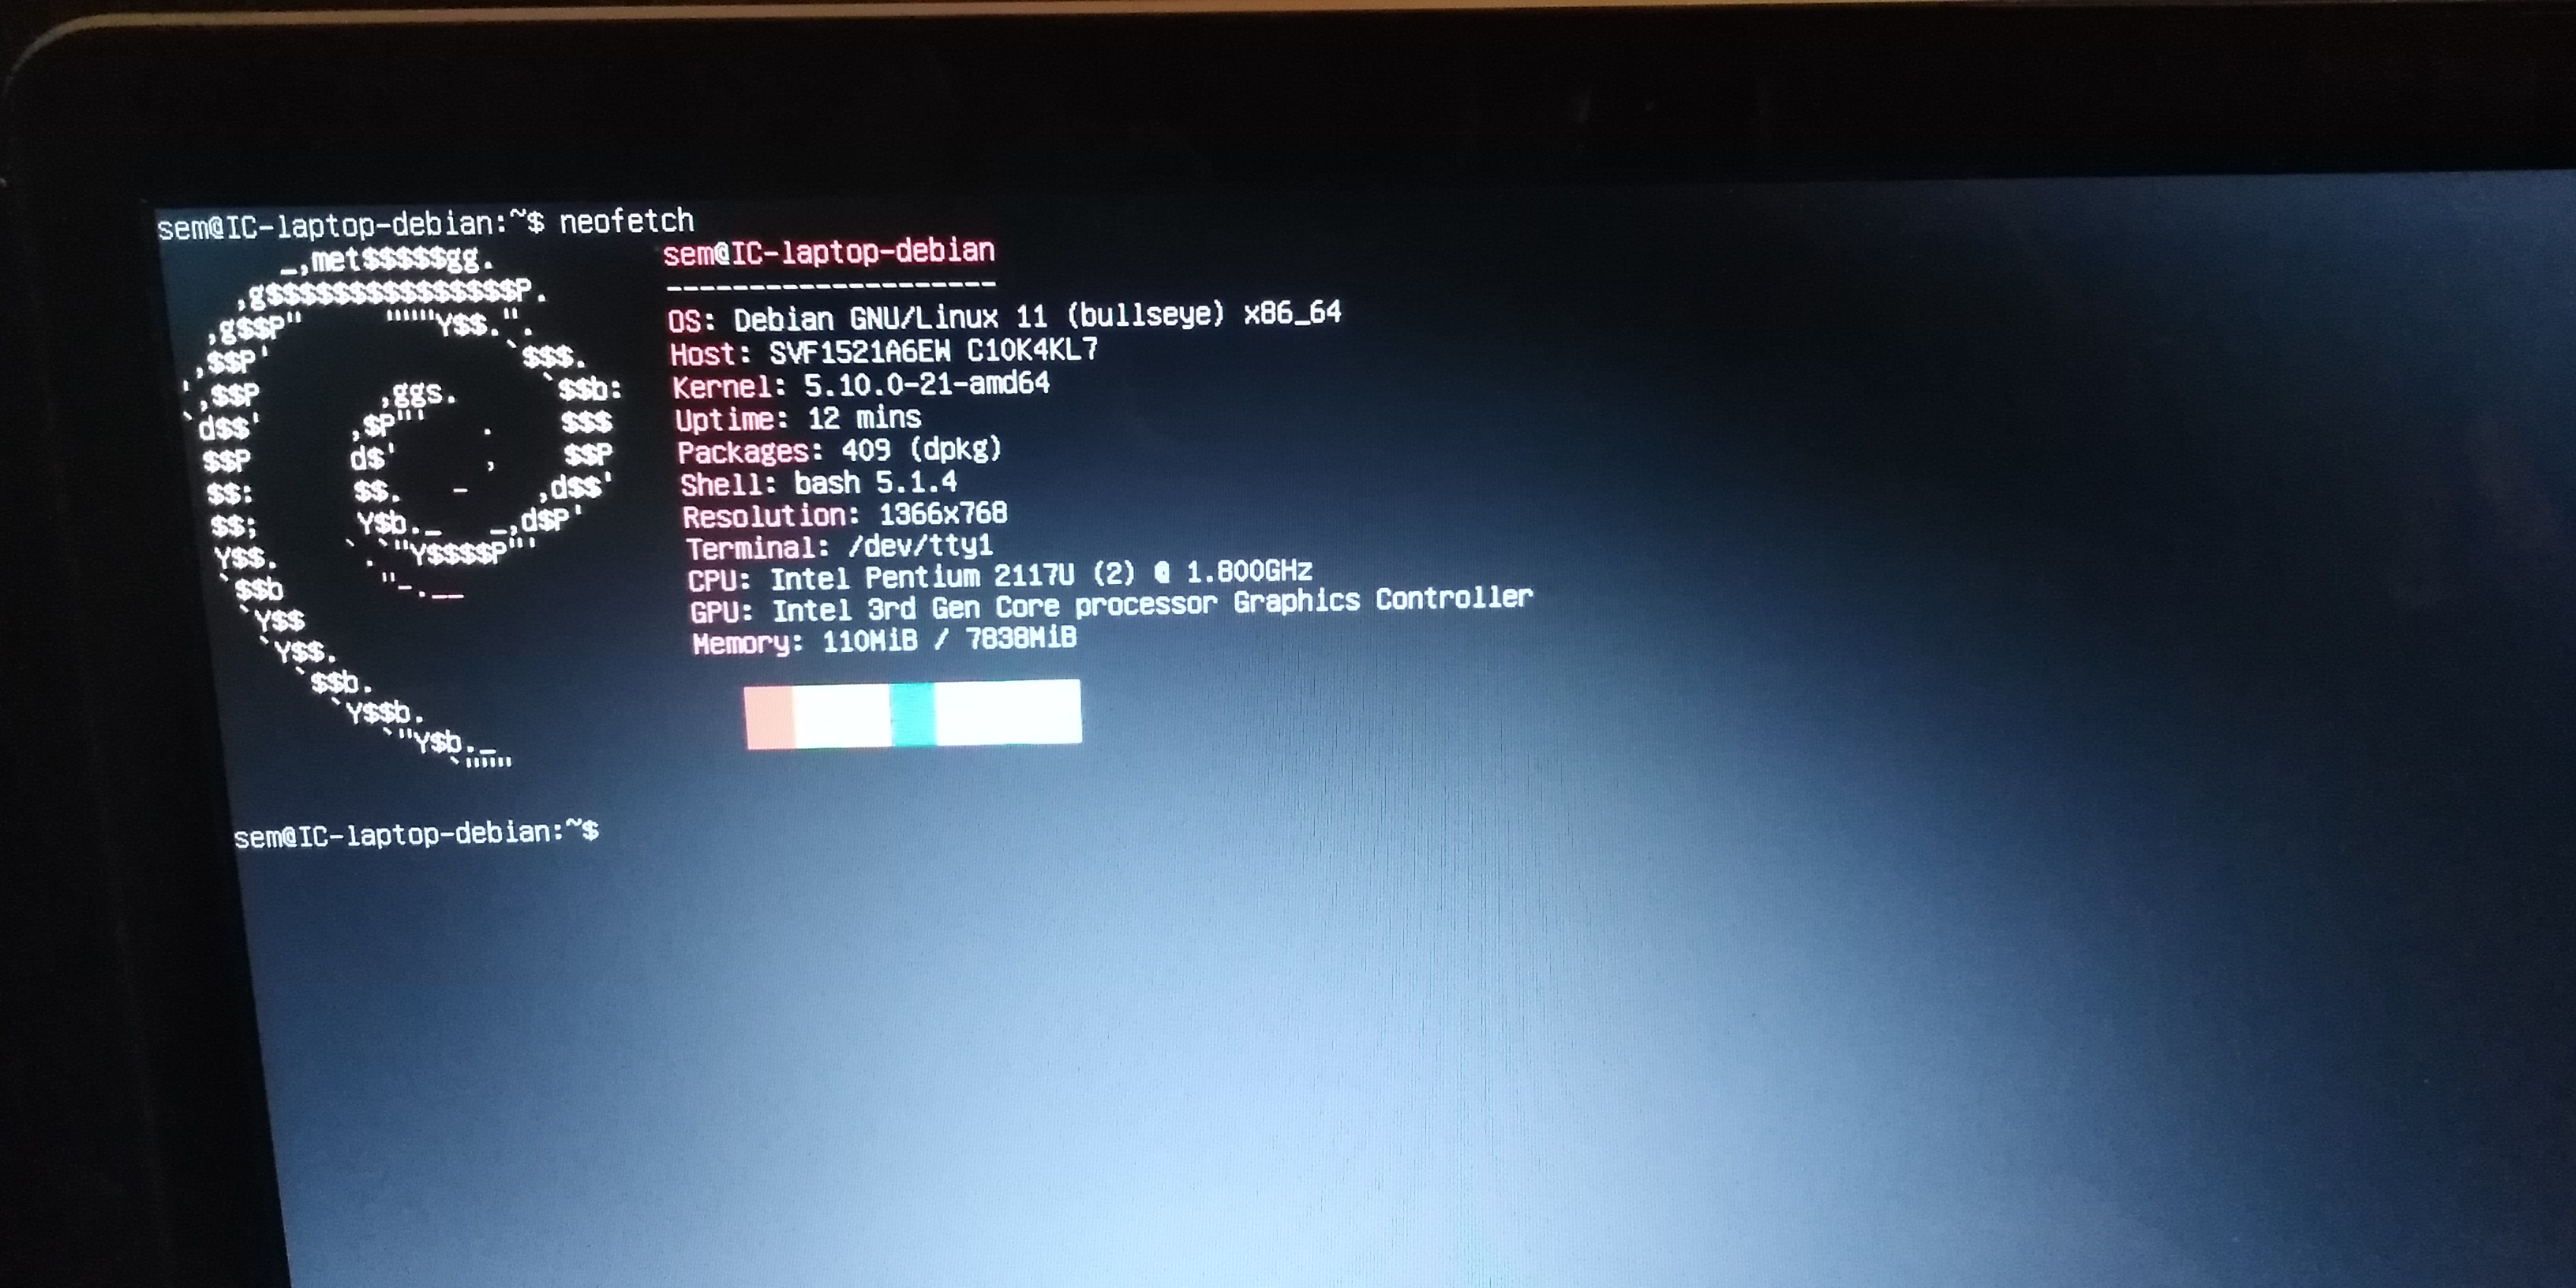
I first had to install sudo and remove the cdrom from the sources.list, but after that I was good to go. I first tried out UDE (Unix Desktop Environment). I followed this tutorial to get it started with X.
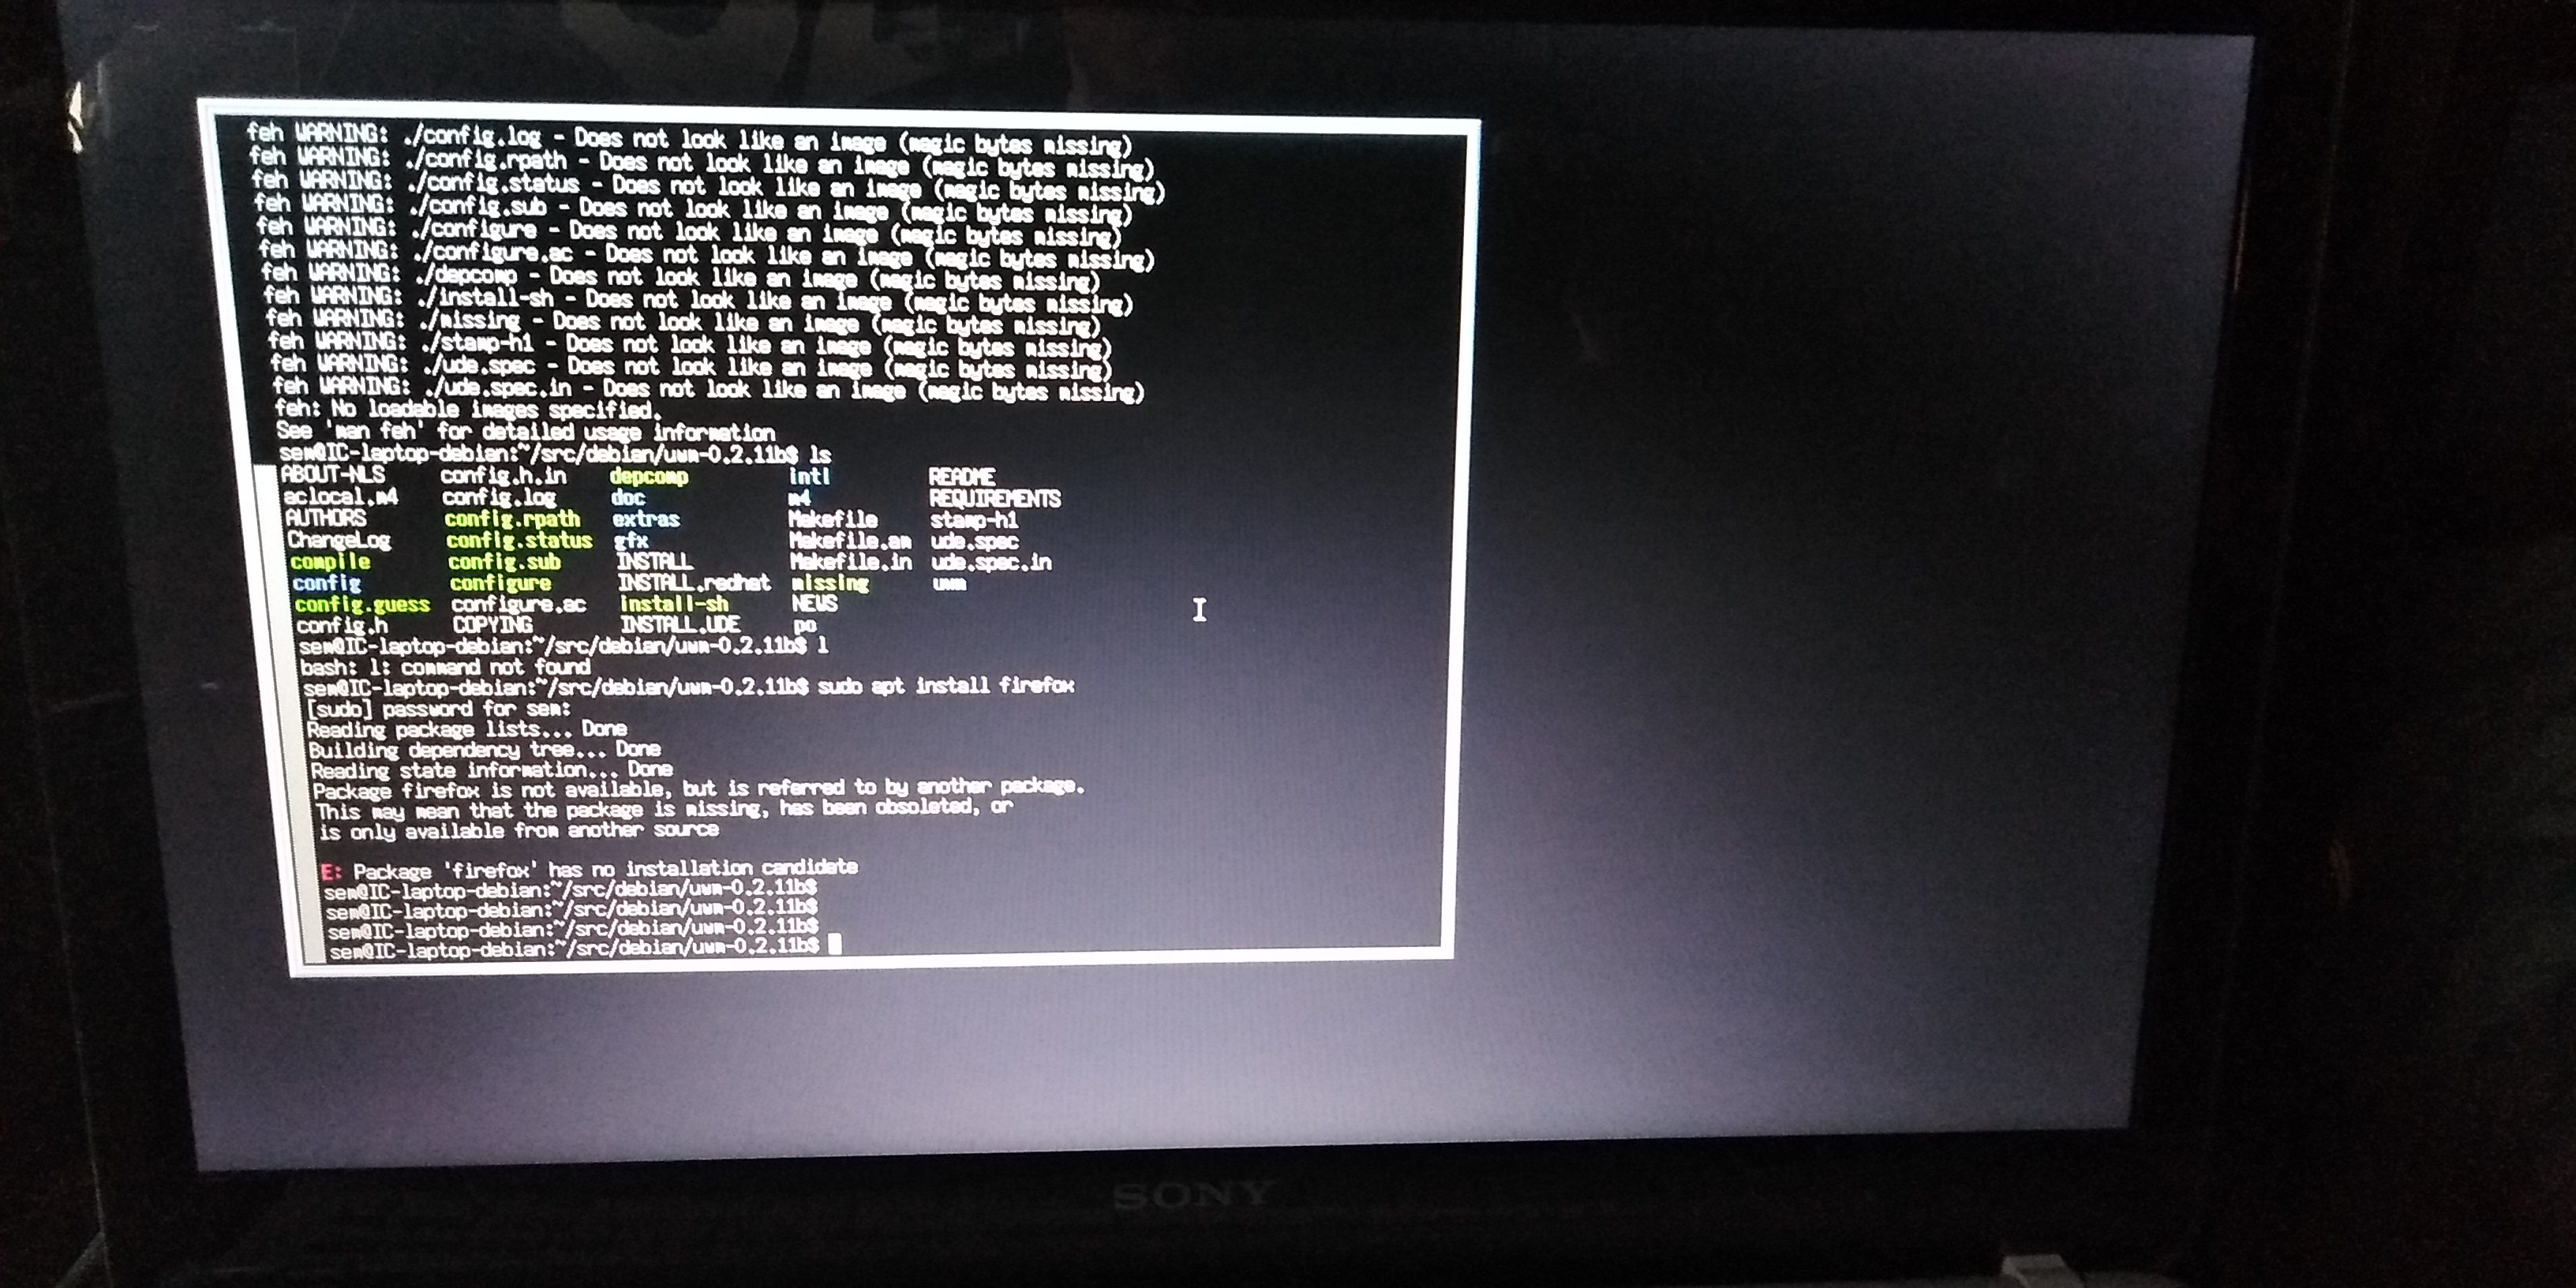
However, UDE doesn't really work well with this laptop, as the touchpad can't be clicked when holding the right mouse button. This is quite the problem when that's the only way of opening applications. So, I just installed XFCE.
Installing XFCE
I followed this tutorial to install XFCE.
UPDATE 17-04-2025: I still run debian with XFCE on it (✿◠‿◠). I use it mainly to add hardware entries and for some testing and browsing.